- Home
- Product Categories
- Monochrome
- Basic 8x2 Character LCD - Black on Green 5V

Basic 8x2 Character LCD - Black on Green 5V
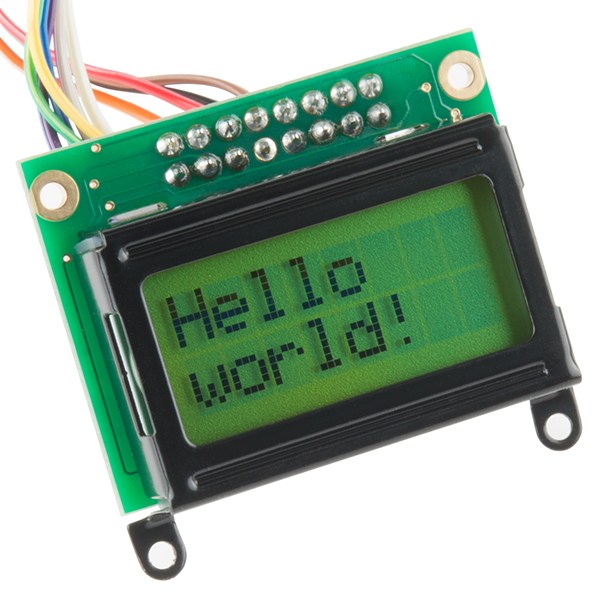
This is a basic 8 character by 2 line display with black text on green background. The screen utilizes the extremely common HD44780 parallel interface chipset. Interface code is freely available. You will need ~11 general I/O pins to interface to this LCD screen. Includes LED backlight.
You can use the example sketch in the Arduino IDE to get up and running in no time.
Note: This will work with our serial backpack, but it will not connect directly due to the different pin layout.
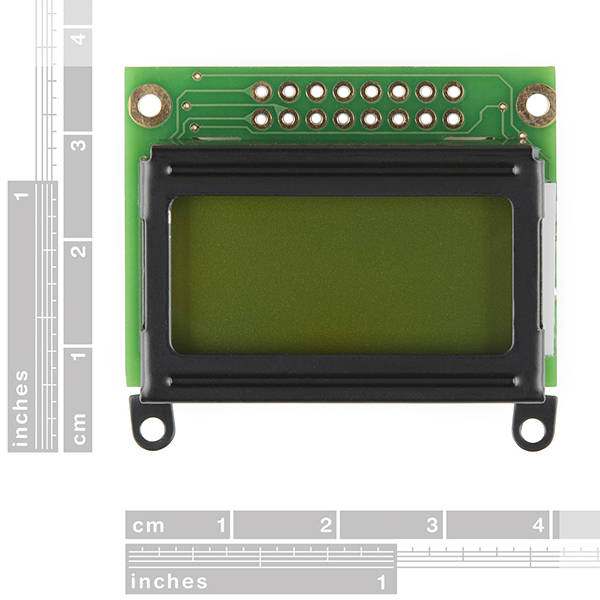
- 1.574" x 1.411"
- mbed Example
- Datasheet
- Datasheet (HD44780)
Basic 8x2 Character LCD - Black on Green 5V Product Help and Resources
Core Skill: Soldering
This skill defines how difficult the soldering is on a particular product. It might be a couple simple solder joints, or require special reflow tools.
Skill Level: Noob - Some basic soldering is required, but it is limited to a just a few pins, basic through-hole soldering, and couple (if any) polarized components. A basic soldering iron is all you should need.
See all skill levels
Core Skill: Programming
If a board needs code or communicates somehow, you're going to need to know how to program or interface with it. The programming skill is all about communication and code.
Skill Level: Rookie - You will need a better fundamental understand of what code is, and how it works. You will be using beginner-level software and development tools like Arduino. You will be dealing directly with code, but numerous examples and libraries are available. Sensors or shields will communicate with serial or TTL.
See all skill levels
Core Skill: Electrical Prototyping
If it requires power, you need to know how much, what all the pins do, and how to hook it up. You may need to reference datasheets, schematics, and know the ins and outs of electronics.
Skill Level: Competent - You will be required to reference a datasheet or schematic to know how to use a component. Your knowledge of a datasheet will only require basic features like power requirements, pinouts, or communications type. Also, you may need a power supply that?s greater than 12V or more than 1A worth of current.
See all skill levels
Comments
Looking for answers to technical questions?
We welcome your comments and suggestions below. However, if you are looking for solutions to technical questions please see our Technical Assistance page.
Customer Reviews
4.5 out of 5
Based on 4 ratings:
The tiniest LCD EVAR!
If you have a small project with need of an LCD, this is the one for you. There isnt much space on the screen, but it is certainly tiny. I have used this LCD in several projects and it works very well.
Great Little Display.
I needed a simple and inexpensive display for a circuit I am creating. The application is a whole-house fan timer using a PICAXE 20M2 as the controller. The whole thing is going to live in an outlet box, so small is the priority. This little unit provides all the display data needed. Simple to parallel-interface to using a separate PICAXE 18M2 allowing serial communications to the display module. Proximity sensor to control the display backlight. Inexpensive modular controllers keep the code simple. This Display is easy to interface to, inexpensive to buy, and very reliable. Great for small spaces. I will use again I am sure.
Cute LCD
This display is small enough to use in a handheld microprocessor based device, and other than the width, works just like the common 16x2 LCD displays. I was unable to find 8x2 displays anywhere else!
Cool little display, but couldn't get to work
I soldered on some header pins and connected M/F jumpers to my arduino to give it a quick go. According to the datasheet, you can bit-bang the pins to write text, so I just pulled pins to 0/+5V and set the contrast at 15k...but the display has no response at all. This is possibly user error! I would love for spark fun to do a quick hookup and code guide!
Hmmm. I would recommend getting in touch with our technical support team, they should be able to help you out!
It seems that the lines are a zig-zag arrangement of the standard series of LCD displays. To make it work for the serial backpack, I simply need to connect the same pin points on it to the ones on the serial backpack. Would someone please confirm this?
Hi I am new to this stuff. Does this LCD work with a solderless breadboard?
Save 4 I/O lines by using 4-bit mode. Takes two writes but unless you are setting up the bits by hand flipping switches, you won't see any speed difference.
Save 1 I/O line by hard-wiring R/W to W (low). That means you cannot read the busy bit so you have to insert worst-case delays. This you might see a slow-down but usually not, especially if done carefully.
That reduces the 11 required down to 6 with no additional hardware. It isn't too hard to wire up a shift register (e.g. 74hc595) to reduce it further, especially if you are already using SPI (or SPI-like) and can share clock and data-out.
Dimensions...3.74 x 2.16"... Are we sure about this? Something isn't matching up here...
Yeah I was just looking at that... I think 3.74 is cm, but I have no idea where 2.16 came from.
By looking at the picture it looks like is more like 3.74 x 4.16 instead.
ah, you're right! I fixed the dimensions and will get a full datasheet up there. thanks!
It would be great to have a serial enabled or serial backpack version of this. What can I say, I am lazy, I like offloading all the mess of wiring and code.
I have several of these and I love them:
Sparkfun Serial Display
+1. Have you tried the serial 7-segment displays? They are awesome too.
I think a breakout would be a good idea for this, to break out the double row headers to a single row of 8 on the top and a single row of 8 on the bottom with pinouts, it would then be breadboard friendly!
finally a small LCD module. not everybody has room for a large 16x2 in their project so this should be perfect. Thank you very much!
You are very welcome. If there's something you want us to carry, keep asking and hopefully we can find it for you!
Also, I could REALLY use an affordable string pot with +1M of string and sub 1mm resolution. I've been looking for an affordable solution for a couple of years.
4x40 LCDs for those projects with an enormous amount of information to display!
why wouldn't you use a graphic LCD at that point?
I don't know... I just like charactar LCDs!
Maybe a serial of this lcd?
we can check into it. it does work with our serial backpack, you just need to wire it a bit differently. if we sell enough, it might be a good enough justification to carry a specialized backpack.
How about a 3V version of something like this??
https://www.sparkfun.com/products/11708
VFDs Robert, big honking 4x20 VFDs :) Nothing beats a VFD for all-round readability.
Yay! 8x2 LCDs!
What fasteners have people used to affix this to the PCB or front panel? The datasheet shows this has 1mm holes, but I can't find screws or standoffs that small?
Is this unit daylight readable?
These are so cool! picture Also code
This is a great little display! I couldn't get mine to work at first, though, because the contrast pot I used at first was burned out.
Is it possible to remove the two black tabs in the interest of space?
Anybody have a drivers for this LCD on PIC C18? I really need it ! Please help me!
why do you need to use a 10k Potentiometer when you use this with an arduino?
Any chance you'll be getting some 12x2 LCD displays in the future?
8x2 white text on blue bg with EL backlight would be nice
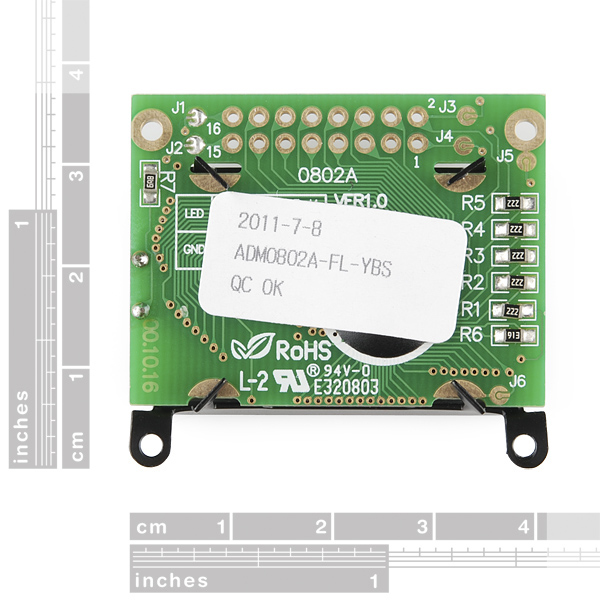
can't seem to find the pin out of the PCB anywhere....
the pins are labeled on the back. check the tutorial posted above, or any of the other examples. it matches our other LCDs, the pins are just arranged differently.
amotec-display.com/pdf/ADM0802A.pdf looks like the right DS
wasnt sure that the numbers on the pcb matched the numbers on other displays, all the examples are just a single inline set of pins
Yep, that's the one! I'll get that datasheet added, thanks!
I have this wired as shown in the Arduino tutorial and all I get is solid boxes on the top row. This is how I have it wired now.
This is the tutorial I'm using Arduino - LiquidCrystal
Matt - did you ever solve your problem? I'm having the same one!
edit I solved my problem - two pins on my Arduino were dead, causing the initialization to fail.