- Home
- Product Categories
- Raspberry Pi HATs
- Pimoroni Explorer HAT Pro

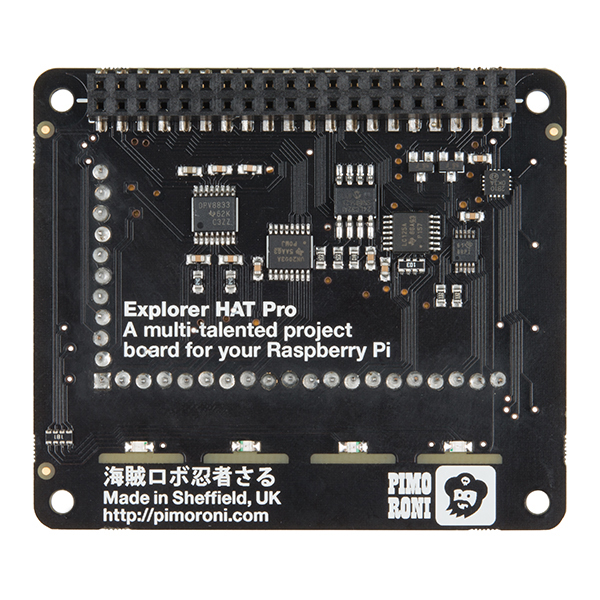
Pimoroni Explorer HAT Pro
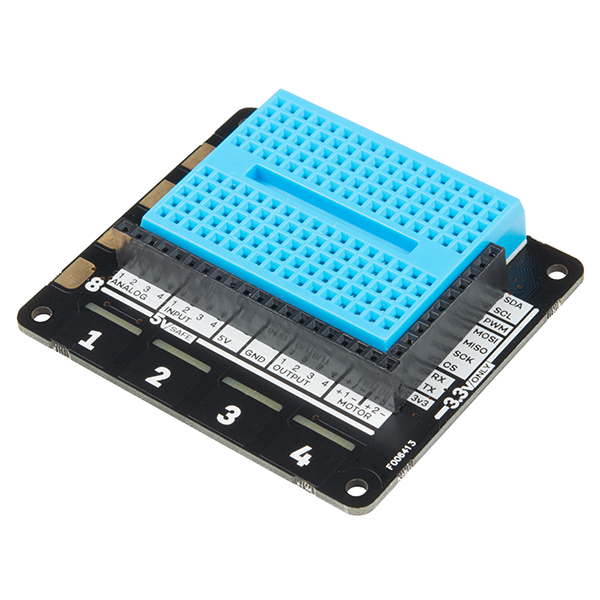
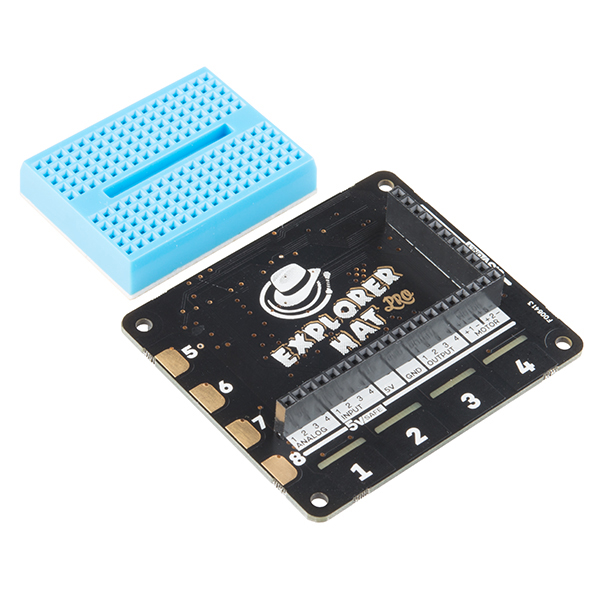
The Pimoroni Explorer HAT Pro is a "shield" for the Raspberry Pi and provides you with the perfect prototyping sidekick for your Pi. The Explorer HAT Pro has a heap of useful input and output options that will take your Raspberry Pi projects to the next level. This add-on board is great for driving motors, using analog sensors, interfacing with 5V systems and touch (even fruit-based!) interfaces.
Each Pimoroni Explorer HAT Pro easily snaps on top of a Raspberry Pi equipped with a 40-pin (2x20) GPIO. Pimoroni has created a GitHub repository bundling the Explorer software with a set of examples to get you started in an easy-to-use Python module to get prototyping right away.
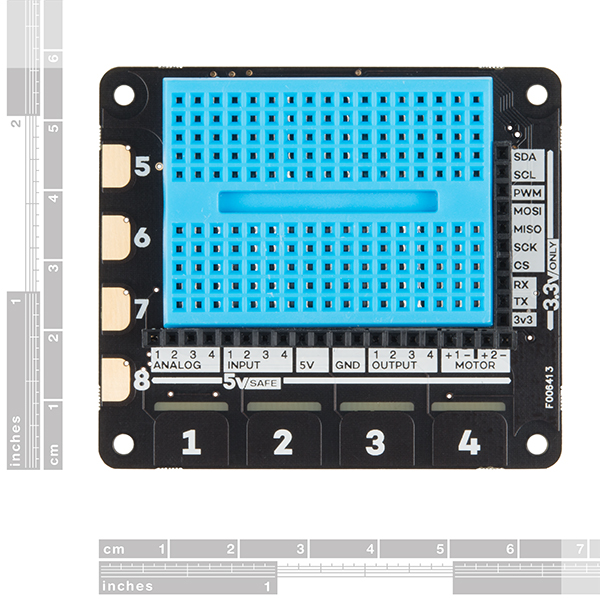
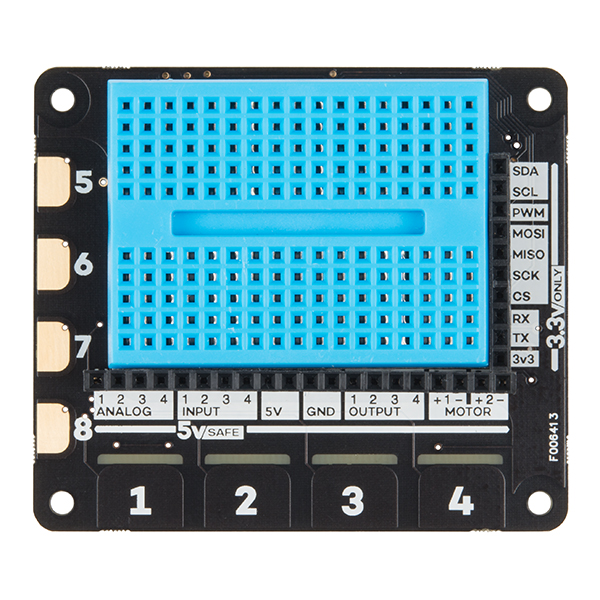
- Four buffered 5V tolerant inputs
- Four powered 5V outputs (up to 500mA!)
- Four capacitive touch pads
- Four capacitive crocodile clip pads
- Four 4-colored LEDs
- Four analog inputs
- Two H-bridge motor drivers
- A heap of useful (unprotected) 3v3 goodies from the GPIO
- A mini breadboard on top!
Pimoroni Explorer HAT Pro Product Help and Resources
Unexpected active/inactive pin behavior?
Rather than going high when active, they go low. This means you need to connect your output device (LED, etc) to +5 or +3.3 volts and then to the output pin rather than between the output pin and ground.
Core Skill: Programming
If a board needs code or communicates somehow, you're going to need to know how to program or interface with it. The programming skill is all about communication and code.
Skill Level: Competent - The toolchain for programming is a bit more complex and will examples may not be explicitly provided for you. You will be required to have a fundamental knowledge of programming and be required to provide your own code. You may need to modify existing libraries or code to work with your specific hardware. Sensor and hardware interfaces will be SPI or I2C.
See all skill levels
Core Skill: Electrical Prototyping
If it requires power, you need to know how much, what all the pins do, and how to hook it up. You may need to reference datasheets, schematics, and know the ins and outs of electronics.
Skill Level: Rookie - You may be required to know a bit more about the component, such as orientation, or how to hook it up, in addition to power requirements. You will need to understand polarized components.
See all skill levels
Comments
Looking for answers to technical questions?
We welcome your comments and suggestions below. However, if you are looking for solutions to technical questions please see our Technical Assistance page.
Customer Reviews
No reviews yet.
-------------------- Tech Support Tips/Troubleshooting/Common Issues --------------------
GPIO pins on the Pimoroni Explorer HAT Pro work differently than on an Arduino
GPIO outputs on the Pimoroni Explorer HAT Pro go to ground when active so if you're connecting a LED or other device to them, connect the positive leg of your device to +5 or +3.3 volts and the negative end to whichever output you choose. When that output is active, it gets connected to ground, completing a circuit.
Error in your specs above, What you have as "Eight 4-colored LEDs" should be "Four coloured LEDs (red, green, blue, and yellow)".
It has crocodile clip pads! So much better than alligator clip pads.