- Home
- Product Categories
- LilyPad
- Lilypad USB Plus

Lilypad USB Plus
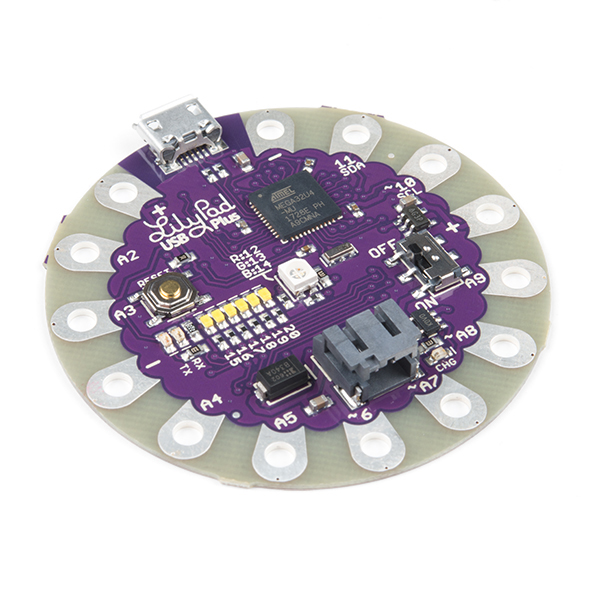
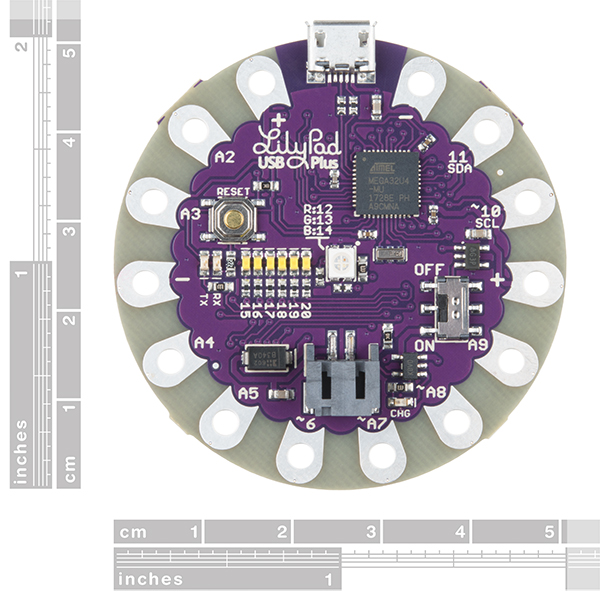
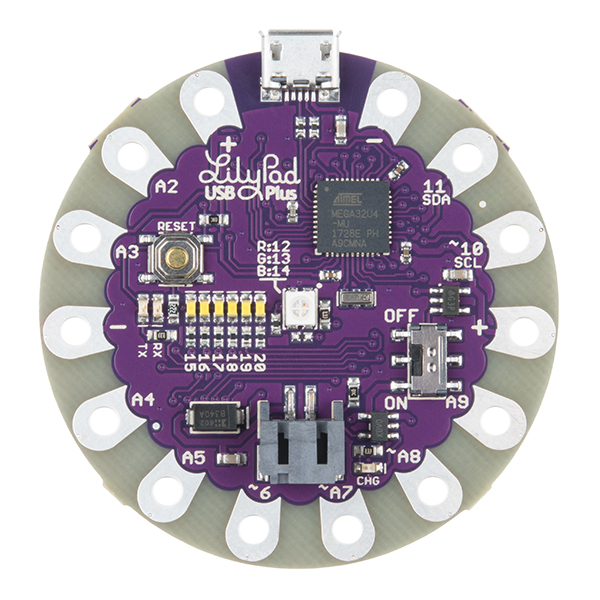
This is the LilyPad USB Plus, a sewable electronics microcontroller board controlled by an ATmega32U4 with the Arduino bootloader. It has a built in power supply JST (and recharge circuit) and an on/off switch with the only extra piece of hardware you need to program the LilyPad USB Plus being a micro-USB cable. We've also added an RGB LED in the dead-center of the board along with six white LEDs to act as a sort of bar graph. The LilyPad USB Plus was designed to streamline your next sewable project by keeping things simple and giving you more room to work while eliminating the need to sew a power supply.
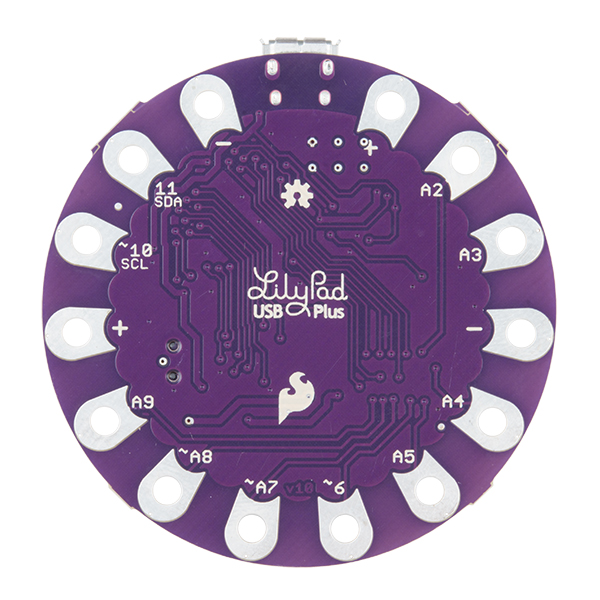
It has fourteen sew tabs for connecting components with conductive thread. Four of these tabs are reserved for connecting power and ground of LilyPad sensors and accessory boards, and ten are input/output (I/O). For reference, each sew tab has a nearby label with its name and the pin number it is connected to on the ATmega32U4 chip at its center.
LilyPad is a wearable e-textile technology developed by Leah Buechley and cooperatively designed by Leah and SparkFun. Each LilyPad was creatively designed to have large connecting pads to allow them to be sewn into clothing. Various input, output, power, and sensor boards are available in the LilyPad line but will also work with most other wearable e-textile lines. They’re even washable!
Please be aware that the Lilypad USB Plus is NOT supported on Windows 7/8 due to a lack of support drivers for those specific OS's.
Note: A portion of this sale is given back to Dr. Leah Buechley for continued development and education in e-textiles.
- USB port for connecting to a computer.
- Two sets of power (+) and ground (-) sew tabs.
- Built-in RGB LED attached to pins 12 (R), 13 (G), and 14 (B).
- A row of six white LEDs attached to pins 15-20.
- Charging circuit for single-cell (3.7V) Lithium-Polymer batteries.
Lilypad USB Plus Product Help and Resources
Choosing a LilyPad Arduino for Your Project
October 27, 2015
Not sure which LilyPad Arduino is right for you? We'll discuss the features of each and help you decide.
LilyPad USB Plus Hookup Guide
June 7, 2018
The LilyPad USB Plus is a sewable microcontroller that you can use with Arduino.
Processor Interrupts with Arduino
December 11, 2018
What is an interrupt? In a nutshell, there is a method by which a processor can execute its normal program while continuously monitoring for some kind of event, or interrupt. There are two types of interrupts: hardware and software interrupts. For the purposes of this tutorial, we will focus on hardware interrupts.
Recovering a board that lost it’s COM port when you upload code with the wrong board definitions:
1- Press the RESET twice quickly and you should see a blue LED fading in and out for about 8 seconds.
2- Quickly, go to /Tools/Port and select the port labeled ‘LilyPad USB Plus.’ If it’s not there, get out of /Tools/Port, retry step 1 and then retry this step. You don’t have much time between pressing the button twice and selecting the port, so it may take a few tries to get this to work.
3- Once you have that com port selected, make sure you have the Arduino IDE set to a board type of ‘LilyPad USB Plus.’
4- Open up the ‘Blink’ example from /File/Examples/01.Basics/Blink.
5- Click the ‘upload’ button in Arduino.
6- Once you see ‘Uploading…’ appear in the status bar in Arduino, quickly double press RESET again. The ‘Blink’ sketch should upload and you will see a blinking green LED on the board. If that happens, the board is now recovered and ready to go.
7- If it doesn’t work, try step 6 again. The timing can be tricky to get this step to work and it may take a few tries to get the code to upload, but once it does, you’re in the clear.
Core Skill: Programming
If a board needs code or communicates somehow, you're going to need to know how to program or interface with it. The programming skill is all about communication and code.
Skill Level: Rookie - You will need a better fundamental understand of what code is, and how it works. You will be using beginner-level software and development tools like Arduino. You will be dealing directly with code, but numerous examples and libraries are available. Sensors or shields will communicate with serial or TTL.
See all skill levels
Core Skill: Electrical Prototyping
If it requires power, you need to know how much, what all the pins do, and how to hook it up. You may need to reference datasheets, schematics, and know the ins and outs of electronics.
Skill Level: Rookie - You may be required to know a bit more about the component, such as orientation, or how to hook it up, in addition to power requirements. You will need to understand polarized components.
See all skill levels
Comments
Looking for answers to technical questions?
We welcome your comments and suggestions below. However, if you are looking for solutions to technical questions please see our Technical Assistance page.
Customer Reviews
No reviews yet.
How can I connect Qwiic cable to LilyPad USB Plus? is there a connector tool? https://www.sparkfun.com/products/14426
Hi there, it sounds like you are looking for technical assistance. Please use the link in the banner above, to get started with posting a topic in our forums. Our technical support team will do their best to assist you.
That being said, there isn't an easy way to secure a Qwiic cable. However, you could solder or clip a cable to the board. These products would be a solder-less option:
If you look at the silk (white markings) on the back of the board, the I2C connections should be noted on pins 10 and 11.
What kind of USB cable I should buy to connect it to my MacBook Pro?
Hi there, it sounds like you are looking for technical assistance. Please use the link in the banner above, to get started with posting a topic in our forums. Our technical support team will do their best to assist you.
That being said, it depends on the ports available on your computer. However, if you have a standard USB-A port on your computer, I would recommend this cable: https://www.sparkfun.com/products/10215
Thank you so much!