- Home
- Product Categories
- Color
- LCD Touchscreen HAT for Raspberry Pi - TFT 3.5in. (480x320)

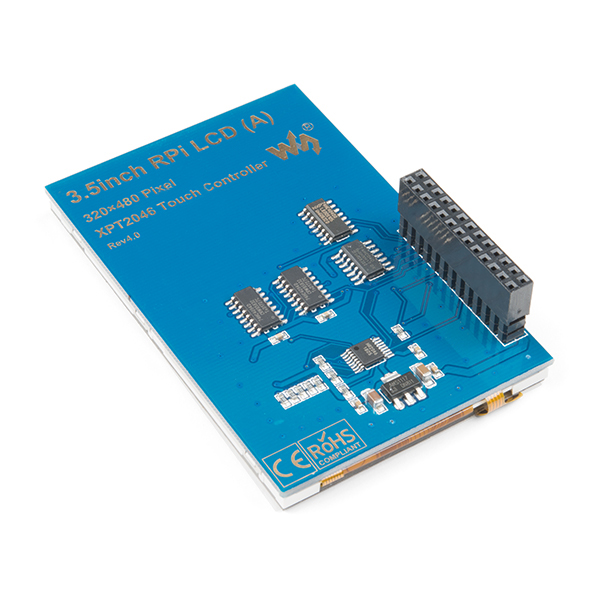
LCD Touchscreen HAT for Raspberry Pi - TFT 3.5in. (480x320)
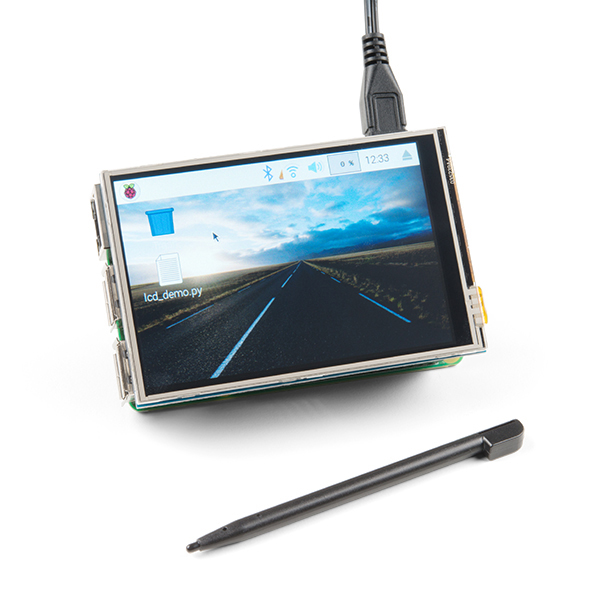
This LCD Touchscreen HAT fits snuggly on top of the Raspberry Pi, practically form fitting on top of it so as not to compromise the overall dimensions of the credit card sized single board computer. The resistive touchscreen provides you with an easy way to display information coming off of the Raspberry Pi and the OS currently running on it.
The 4:3 aspect ratio backlit LCD equipped on this HAT possesses a resolution of 480 by 320 pixels with over 65 thousand colors and an SPI interface with a 16MHz driver speed. Simply plug the 13x2 GPIO header into your desired Raspberry Pi and you'll be able to start using your new resistive touch screen!
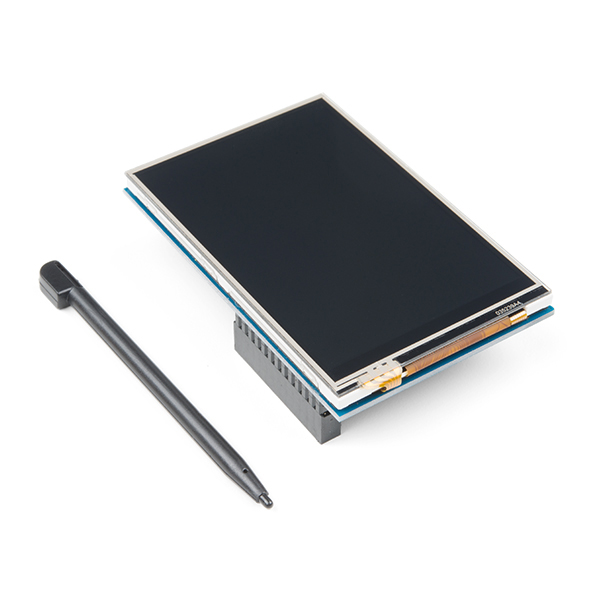
- 1x LCD Touchscreen HAT
- 1x Touch Pen
- LCD Type: TFT
- LCD Interface: SPI
- Resistive Touch Screen
- XPT2046 Touch Screen Controller
- 65536 Colors
- Backlight LED
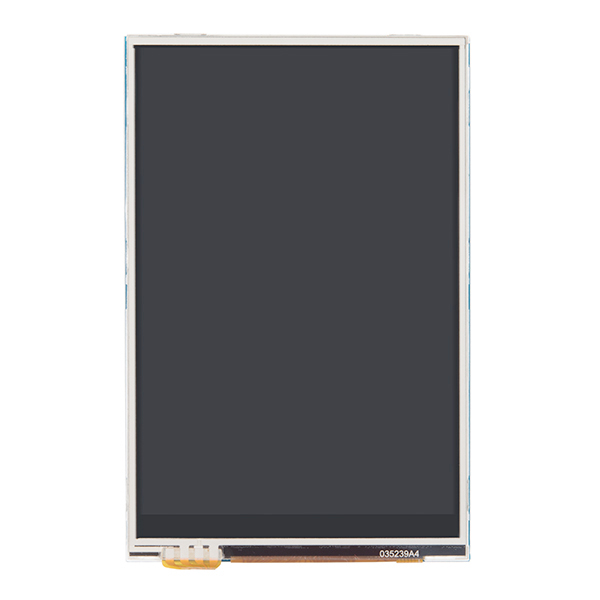
- Resolution: 480x320
- Aspect Ratio: 4:3
- SPI Diver Speed: 16MHz
LCD Touchscreen HAT for Raspberry Pi - TFT 3.5in. (480x320) Product Help and Resources
1 of 1 found this helpful:
LCD Driver Information
To drive this display using the Driver install here run the "sudo ./LCD35-show" command in the LXTerminal.
Core Skill: Programming
If a board needs code or communicates somehow, you're going to need to know how to program or interface with it. The programming skill is all about communication and code.
Skill Level: Competent - The toolchain for programming is a bit more complex and will examples may not be explicitly provided for you. You will be required to have a fundamental knowledge of programming and be required to provide your own code. You may need to modify existing libraries or code to work with your specific hardware. Sensor and hardware interfaces will be SPI or I2C.
See all skill levels
Core Skill: Electrical Prototyping
If it requires power, you need to know how much, what all the pins do, and how to hook it up. You may need to reference datasheets, schematics, and know the ins and outs of electronics.
Skill Level: Rookie - You may be required to know a bit more about the component, such as orientation, or how to hook it up, in addition to power requirements. You will need to understand polarized components.
See all skill levels
Comments
Looking for answers to technical questions?
We welcome your comments and suggestions below. However, if you are looking for solutions to technical questions please see our Technical Assistance page.
Customer Reviews
3.5 out of 5
Based on 2 ratings:
1 of 1 found this helpful:
It does 'just work' but...
Pro: If you plug it in and boot their image file, then indeed, it does 'just work'.
Cons: The right side of the screen is cut off. It seems like the driver is expecting the display to be wider than it actually is
The touch sensitivity low, requiring a bit of 'squish' to the presses. It doesn't feel like it would stand up to a lot.
cute display
followed the directions in the box to load the software, plugged it in and it worked!
Does this work with Raspberry Pi 4?
It is confirmed to work with the Raspberry Pi 4.
What is the frame rate of this LCD
The “documents” links are all 404ing
Sorry about that. I'll inform our the catalog team, so that we can reach out to the manufacturer to get that resolved.
can i still use GPIO pins with this screen?
Hi there, it sounds like you are looking for technical assistance. Please use the link in the banner above, to get started with posting a topic in our forums. Our technical support team will do their best to assist you.
That being said, if you can access the GPIO (physically), you can use any of the pins that the screen isn't using to operate. I don't know which exact pins are utilized, but it at least uses the SPI pins to drive the screen. Anything not connected to the header is safe to use.
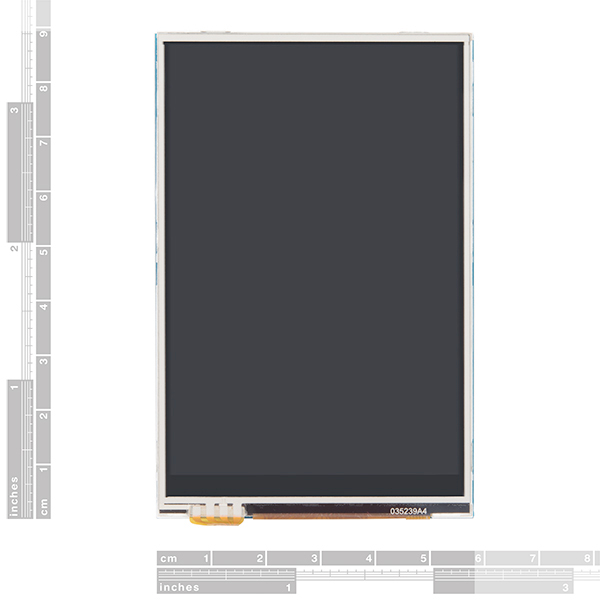
What the technical details of this? Specifically what is the attachment to the Raspberry Pi (A+,B+, ZW) as well as what is it's dimensions in mm?
Most of the technical details are in the Features and Documents tabs, under the product pricing (it is easy to miss with the white-on-white), including the information that it uses SPI through the headers (see picture). One of the pictures should also give you a rough estimate of the dimensions... it is pretty much the size of a full size Raspberry Pi (like the 3B).
Does it still have a 26 pin connector, so it will work with older pi's?
Unfortunately, we don't have an older Pi that I can test with, but I have used it with the Pi ZeroW, 3B, 3A, and 3B+ that we carry.
It looks like the answer is no.. You can switch between the two (HDMI and LCD) but each time it looks like it will require a reboot.
Will this work at the same time as an external HDMI? I'm looking for a way to have a small controller like this to run a scoreboard which is an HDMI monitor.. I"d want the display duplicated across both screens, displaying the same things..
See the reply above.
Your best option for that would be a smaller HDMI screen and an HDMI splitter; I don't believe the video codec and the hardware on the Raspberry Pi are able to handle that. If you don't mind extra hardware and small decreases in the Raspberry Pi's performance, you can also use a VNC. For further assistance, please post a new topic on our forum page.