- Home
- Product Categories
- Distance
- Zio Ultrasonic Distance Sensor - HC-SR04 (Qwiic)

Zio Ultrasonic Distance Sensor - HC-SR04 (Qwiic)
This product went red! You can find it here.
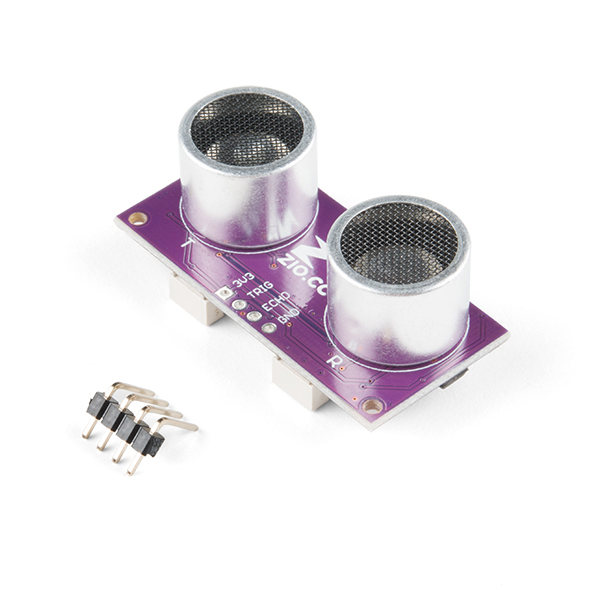
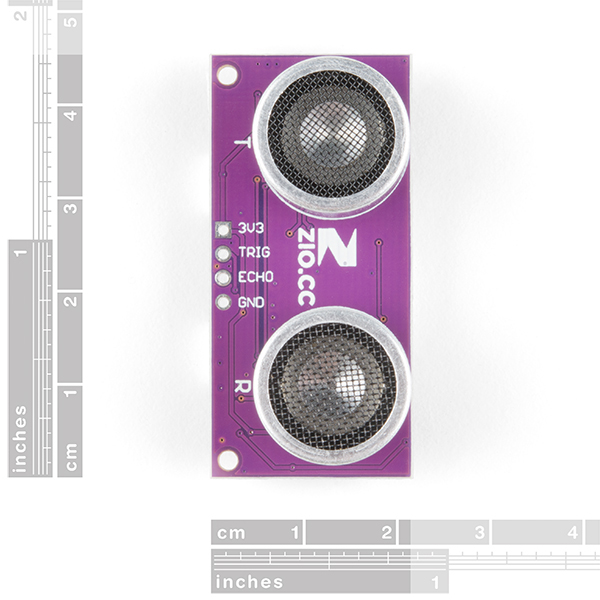
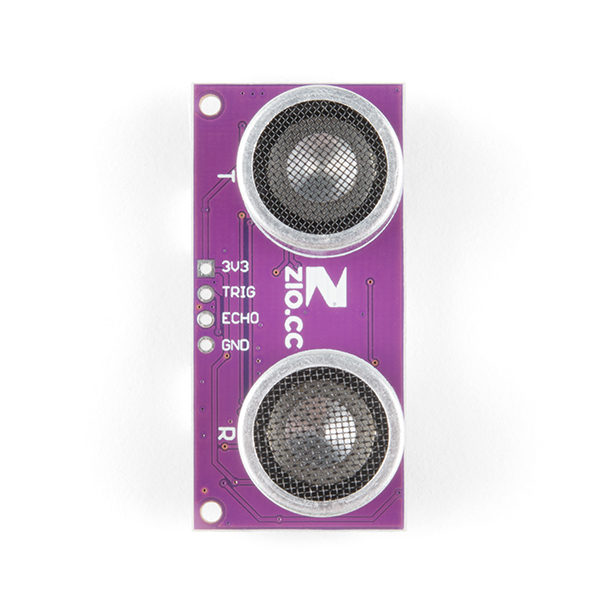
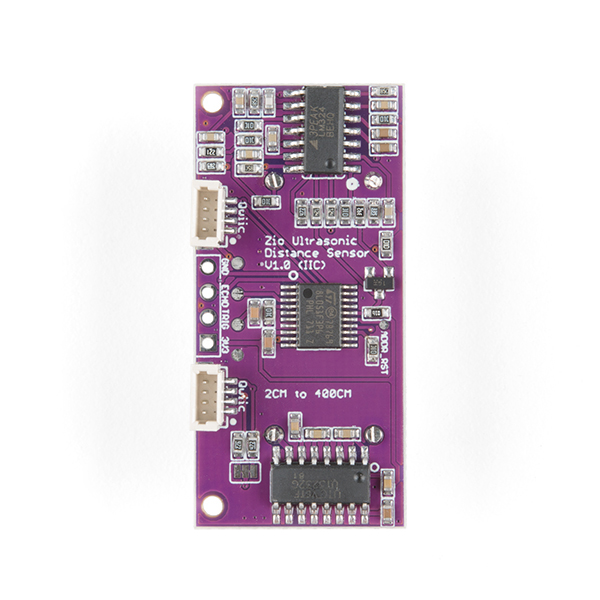
You may be familiar with the classic HC-SR04 distance sensor, it is great for providing non-contact distance readings from 2cm to 400cm. This board improves on the classic by adding a Qwiic connector to it, so now you can communicate over I2C. If you prefer to bypass the Qwiic connector and I2 you can also access the Trigger and Echo pins which are broken out on the edge of the board.
The SparkFun Qwiic Connect System is an ecosystem of I2C sensors, actuators, shields and cables that make prototyping faster and less prone to error. All Qwiic-enabled boards use a common 1mm pitch, 4-pin JST connector. This reduces the amount of required PCB space, and polarized connections mean you can’t hook it up wrong.
- 1x Ultrasonic Distance Sensor - HC-SR04
- 1x Right-Angle Header - 4-pin
- Operating Voltage 3.3V
- Detecting Angle: 15 degrees
- Sensor range: 2cm to 400cm
- Accuracy: 3mm
- MCU on board: STM8L051
- Default I2C Address: 0x00
- Dimensions: 21.5 x 45.5mm
- Weight 9.2g
- Getting Started Guide
- Github (Eagle files and Example Code)
Zio Ultrasonic Distance Sensor - HC-SR04 (Qwiic) Product Help and Resources
Core Skill: Programming
If a board needs code or communicates somehow, you're going to need to know how to program or interface with it. The programming skill is all about communication and code.
Skill Level: Rookie - You will need a better fundamental understand of what code is, and how it works. You will be using beginner-level software and development tools like Arduino. You will be dealing directly with code, but numerous examples and libraries are available. Sensors or shields will communicate with serial or TTL.
See all skill levels
Core Skill: Electrical Prototyping
If it requires power, you need to know how much, what all the pins do, and how to hook it up. You may need to reference datasheets, schematics, and know the ins and outs of electronics.
Skill Level: Noob - You don't need to reference a datasheet, but you will need to know basic power requirements.
See all skill levels
Comments
Looking for answers to technical questions?
We welcome your comments and suggestions below. However, if you are looking for solutions to technical questions please see our Technical Assistance page.
Customer Reviews
5 out of 5
Based on 2 ratings:
Great value
I struggled if I should purchase the (expensive) version of the ultrasonic sensor with Qwiic connector or the cheaper one with the raw data. But after buying and using this one for my new robot I am happy that I bought the Qwiic version of it. It just takes care of all the low-level driving and timing of the ultrasound sender and receiver and my robot's vision was up and running in no-time!
I used this distance sensor in conjunction with the Qwiic Loudness Sensor to make a simple feedback system for my project. I thought that the example code was very easy to use, which is great for someone with little coding experience. The instructions online also told you exactly how to download Arduino and the needed libraries
The example code does not work with my Artemis Redboard. The comments in the code is way off e.g. "Device #8" and "Request 6 bytes" when the code is requesting 2..
I am NOT able to get any data from the device: Wire.available() returns false Please provide an example that works
Hi there, it sounds like you are looking for technical assistance. Please use the link in the banner above, to get started with posting a topic in our forums. Our technical support team will do their best to assist you.
That being said, you can also file an issue on the GitHub repository, as we don't a actually maintain this library.