- Home
- Product Categories
- Polarized
- Polarized Connectors - Crimp Pins (20 Pack)

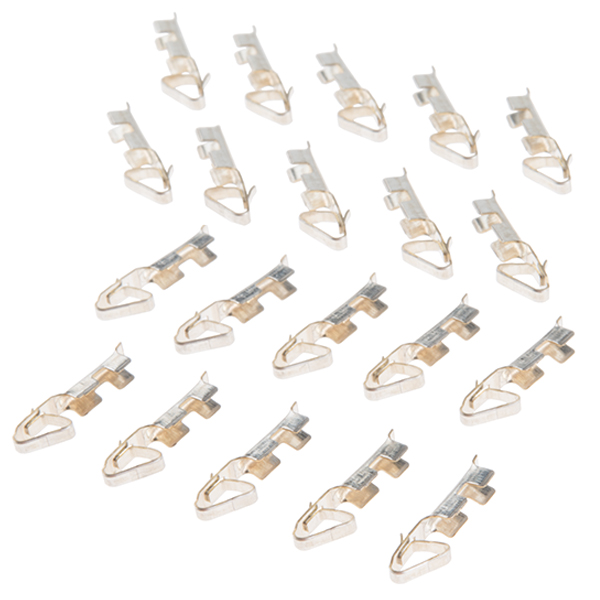
Polarized Connectors - Crimp Pins (20 Pack)
Polarized connectors and headers for your perf board/PCB projects. Use these connectors for power connections or any sensor/general connection to prevent users from connecting the peripheral incorrectly or reversed.
This is for a pack of 20 individual crimp pins. We regularly use a pair of needle nose pliers and a soldering iron to attach these pins. No special tools required. Be sure to order the mating header and housing!
Polarized Connectors - Crimp Pins (20 Pack) Product Help and Resources
Building Large LED Installations
July 16, 2015
Learn what it takes to build large LED installations from planning to power requirements to execution.
Comments
Looking for answers to technical questions?
We welcome your comments and suggestions below. However, if you are looking for solutions to technical questions please see our Technical Assistance page.
Customer Reviews
No reviews yet.
When I use your soldering iron (TOL-09507), the heat melts the wire insultation, even though I'm touching the tip of the wire. So perhaps just using pliers or a crimping tool will be the best option.
Yeah, grimper/plier is far better than soldering, solder can crack easily, if the connecor sees plenty of ''life''
I finally found crimp tool that works great with with these pins! http://www.amazon.com/gp/product/B007JLN93S/ref=cm_cr_mts_prod_img
Cheap too. Just insert pin in the smaller jaw, close a little so it will stay there. Then insert stripped wire and press down. Perfect connection every time! For 22 AWG wires with thick insulation I found it works best by putting it in the bigger jaw first (so it catches crimps insulation) and then finish it in smaller jaw. Sparkfun should really carry this tool, it's so much faster than soldering and using needle pliers...
What gauge wire are these crimp pins meant to accept?
When crimping these, don't use pliers, get proper tool! they're not expensive, so not excuse.
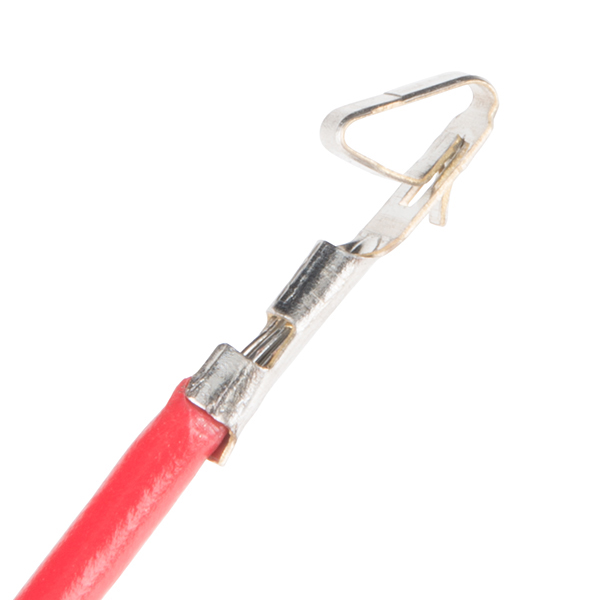
Been practicing with these. I use the U-channel to hold the wire insulation (I use 22awg) and use needle-nose to bend the tabs to hold the wire in place. You can see in one of those pics above. Then I bend the smaller tabs over the bare wire, then add a touch of solder. Hope that helps someone.
I'm also looking for wire recommendation. 22AWG wire that I have has insulation that's too thick to use in these :(
Dudes, no offence, you really need to start getting these in more supply. Been waiting on these for a project @ work since mid March. And I'd personally figure these are a fairly standard part you guys should have large quantities of in stock.
A Molex crimp tool is going to make these a million times easier to crimp if you have one available. If not they can be had for around $25 and it's a good long term investment.
Do know which tool works with these?
Color me an idiot, but I can't figure out for the life of me how to use these pins.
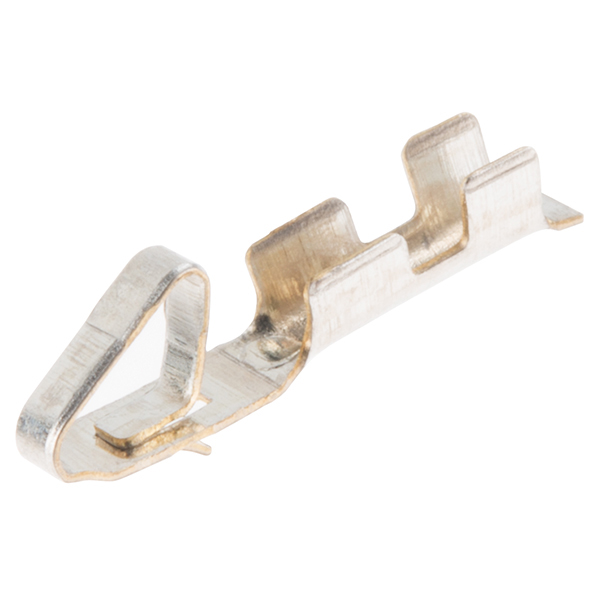
I must admit I borked about 5 of these before I could make a smooth connection. As the description says you need a soldering iron and some needle nose pliers. I've found it easier to work with them while still in the strip and only cut them free once connected. First note how they fit into the housing. Notice the very small springy piece of metal that will stick through the small opening on one side of the housing? that prevents the whole thing from sliding back out. If you look at the pins, starting from the strip end you'll see a U-shaped channel, a little stop for the end of the wire and then the springy thing. It helps if you use the right gauge wire. Strip the enough wire so that there's insulation just at the end of the U-shaped channel. First solder the wire in the channel, but not too much and don't let solder run into the springy thing. Next crimp the U-shaped channel over the insulation and wire. last, insert the whole thing in the housing.
Exactly what I needed to hear! Thanks!