- Home
- Product Categories
- Development Tools
- Joystick Shield PCB

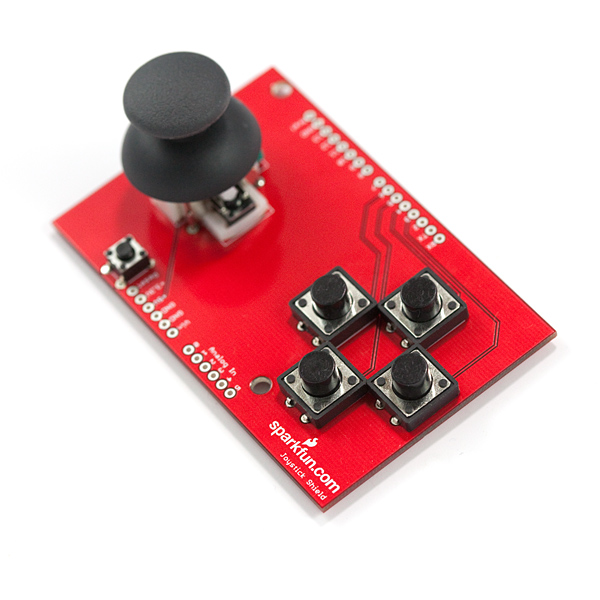
Joystick Shield PCB
Replacement:DEV-09824. We have a new revision of the board which adds a prototyping area. This page is for reference only.
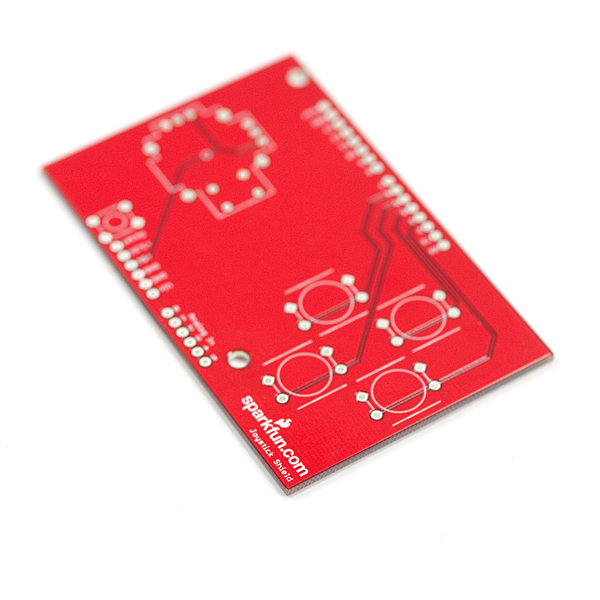
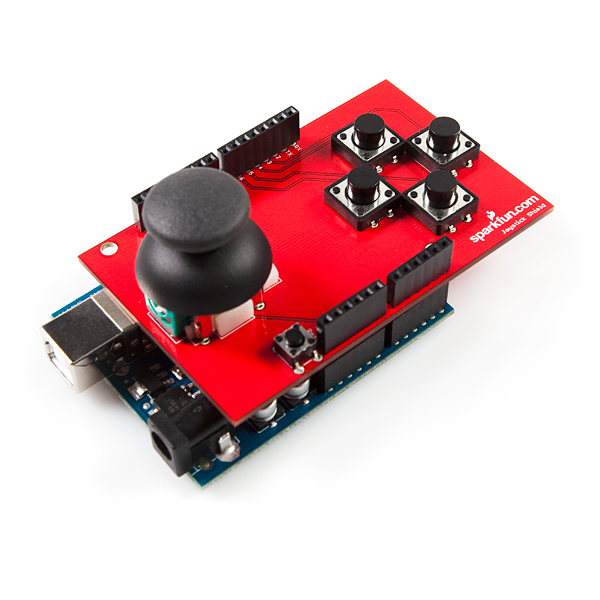
The Joystick Shield sits on top of your Arduino and turns it into a simple controller. Five momentary push buttons (4+ joystick select button) and a two-axis thumb joystick gives your Arduino functionality on the level of old Nintendo controllers.
Please note: This is an older version of the PCB that does not have the prototyping area. The examples and assembly guides still apply. We're just trying to give these PCBs a happy home before we move on to the next revision.
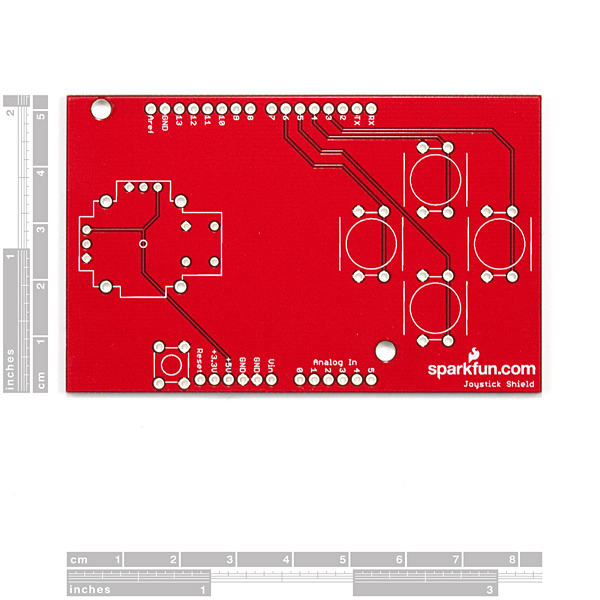
The momentary push buttons are connected to Arduino digital pins 2-6; when pressed they will pull the pin low (utilizing the internal pull-ups of the Arduino). Vertical movement of the joystick will produce a proportional analog voltage on analog pin 0, likewise, horizontal movement of the joystick can be tracked on analog pin 1.
Note: We found these in inventory and they work fine but we're no longer making them. We'll be selling them at a discount for a limited time but when they're gone, they're gone!
This product is only the Joystick Shield PCB - you'll need to purchase the buttons and joystick separately, and assemble the controller yourself. Here's what you'll need in addition to the shield:
- 4 x Momentary Push Button Switch - 12mm Square
- 1 x Thumb Joystick
- 1 x Mini Push Button Switch (breaks out Arduino's reset switch)
- 2 x 6-pin Arduino Stackable Header
- 2 x 8-pin Arduino Stackable Header
Comments
Looking for answers to technical questions?
We welcome your comments and suggestions below. However, if you are looking for solutions to technical questions please see our Technical Assistance page.
Customer Reviews
No reviews yet.
YAY! Just got the last 2 in stock
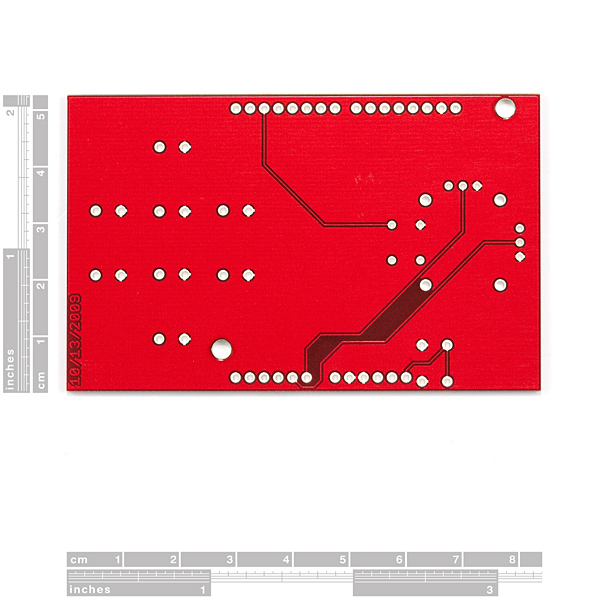
In studying the PCB layout, I don't see how the various items on the board are grounded. Are they grounded to the Arduino ground, or not? The schematic says they are, but I don't see any traces to ground on the actual PCB. Just curious.
They are all attached to ground pours on the front and back of the board.
Oh, one other thing. The Eagle files indicate that the spacing on the buttons is a little odd--1.05" between left and right, and 0.95" top to bottom, and 1.59" from the center of the joystick to the center of the top button.
It would be a lot easier to make a panel for this if the joystick and button centers were on an even 0.5" grid, ie. top button centered 1.5" below the center of the joystick, left/right 2.0" below the center of the joystick and 0.5" from the centerline, and bottom button 2.5" below the center of the joystick.
It would be great if this had some mounting holes so you could put it in a case w appropriate standoffs. The joystick and buttons don't have any way to attach to a panel.
It's a shame that the shield uses A0 and A1 as these are the default I2C pins for other shields (such as the Jee Labs Plug Sield and your own WiiChuck Adapter). Perhaps for a "V2" you might consider a configuration option to move them off the I2C pins?
And yes, putting all the bits in a single kit would be the ideal.
Hi AlterEgo,
As far as I can tell the standard I2C pins are A4 and A5 even for the WiiChuck Adapter and Jee Labs Plug Shield.
Where did you find an information source that said A0 and A1 were used for I2C?
--Philip;
I would like to see this in a kit with all the parts!
this looks great but i think it would be easier to make this in to a kit with all the parts
I agree, a kit would be very handy.
I'd suggest not using the stackable headers on this, though. It clearly needs to be the top-most shield, and the raised edge of the lower stacking connector might get in the way trying to reach the buttons with your thumb.
I like it! Given how much board space is open, it would have been nice if they put in some pads for LEDs or left a small prototyping area. Regardless, you really can't beat the price.
Cheers,
- Dean