- Home
- Product Categories
- SMD
- SparkFun Luxeon Rebel LED Single Driver

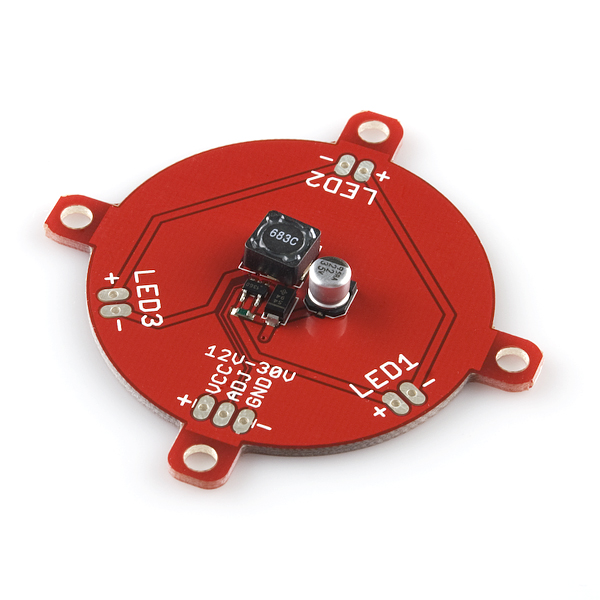
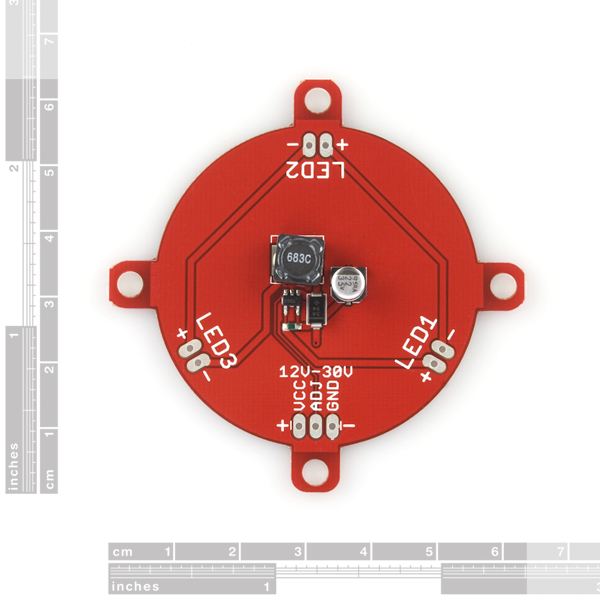
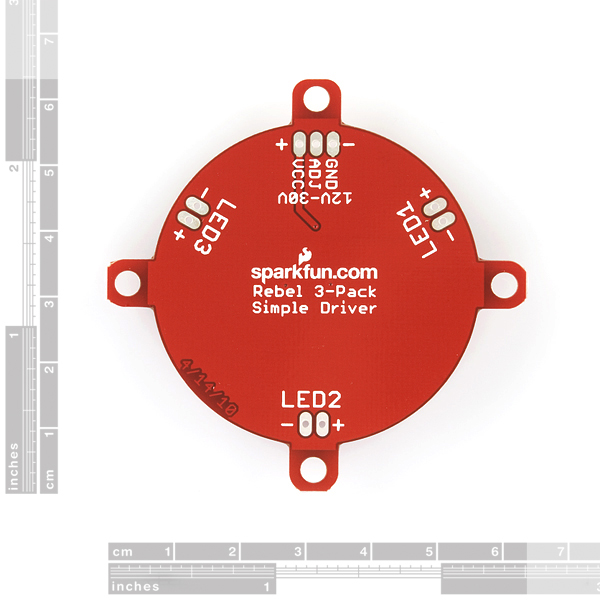
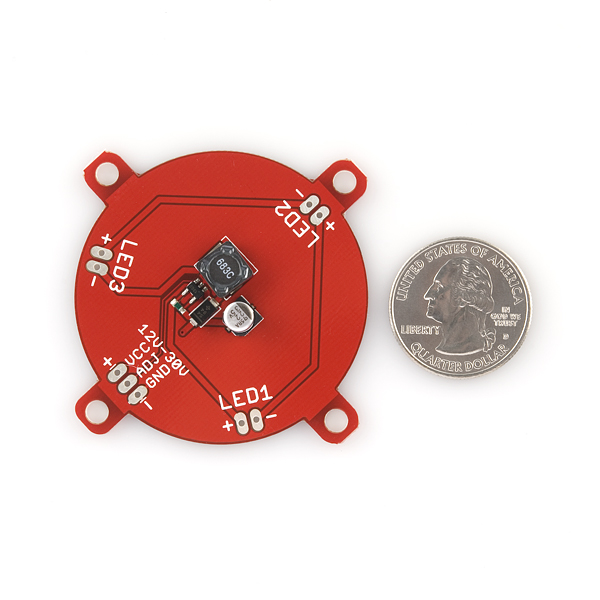
SparkFun Luxeon Rebel LED Single Driver
Here is a driver board based on the ZXLD1360. It allows you to control three LEDs with the same driver. If you don't need to discretely control all three, this is the board for you. This is made to mate with the Luxeon Rebel breakout boards.
Each LED driven to ~650mA with adjust pins open, off when adjust pins grounded.
Note: PWM control must be with an open pin (PWM high) or ground (PWM low). Do not pull the adjust pins high unless you want to drive the LEDs at greater than 650mA. The adjust pin on a ZXLD1360 driver chip causes the current to be off when it's held low, and on when it's open (or hi Z). Driving the pin at a DC level will cause the current regulation to be something other than the 650mA that the open adjust pin will regulate to, possibly much higher. Tread lightly if you don't know what you're doing.
- Datasheet (ZXLD1360)
- Schematic
- [Eagle Files](http://www.sparkfun.com/datasheets/Components/LED/SMD/Rebel 3-pack Simple Driver v11.zip)
- Tutorial
- Sample Code
SparkFun Luxeon Rebel LED Single Driver Product Help and Resources
Core Skill: Soldering
This skill defines how difficult the soldering is on a particular product. It might be a couple simple solder joints, or require special reflow tools.
Skill Level: Rookie - The number of pins increases, and you will have to determine polarity of components and some of the components might be a bit trickier or close together. You might need solder wick or flux.
See all skill levels
Core Skill: Programming
If a board needs code or communicates somehow, you're going to need to know how to program or interface with it. The programming skill is all about communication and code.
Skill Level: Rookie - You will need a better fundamental understand of what code is, and how it works. You will be using beginner-level software and development tools like Arduino. You will be dealing directly with code, but numerous examples and libraries are available. Sensors or shields will communicate with serial or TTL.
See all skill levels
Core Skill: Electrical Prototyping
If it requires power, you need to know how much, what all the pins do, and how to hook it up. You may need to reference datasheets, schematics, and know the ins and outs of electronics.
Skill Level: Rookie - You may be required to know a bit more about the component, such as orientation, or how to hook it up, in addition to power requirements. You will need to understand polarized components.
See all skill levels
Comments
Looking for answers to technical questions?
We welcome your comments and suggestions below. However, if you are looking for solutions to technical questions please see our Technical Assistance page.
Customer Reviews
No reviews yet.
Hello,<br />
<br />
For your own knowledge, the inductor in the schematic is not supposed to be a 220uH. It is supposed to say 68uH. The inductor that came with the board is a 683C and this is a 68uH. A 224C would be a 220uH. Look at the triple driver board for the correct schematic.<br />
<br />
This would have been nice to know before I ordered a bunch of 220uH inductors.
A simple fix for the ADJ pin problem (and also the Arduino PWM problem I suppose) is to use a small NPN to drive the ADJ pin, as so:
http://skoba.no-ip.org/adj_fix.png
(image taken from a similar drivers' datasheet)
I sent this off to Pete a few days ago but figured Id post it here too, just in case!
I don't get this, used a 2N222 connected like in the picture to the single driver board, took a simple code for PWM (analog output) and it doesn't work. As a newbie I am sure missing something, so that the pros have a good laugh ;)
Can anyone sketch or describe the whole solution with this board connected to the Arduino PWM? Thanx!
I feel like the term "3-Pack" is confusing here... Maybe stick with the word "triple"?
And I like what you're doing with this system! I bought one of the bare LEDs right when you got them, and I've still never done anything with it because they're so tricky. This system will be nice. Seems a bit pricey though when you put it all together...
-Taylor
Can anyone give a more detailed explanation of the notes above. I'd love to hook one of these up to my Philips Hue light controller, but I'm a little new to electronics. I feel like I have an idea of what they mean, but I'd love more information. Thanks!
Read through the datasheet for the driver that's linked above. Also, make sure you understand how PWM works.
I'm wondering if one of these boards could drive two, or possibly even three of the "Triple Play" boards wired in series.
I've measured the output voltage driving one Triple Play, and it comes in around 8V to 9V. Two in series would presumably need 16V to 18V, which is well within the 30V spec. And three Triple Plays would need 24V to 27V, which is near the edge of the spec.
I haven't done the legwork yet to see if the resistor/diode/inductor on this board are sized specifically to drive 3 Luxeon Rebels, or if they are suitable to drive a longer string of them. If nobody has an opinion on this, I'll probably give it a try and post pack the results.
Try this:
You can play with a spreadsheet calculator for the zxld1360 from the zetex site.
http://www.diodes.com/destools/calculators.html
Fun