
Creating Your Own Terminator Arm
Being a solder jockey, I’m not the best at programming and making things light up and blink. But, I am a wiz with a soldering iron. I enjoy making sculptures and little objects you can set at the edge of your desk to strike up a conversation. For this tutorial, I was trying to come up with the best sculpture or desk ornament - something every nerd or geek like myself would be proud to put on display. Something that didn’t cost much and was a good rainy afternoon project. This project was done with trashed parts I found around the shop, and if your workstation looks anything like mine, you should be able to find these or similar parts.
When I start a new sculpture, I always start with the hands. I love to make hands, don’t know why. I was off in dream space thinking of the best pop culture hands that people would instantly recognize. The hand that I came up with...the Terminator arm from Terminator 2: Judgement Day.

What geek wouldn’t like a 2-inch sculpture of the Terminator arm, sitting on the edge of their desk. Here are all the parts I used for this project.
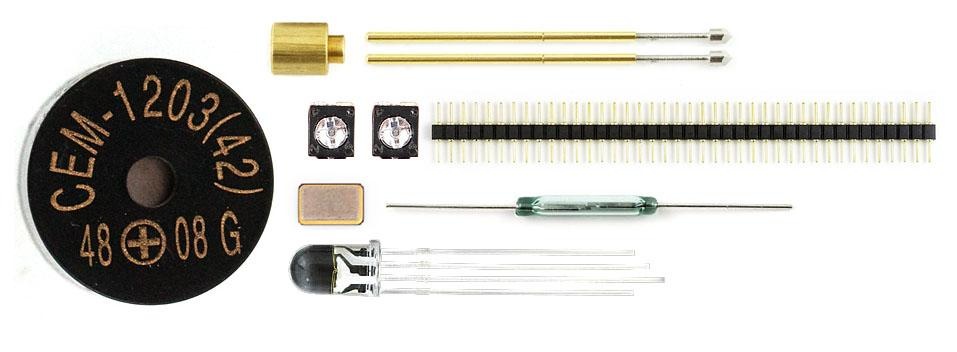
- Buzzer
- Standoff
- Pogo Pins x2
- 10k Trimpot x2
- Machine pin headers
- 16MHz crystal
- Reed switch
- Any PTH LED
So this is our recipe. Lets begin cooking.
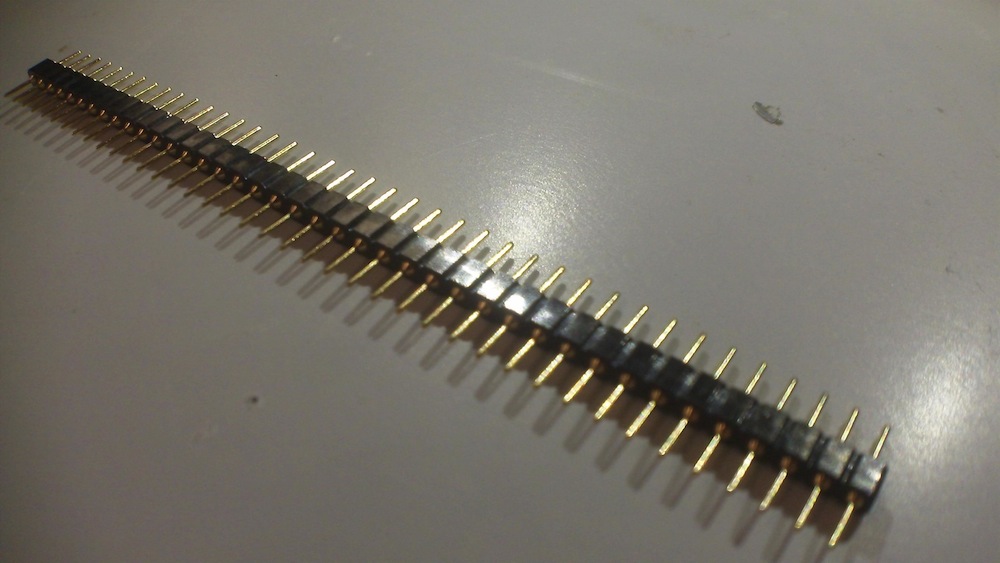
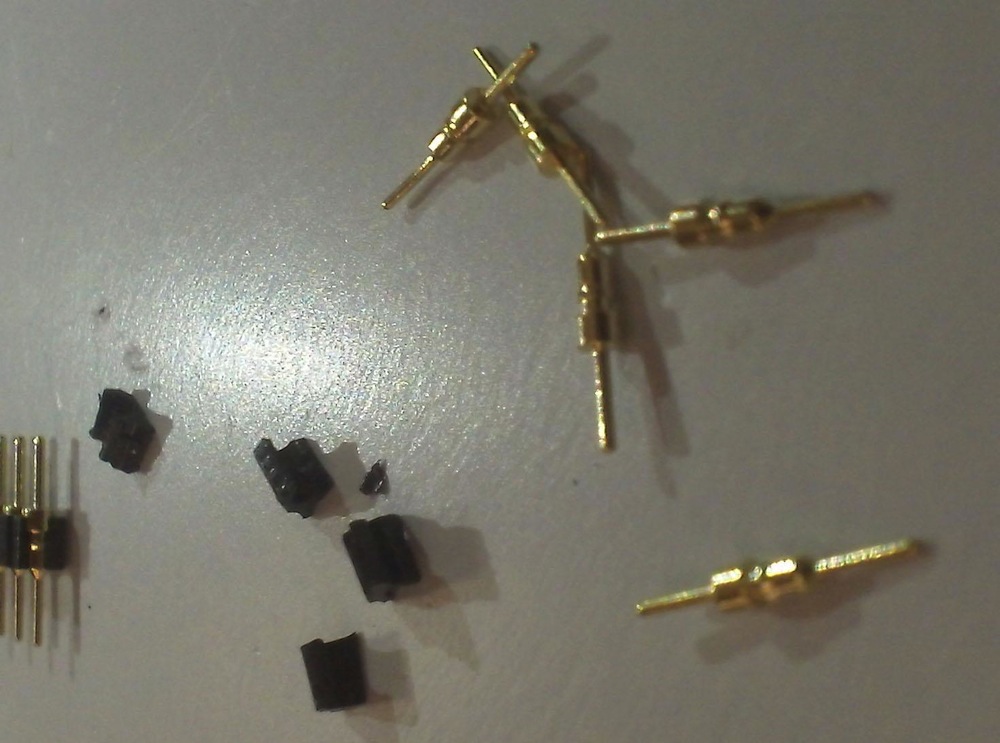
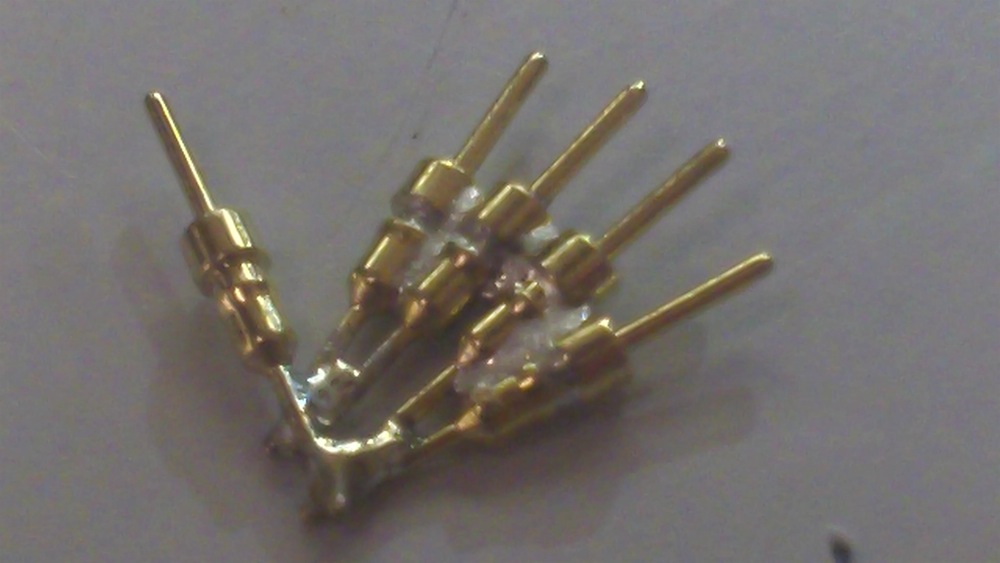
Like I said, I always start with hands. For this, we will work from top down. Take the machine pin headers and break away five pins. Then carefully separate the metal pins from black plastic.
Solder two sets of two, leaving one alone. And, if you can, try (I know the pins get HOT and very tricky to handle) to have the pins off-set. Think of the anatomy of your hand.
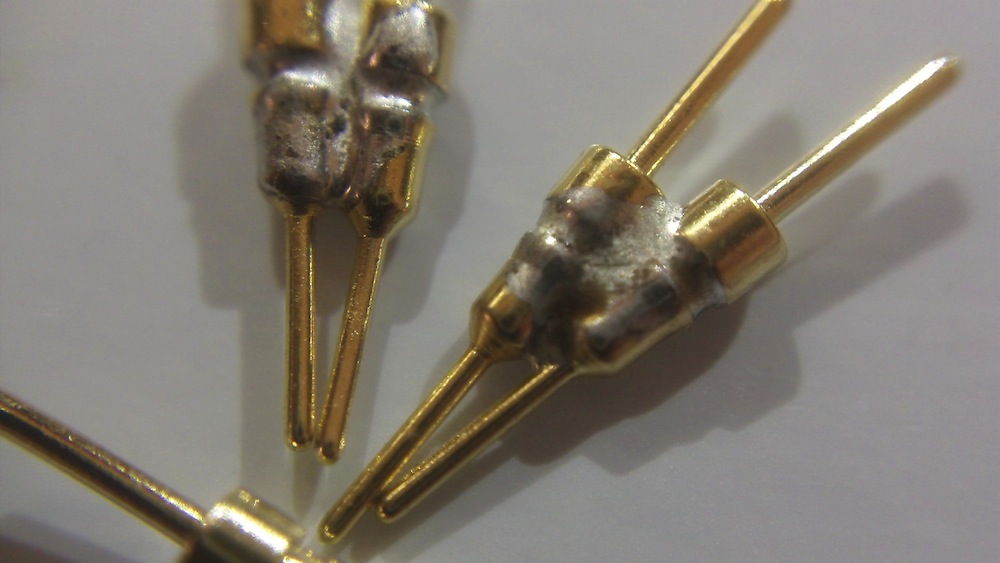
Once you have two sets of two, solder them together. Remember, hand anatomy. Then solder the loan straggler to the bottom of four pins, and w00t, you have a hand!
This is were the fun comes in. Take a pair of pliers and bend each finger into a comfortable position. You know, you don’t want a Spawn hand.

Yep. That, if you weren’t big into reading Spawn comics, is a Spawn hand. So remember when bending fingers, keep it normal, pretend like the fingers were gripping a ball. Once you are happy with the look of your hand, solder the crystal onto the base of the hand (long ways or short doesn’t matter). Then solder one of your LED leads to the bottom of the crystal.
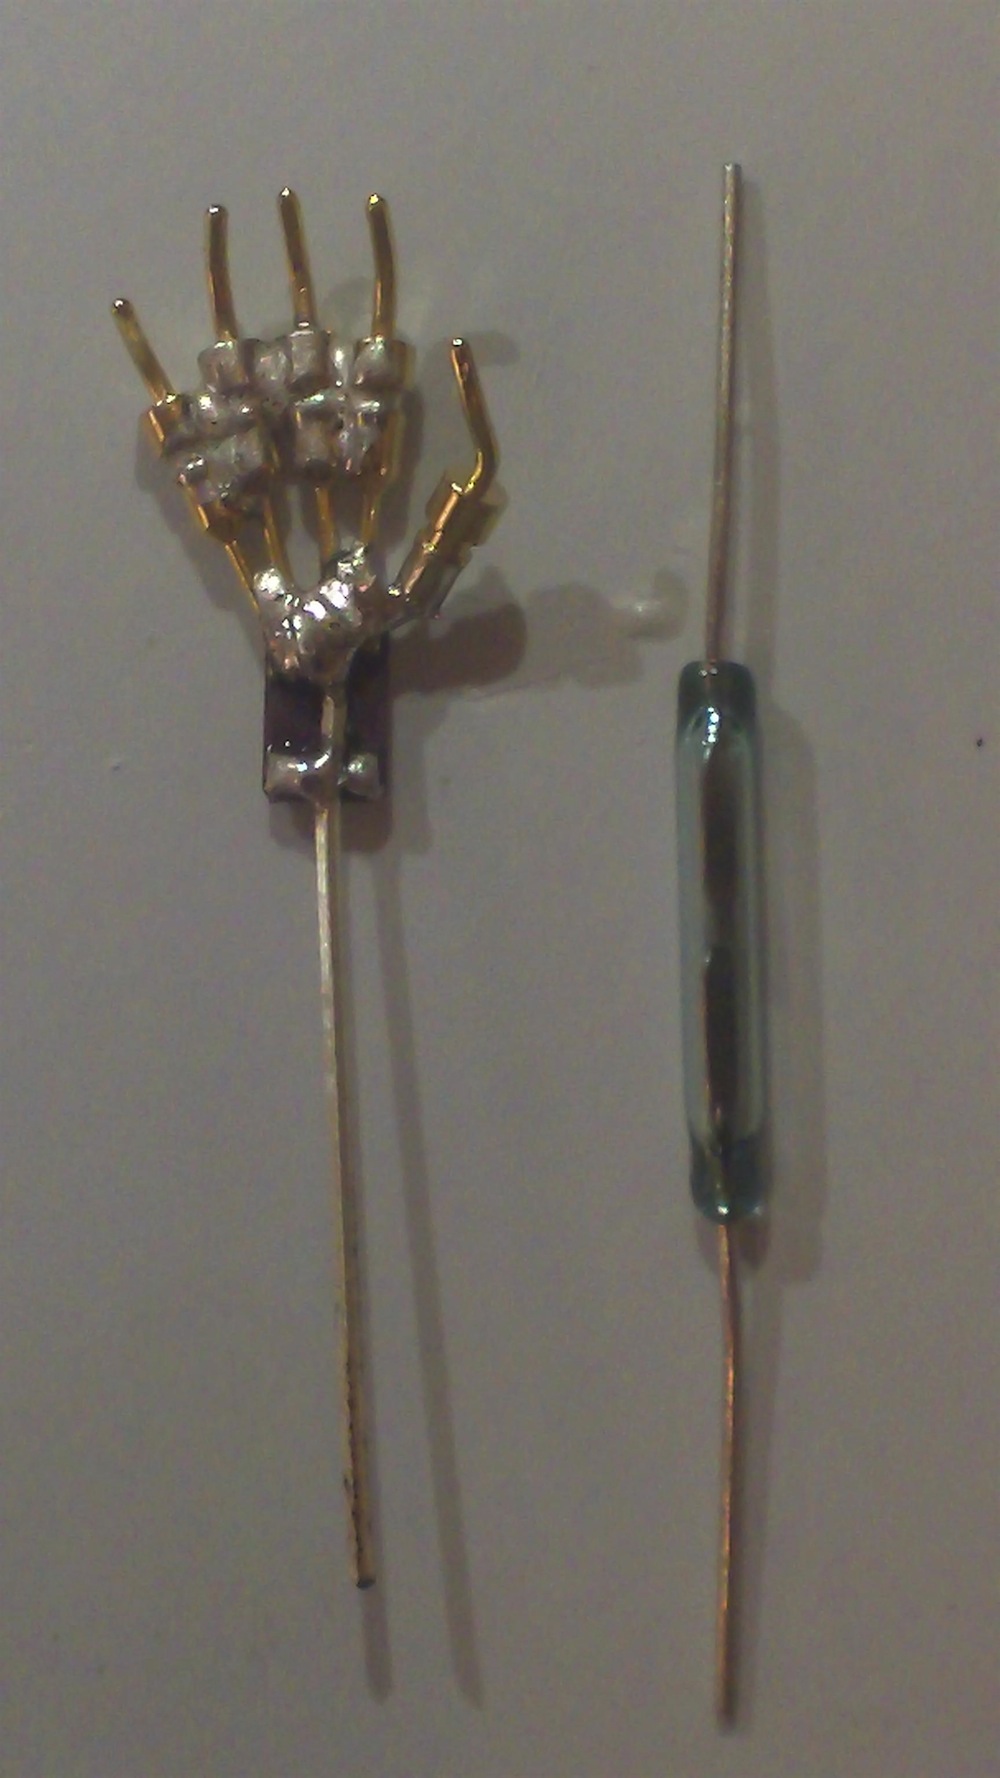
Now for the reed switch. Clip one lead, leaving about 1/8 of an inch. Then solder the nib lead to the top side of the crystal.
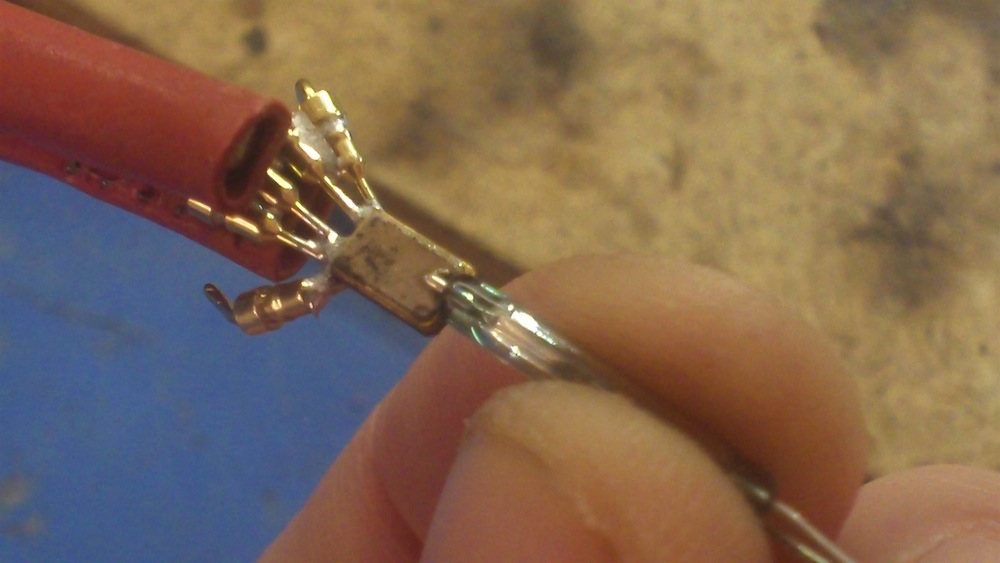
Once you have soldered the reed switch into place, slide the stand off over both LED leads. This is probably the most difficult part. In order to solder to the stand off, you need to hold a glob of solder on it, heating it up. It needs to become hot, very quickly, so unless you plan on robbing a bank and you need to lose your finger prints, watch out! This thing will burn you.

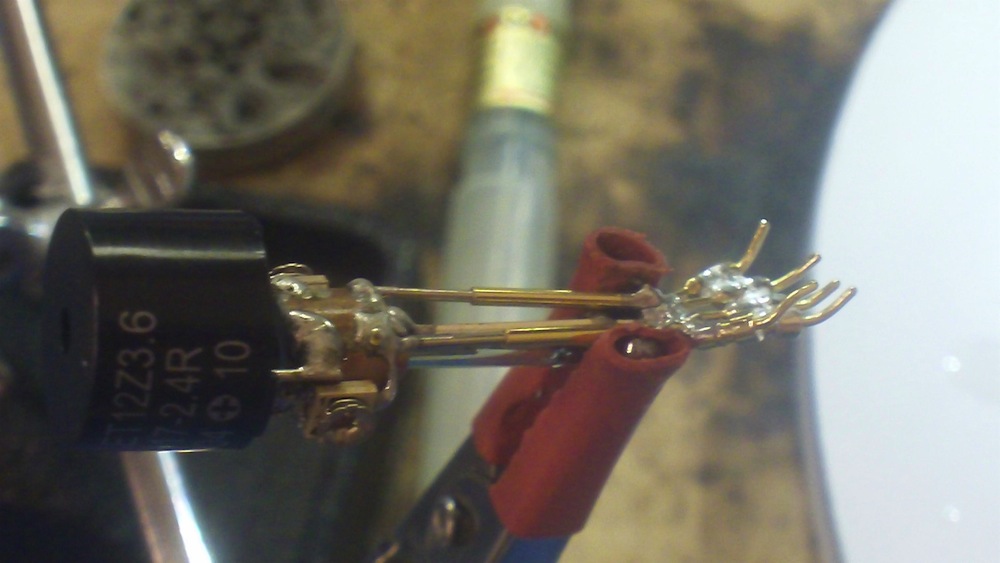
Once the leads of the hand have been soldered to your stand off, you should dip it in a small bowl or container of water. This is for cooling it off, kind of like a blacksmith. Once it is cool enough to handle, size up the pogo pins to go from the base of the wrist to the top of the standoff. You will have to cut them; the pogo pins are too long. I just wanted the little detail of the “shock” for its forearm. Then, for a little more detail, solder the two trimpots to the stand off. This will give the look of the Terminators elbow joint. At this point, your arm should look something similar to this:
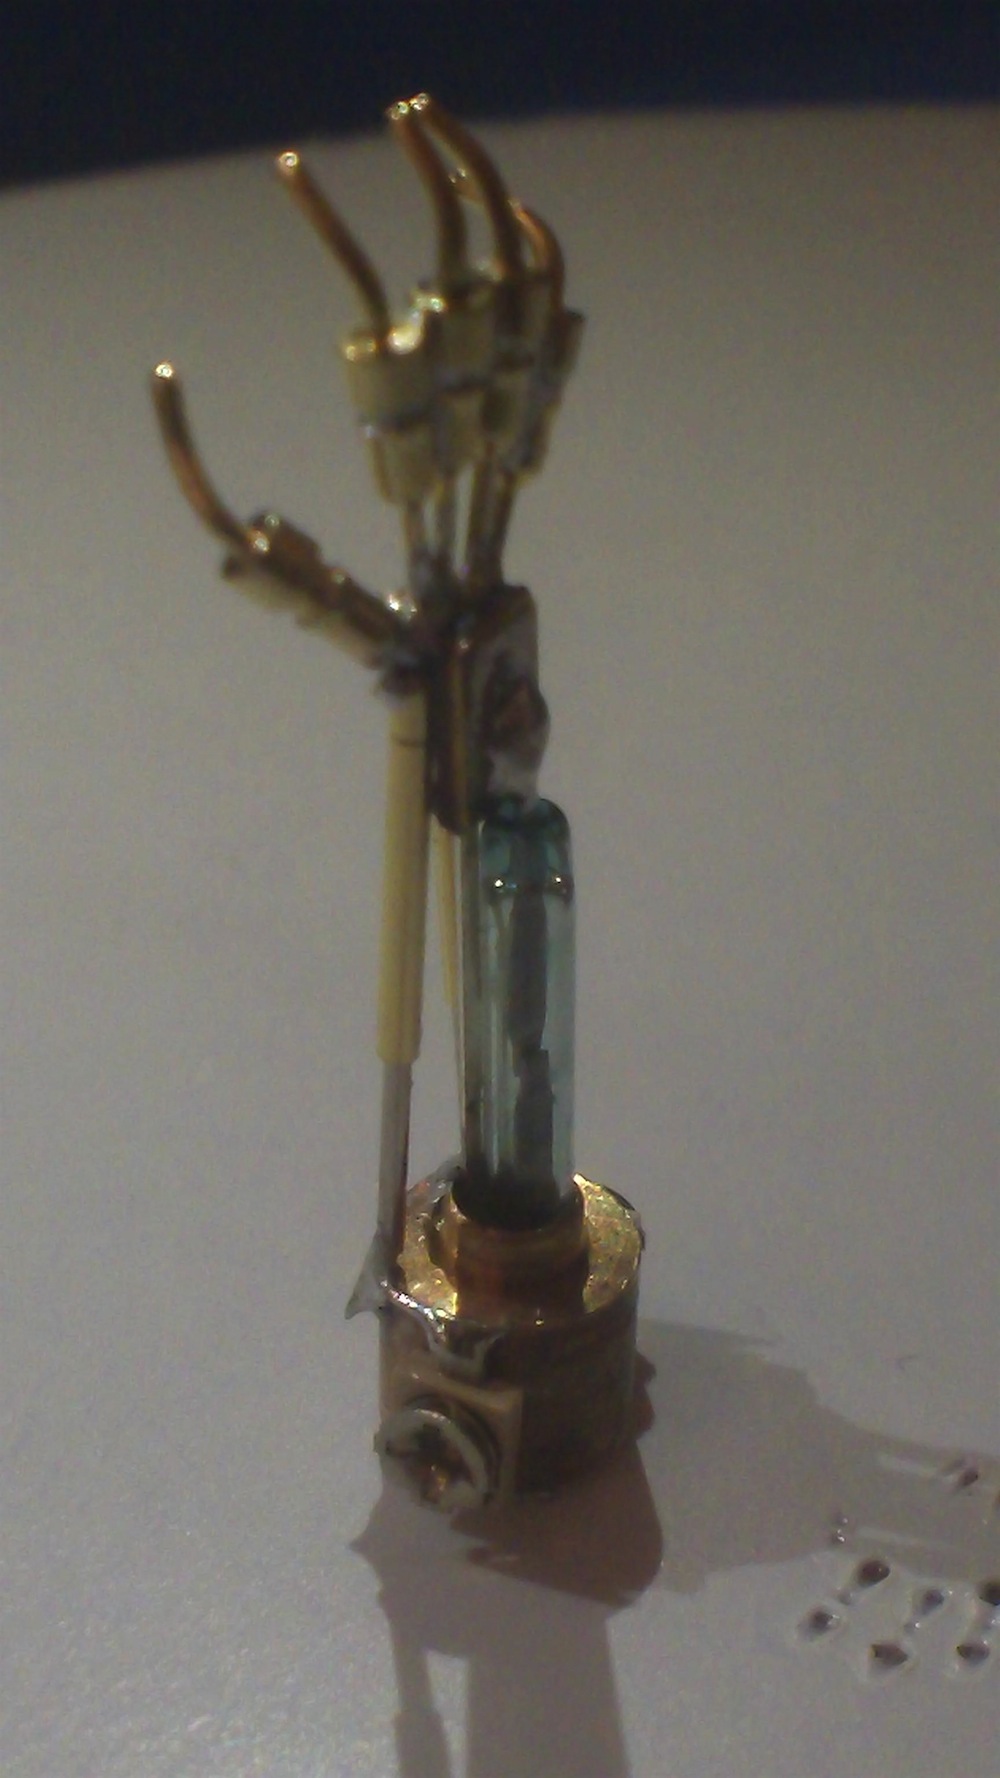
Look at that little beauty! Pretty neat. Now for the base. Solder the leads of the buzzer to the edges of the trimpots so you leave a little gap in between arm and buzzer.
...And ta-dah! Your soldering is complete. Dip it into your water, and stand it up with pride.

Using a silver marker, you can paint the arm, or you can just leave it as-is. Personal preference. You could also use spray paint, which would probably be an easier method. However, I was sitting at my desk and was too lazy to go outside to do otherwise. Once I painted it, I went into Photoshop and inserted the little plaque at the base of the movie prop into a straight-on picture of the arm. I then measured the buzzer and printed it out. It is a very tiny, little plaque that you cannot read very well, but it really makes the whole thing come to life. And this is the final product...

Not too shabby. Well, that was a fun hour of your life wasn’t it. What will you make next?
Easy and fun to make........... soon i will be making similar one....
Do a RoboCop arm to stand next to it.
Amazing! That is awesome...
Definitely cool! Going into my junk pile to look for parts now.
This is brilliant.
WOW! but i think it looks better without any silver paint: golden transparent and black, however it's an epic win!
cool tutorial, Ill probably make one soon.
something else that'd be cool to see is jonny 5 done up like this :P