
Digital Caliper Battery Hack
Overview:
Digital calipers are nice, but their limited battery life can be frustrating. The batteries are easy enough to find, but if you're in the middle of a project, you don't want to run out and buy a two-pack, only to realize when you get home that you still have one leftover from last time.
With a simple modification you can have significantly improved battery life, as well as be able to use AAA cells, which you probably have around the house anyway.
What You'll Need:
I don't want to act like this is a revolutionary hack -- you don't need much, and I'm sure many of you have already done this. But for anyone who has run into a battery issue, I want to show you that this will take as much time as running to the store and getting a fresh battery, so you might as well just hack them now!
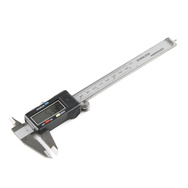
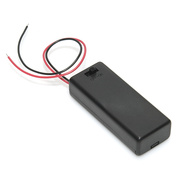
You'll need some digital calipers and one of our AAA battery holders. The battery holder also has a convenient on/off button, so you can stop the calipers from randomly coming on and draining the battery.
Putting it Together:
The first thing you'll need to do is modify the battery holder to hold a single battery. The calipers want 1.5V, so a single AAA cell is ideal. You could also use one of our AA battery holders, but the extra capacity and size won't be a huge benefit. I've found that so far, a single AAA battery lasts several months with constant use, but it hasn't run out yet so I'm not entirely sure how long it might last.
Anyway, to make the battery holder accommodate a single cell, all we need to do is add a wire where one of the batteries would be:

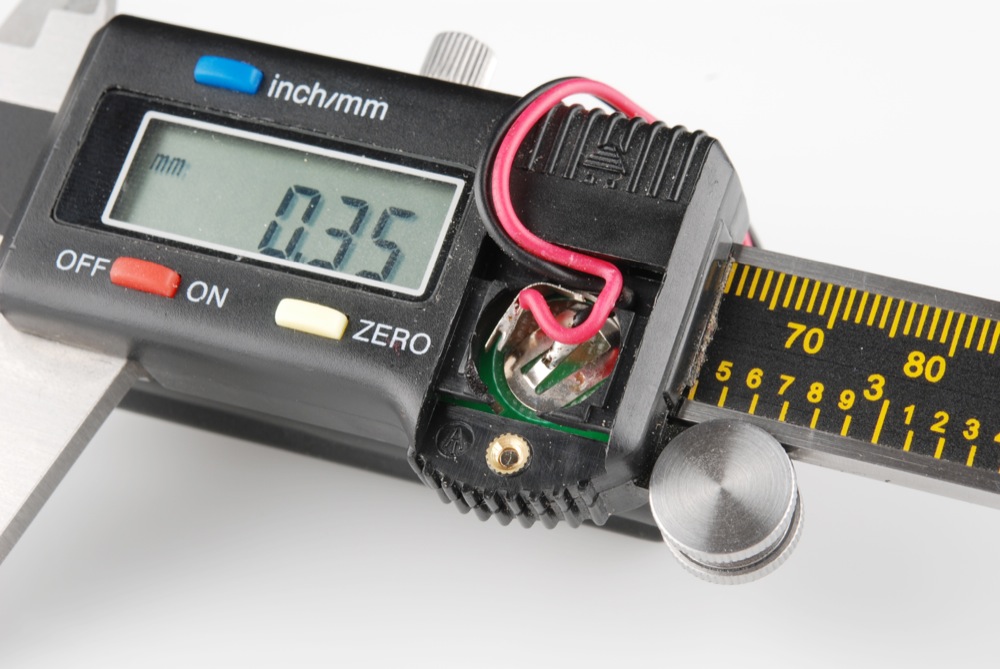
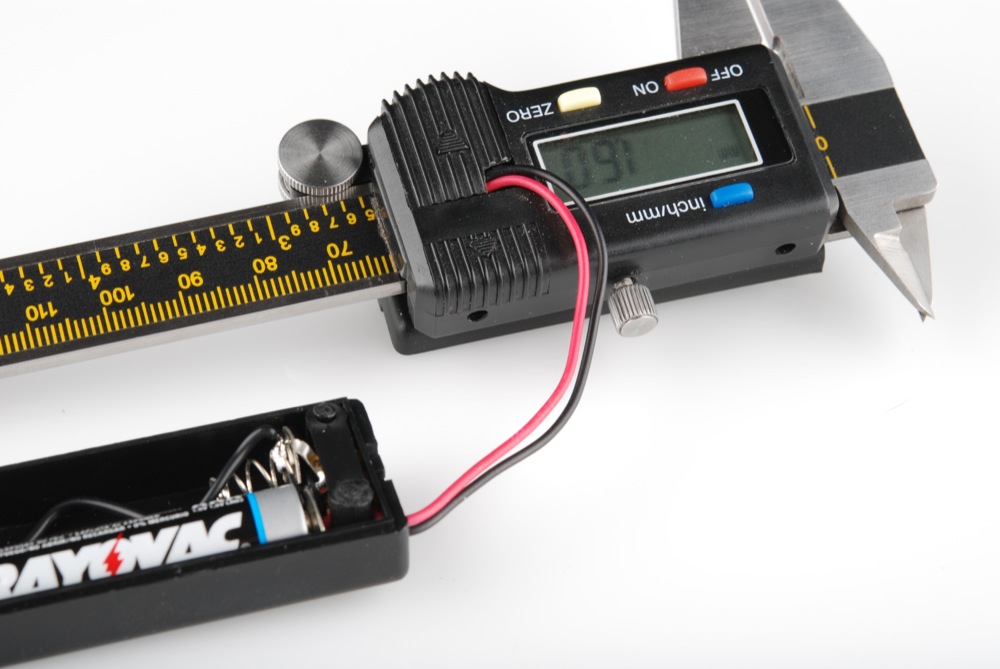
Now, let's connect the wires into the digital calipers. To do this, we need to remove the little plastic door where the coin cell battery goes, and solder the ends of the battery holder where the coin cell battery is supposed to go. Connect the black wire (negative) to the 'bottom' pad, and the red wire (positive) to the other metal piece that goes on the side of the coin cell battery, like this:
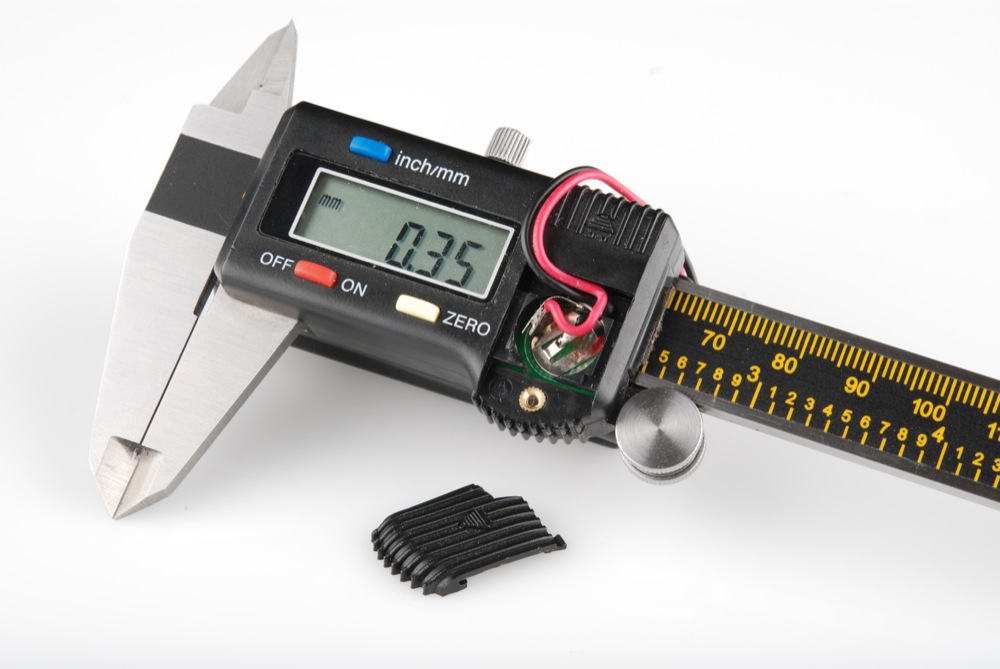
The battery door doesn't fit anymore, so I just modified it a bit by snipping off a corner so the wires can exit cleanly. Just snip off a small corner of the battery door as shown below. You want to do this on the left side, since the other side has a tab that keeps it closed.
Now that the door is trimmed, you can route the wires through the opening and put the battery door back on. Here's what it looks like with the wires coming out:
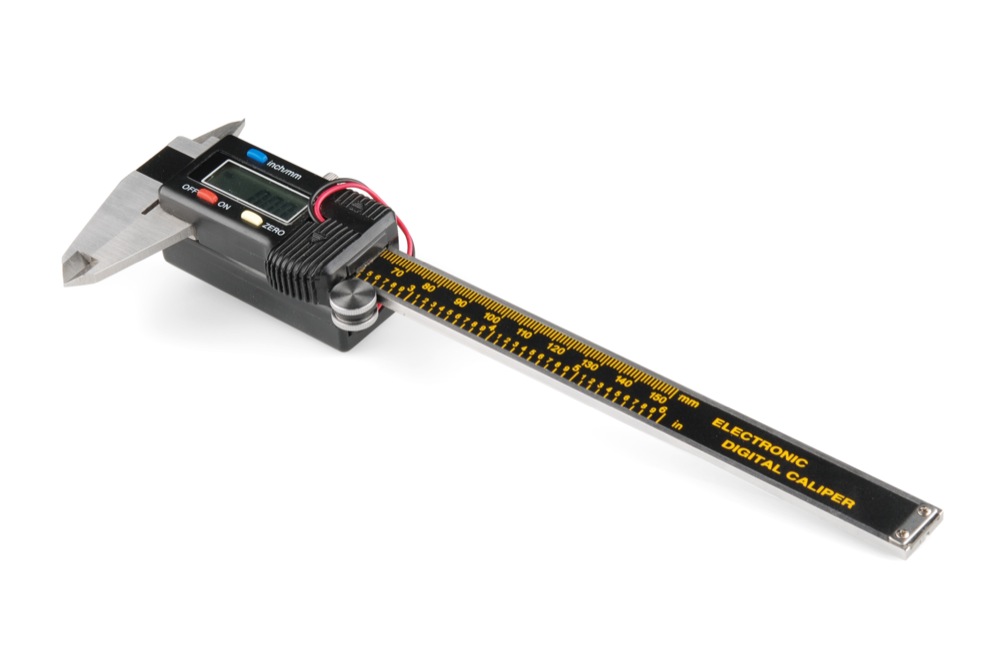
Now I just use a bit of double-sided tape to hold the battery holder on the back of the calipers, and we're done! They don't fit in their case, but I felt the extended battery life was a good trade-off. I usually have them permanently on my workbench anyway. Here's what they look like when everything is finished.
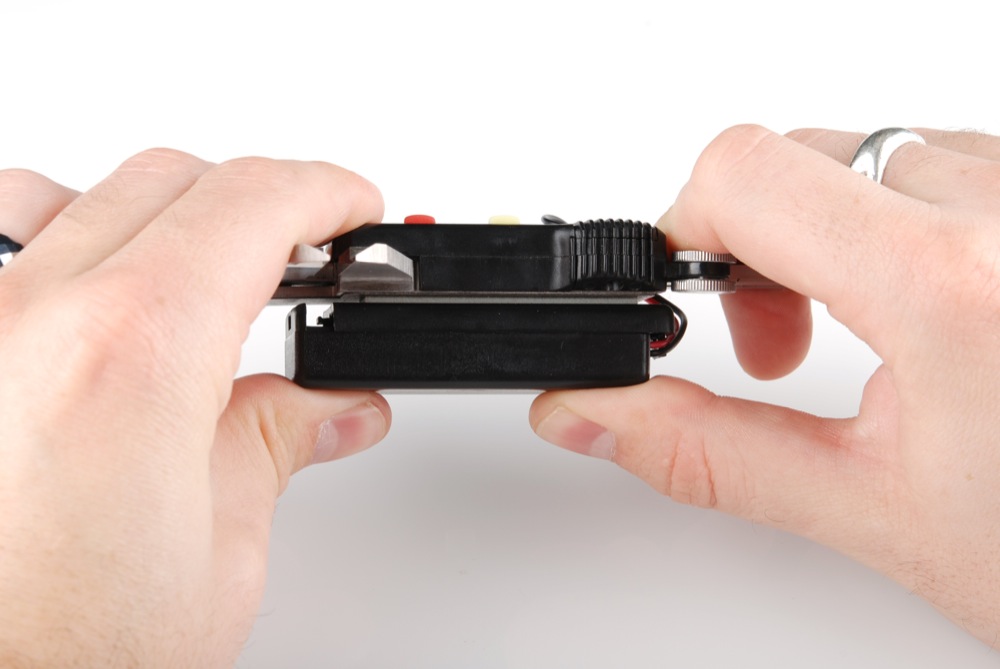
To open the case and get to the battery, just press down on the end and push backwards; the case should open up just fine. Do the same thing in reverse to get the case back on.
If you want to know more about how calipers work, check out this video. Now go measure stuff with your modified calipers!
If you measure current, you will see that the power off state draws 90% of the current of the power on state. For some reason, all electronic calipers seem to be this way- power off is actually display (only) off. THIS is why the batteries go bad quickly.
I just open the caliper case, cut the battery trace (which one doesn't matter), drill two holes to allow the fine (wire wrap) wire to come out the top to a micro-miniature slide switch glued to the top. I always turn the switch off, rather than press some caliper "off" button, and find that a button cell lasts for many years. I would attach a picture if Sparkfun allowed, but it doesn't. Caliper thickness is unchanged, and the outline is very nearly unchanged.
That is a 10X better solution. Another approach is to cut a thin plastic shim and insert it under the battery. Not as elegant but a lot quicker to do. If you get a new caliper, you could just save the shim that comes with it. Kind of annoying that the designers got lazy.
Mine didn't come with a shim.
Yep, the inexpensive calipers are incredible battery hogs. The models that automatically turn on when you start to move them also have an annoying tendency to turn themselves on, even if they're just sitting in a drawer. I just take the batteries out of my cheap calipers when I'm not using them. By comparison, professional-grade calipers (e.g. Mitutoyo, Starrett...) behave quite differently. I have a Mity caliper whose battery lasted at least 5 years. It probably would have lasted longer but the caliper got dropped and the display broke.
...having three of these (on sale at local Harbor freight) I got tired of locating these LR44 batteries. Scored a single AA battery holder and did this mod in about 15 minutes. Mine had a slot already on one side and slipped the wire thru and soldered it up. Excellent idea!
nice!
Hello
I have had a Mititoyo caliper for about 15 years, model Absolute Digimatic CD-6"CP.
I have replaced the battery twice in that time, and I use it every day, often forgetting to turn it off, it doesn't have an auto-off.
I suspect these battery-eating devices you guys are talkng about are the cheap Chinese variety.
As they always say - you get what you pay for.
Regards - John
very true. these knock-offs do eat batteries. BUT, for most people, they're perfectly adequate and this simple hack solves the battery issue. I have yet to replace the AAA in them.
The simplest and easiest solution to the battery life problem is to just pop out the battery when you're not using it to make measurements. My calipers came in a nice hinged hard-case. I just remove and leave the battery cover off and in the case, along with the battery. When I need to make a measurement, I pop in the battery and I'm good to go. When done, I pop it out, and everything goes back in the case. One little battery now lasts me for a couple of years.
To make it easy to pop the battery out, I got one of those super-strong small cylindrical magnets and stuck it to the battery to give me something to grab. As a bonus, I can then stick the battery to the toolbox so it doesn't get lost.
This is a great guide to putting a cap in the battery compartment to ensure accurate performance: http://www.robotroom.com/CaliperCapacitor.html.
Also worth noting when buying button cell batteries: LR44 is NOT equivalent to SR44 (aka 357). SR44 are silver oxide and last way longer than alkaline LR44 in caliper's crappy so-called standby state.
But I agree with phil & 333257 that disconnecting battery is the optimal solution.
I documented my research on this back in 2005 in the alt.machines.cnc news group.
You can find a copy here: http://www.fliptronics.com/tip0006.html
As a machinist with those same calipers, id like to add a few notes: 1. you may not use or barrow my calipers 2. cr357 on ebay is sold in 100 pcs. 3. the engineers at mits-u-yoyo do not approve 4. the idea is "hand tool" hence the small form factor
I did this with a smaller N type battery and holder I had from... God knows where. The N battery fits right on the top where the thumbscrew goes which I lost ages ago. I remove one side when it goes on the pegboard. I don't think I ever replaced the battery since I did it. It has been at least a year.