
SMD How To - 4
Rework with hot-air = Good
So what is this thing? Hot air rework? It's really simple. You need to melt all the pins on an IC simultaneously to either remove it or to adjust it's position. Iron can't do it, but hot-air can!
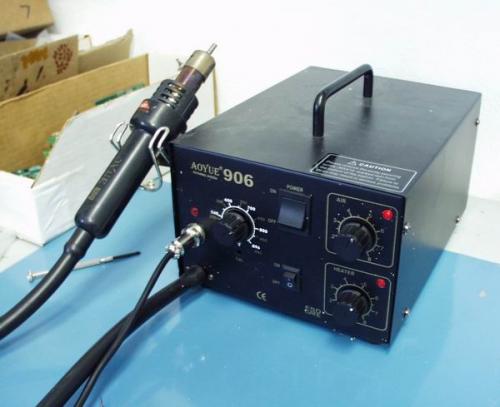
The rework station is simple. It pumps air to a gun. The gun has a coil within it that gets very hot and heats the air as it passes by. Think hair dryer.
Be sure to checkout our hot-air rework videos on Page 8!
This one is in our assembly room and gets quite a bit of use.
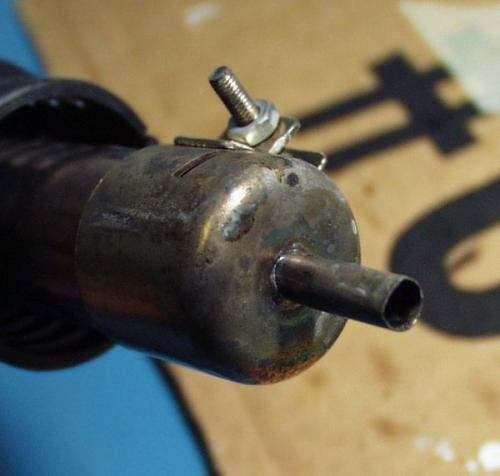
Most guns come with a reasonably large nozzle - about 1cm in diameter. You then attach a nozzle to the end of the gun to limit where the air can go. By decreasing the nozzle size, the air flow increases. Now you have a pointed and very hot source of air. The air will heat up areas of the board, allowing pins to go molten giving you the ability to liquefy multiple pin connections!
So let's go back to the multiple pin SMD part (like a SOT-223 LM1117 variable voltage regulator). Let's say it's blown due to reverse voltage or something (because this never happens) and need to replace it with a new regulator. Step 1 is to remove the IC completely from the PCB. Most people think you need a special nozzle for each different sized part. That fact is that we put the basic round nozzle on our unit and never take it off. The air will heat a relatively large area of the PCB.
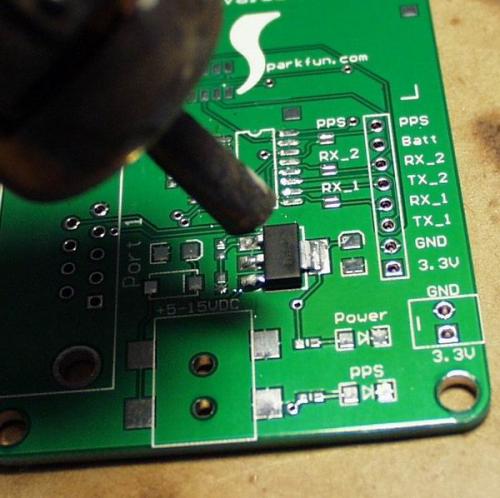
Heating the component takes 5-10 seconds.
As long as you are dealing with less than 1 square inch or so, you can just move the nozzle around over the PCB until the IC and PCB reach the molten temperature (abount 425F?). Slightly push the component with tweezers to test if the component has been released. If not, keep heating. Your poking tool should stay to the side to keep from disrupting the air flow to the PCB. After 5-10 seconds, the IC will release and you'll have the IC in your tweezers and a very hot PCB!
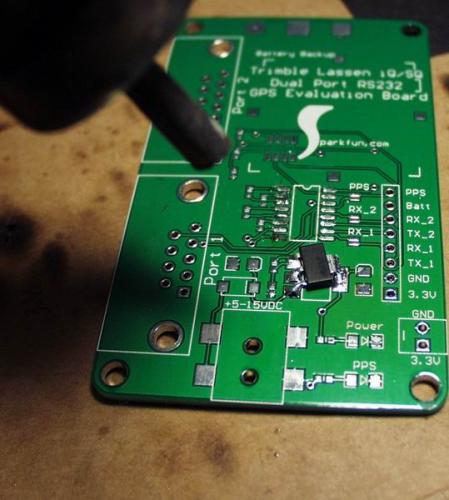
Release!
Once you have the IC removed, let the PCB cool a bit, re-finish the pads with new solder then wick away the domed pads.
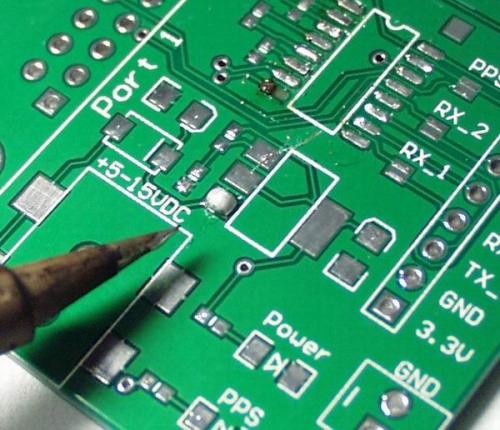
Dome one pad. Checkout all the scratches from the exacto knife technique. Very bad!

New device and cleaned pads
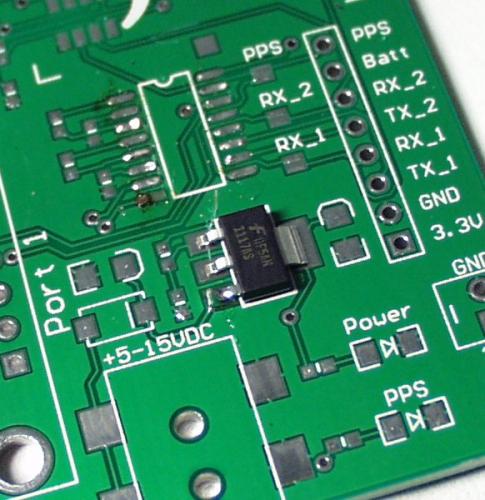
Tacking down the anchor pin

Solder the other pins and clean the anchor pin and you're done! Now what should we do if that exacto knife scratches accidentally cut through a good trace?
Page 5 - Green wire fixes
What's with all the broken images? (Protocol is unsaved://...)
Hi,
I'm not sure, they all seem to be working for me. ?
No, there are broken image errors showing on the page.
The broken image src URL looks like this: unsaved:///images/tutorials/SMD_HowTo/SMDSoldering2-2.jpg Please do a View Source if you can't see it..
NOTE: What happens is: The image filename is actually specified TWICE.. once as http:// and once as unsaved://
Your browser obviously isn't giving you the "broken image source" (which it should, because "unsaved://" is not a valid path).
Couple that with the fact that the "missing" image is invoked twice (once properly), you don't see anything as missing.
You'll see the problem if you test the live page in another browser (I use Google Chrome), or you can do View Source and search on unsaved:// and I guarantee you will see the error.
doing a view page source for unsaved only points to your comments about it, no images with unsaved:// must be something wrong with your browser. edit: the next page in the tutorial does have the unsaved:// images.
Great detective work on this historically important (read, 3 years old) thread. :-)
One weak area of the Sparkfun website is documentation and tutorials.. they're all written by hand I think, and copied and pasted from a graphical web page editor. This workflow leads to errors that other employees can't go back and easily fix.
Other than that complaint the SF tutorials are awesome, and if the SF guys are reading this, I really think they should talk to the Adafruit folks and work something out to gain access to their learning CMS.
You can effectively do the same procedure with a common heat gun used for heat-shrink tubing if you don't have a station. It is not as "precise", so you need to be careful not to loosen neighboring SMDs in the process. Trust me it can be done, I just did it 30 minutes ago.