
Single T
Member Since: October 8, 2008
Country: United States

SparkFun is supporting regional alternative transportation goals by making biking to work fun!


When New York has a ghost problem they call the Ghostbusters. When you have problems using a SparkFun part, who you gonna call?

-

We had a mistake in our packaging process that caused the first 50 units to go out with only one nut. We are working to proactively contact and send out replacement nuts to everyone that is effected. Thank you for bringing this to our attention.
-
Very fair. I will take that into consideration in the future. :)
-
That's the same url as the bit.ly in my comment below. :)
-
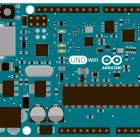
It looks like the project is still in early development and details are not readily released as of yet. However, you can find more info on the Uno Wifi here - http://bit.ly/1Rc47FV Sparkfun has no affiliation with this development or contest. We are simply sharing because we think it's interesting.
-

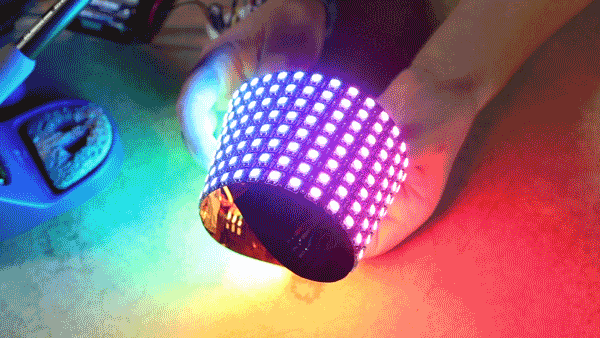
Hi, A WS2811 is the name of the driver on it's own. A WS2812 is the name for a LED with the driver built in. So you are some what correct. However, I do believe this would still fall under a 2812 as it has the LED attached.
-

We have been reconditioning these sensors for a number of years now. All units of this sensor go through the reconditioning process in our custom built humidor. If you find that your sensor readings are off, you may still want to follow this process yourself to recondition the sensor again.
-

http://playground.boxtec.ch/lib/exe/detail.php/wireless/esp8266-pinout_etch_copper_top.png?id=wireless%3Aesp8266
-

Hi, I tested the factory reset just the other day. It works well if you add a button between GPIO4 and VCC. That will allow easy button presses to do the reset command. GPIO is internally pulled low. So we need to have it pulled high on power up to initiate the reset sequence.
The command goes like this 1) GPIO must be pulled high on power up. (Red LED will blink 2-3 times) 2) GPIO LOW 3) GPIO HIGH 4) GPIO LOW 5) GPIO HIGH (Red LED blinks 3 times)
-
Hi everyone. We didn't get rid of the Friday New Product Post videos. Robert is on a short vacation and then off to the Robogames to compete. We'll have more official product post videos in the future. There will also be weeks when you just hear from one of our awesome Creative Technologists about the cool new product of the week.
One thing is for sure, have no fear, the beard will be back.
-

You can easily replace a DIP package chip if it goes bad. A SMD chip is a lot harder to repair.


The gift of wireless communication - Xbee Bundle
This is a basic bundle to get you up and running with...


