3D Printed Illuminated Wand Prop
 bboyho
Hardware Hookup
After printing the wand on your 3D printer and removing it from the print area, you will need to remove the raft support under the wand. Carefully remove support using pliers. With my settings, there was also some support printed in the handle that needed to be removed before gluing the two pieces together. When ready, add some hot glue in the dimple of the handle and join the two pieces together.
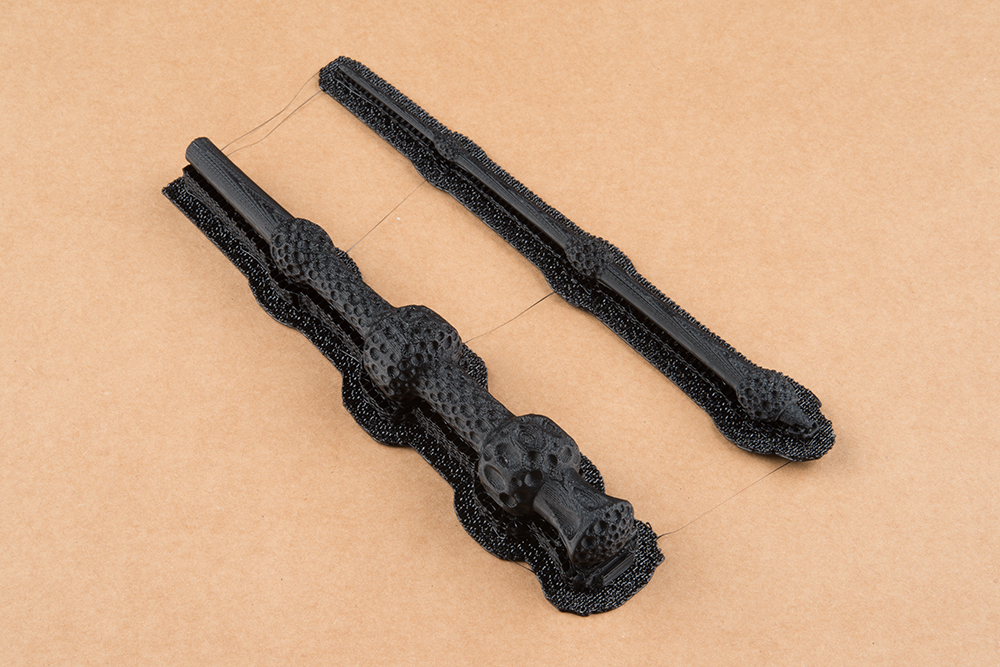
Once assembled, your wand should look similar to the image below.

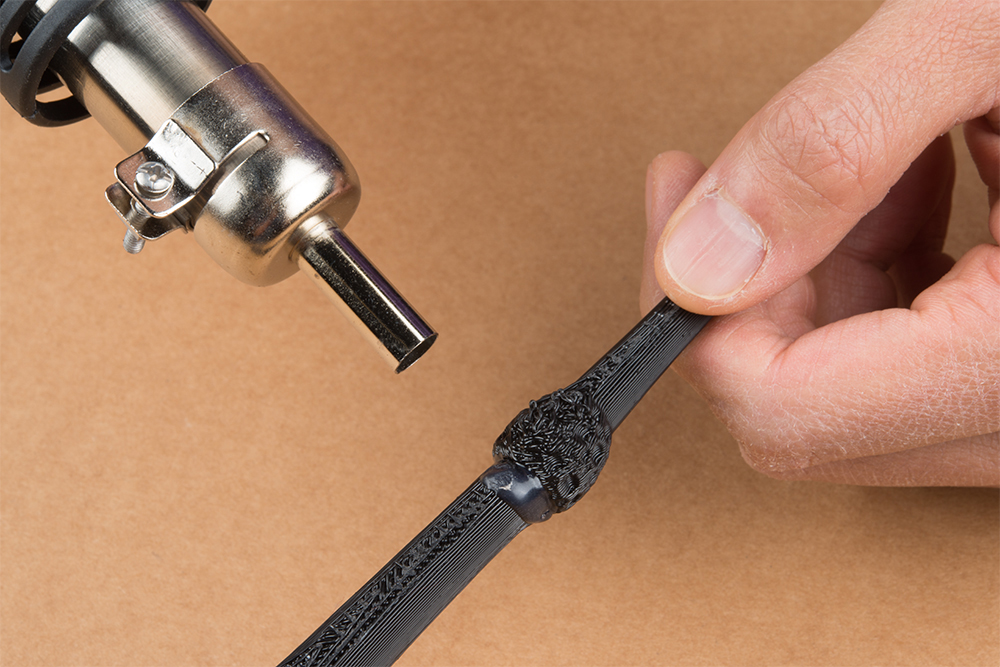
Let's start on the electronics side of the wand. The super bright white LED was bright but hard to see from all angles. To diffuse the LED and increase the viewing angle of the LED, you will need to sand the epoxy lens. Using sand paper or file, sand the outside of the LED. Make sure to hold the legs close to the LED to avoid damaging pins coming out of the epoxy lens.

Wrap a current limiting resistor around one terminal of the LED. In this case, I added a 10Ω resistor to the longer leg of the LED (i.e. +, anode side). Then solder and trim down the remaining terminal with a flush cutter. Make sure to be careful when handling the resistor terminals since they are thin compared to the terminals of the LED.

Cut two solid core wires so that they are able to run along the length of the wand. You will want a little extra room to work with the wire. Strip the wire ends and solder one wire to the shorter leg of the LED (i.e. --, cathode side). Then solder the second wire to the other end of the resistor.
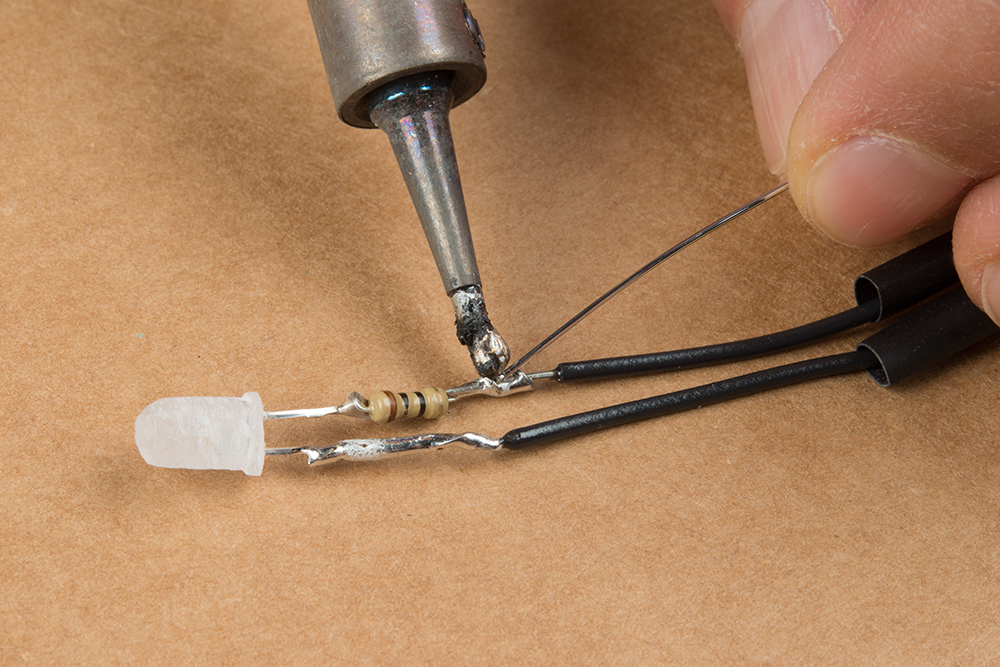
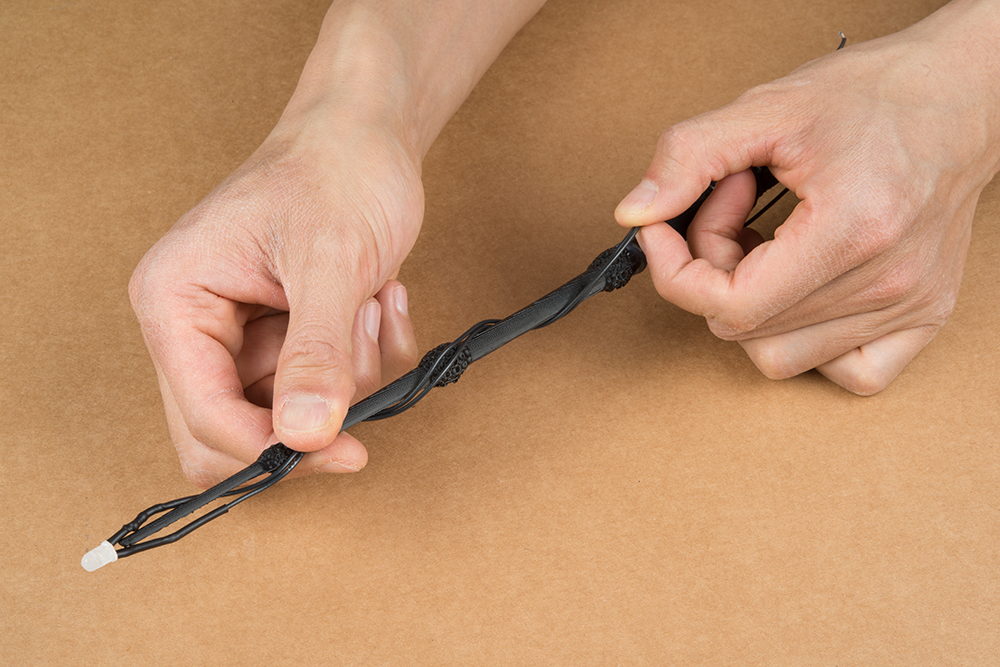
Cut some heat shrink to cover the exposed terminals of the LED and resistor. Slide the heat shrink down the wires and over the terminals. Wrap the wires around the wand. You will need to use one hand to hold the wires down as you twist the wires around the wand. Make sure the the wires are secure to the wand. If you are satisfied with the length of wires provided for the switch and coin cell holder's "+" terminal, apply heat to the heat shrink.
Before soldering wires to the switch and the coin cell battery holder, take note of the location of where the components will be added. The switch will go on the top of the wand between grooves shown in the image below. The battery holder will go underneath the wand (where the raft support was removed) between the grooves as shown in the image.

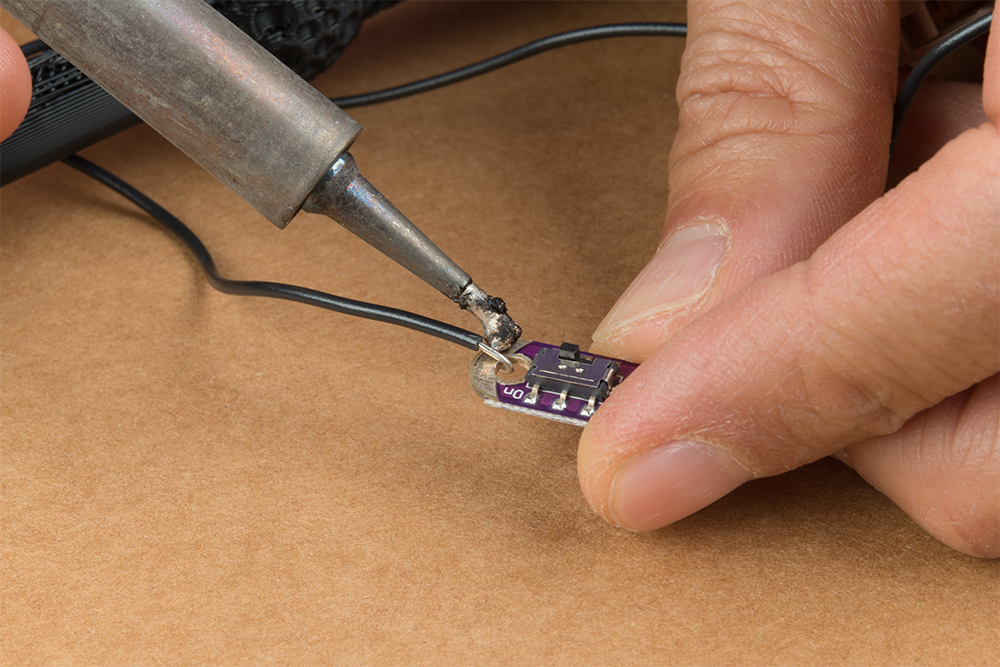
You should have enough wire to add a switch and battery holder. Solder the wire that was from the LED's cathode side (i.e. "-", longer leg) to the terminal adjacent to the ON position. If you are unsure of the polarity, test it out with a coin cell battery or multimeter.
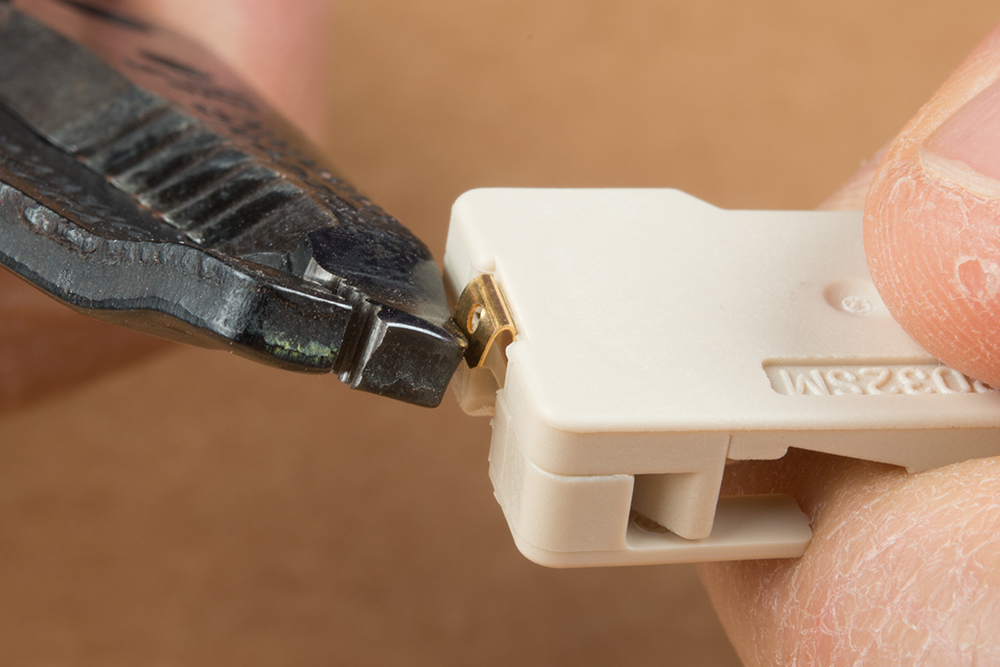
Carefully bend the terminals of the coin cell holder using the end of a wire stripper so that it can fit nicely between the grooves of the wand.
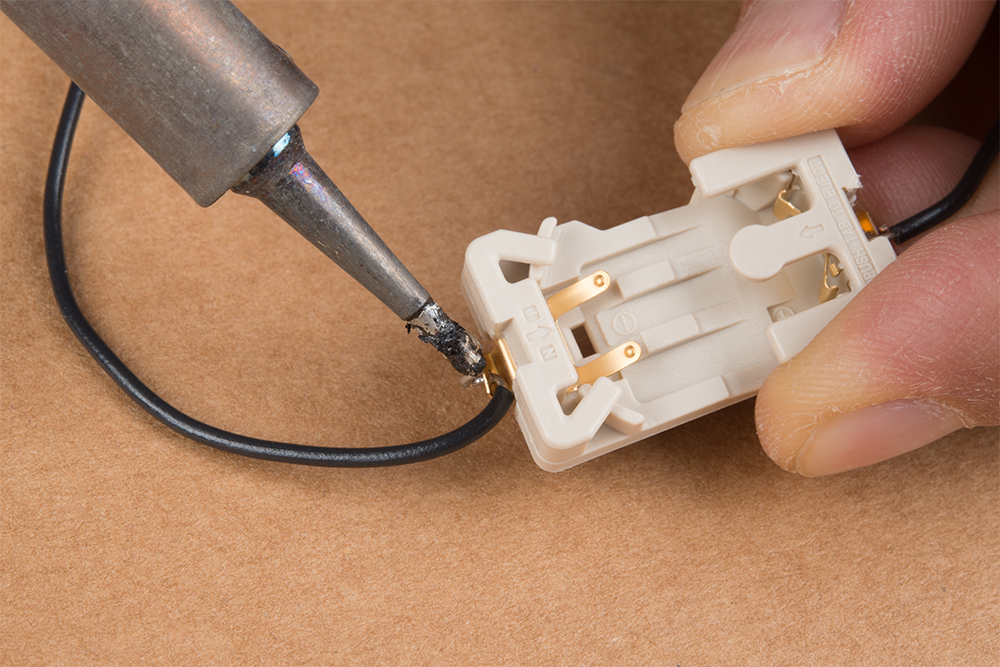
Strip the other end of the wire that is connected to the resistor and slide the exposed ends of the wire through the top of the "+" terminal's through hole. If you are satisfied with the length, solder the wire to the terminal. Then cut and strip another piece of wire to add between the switch's OFF position and the holder's "--" terminal.
At this point, test out the connections with a coin cell battery or multimeter. Make sure the switch is flipped to the ON position. If you are using a coin cell battery, the battery does not need to be fully inserted in the coin cell holder to light up.
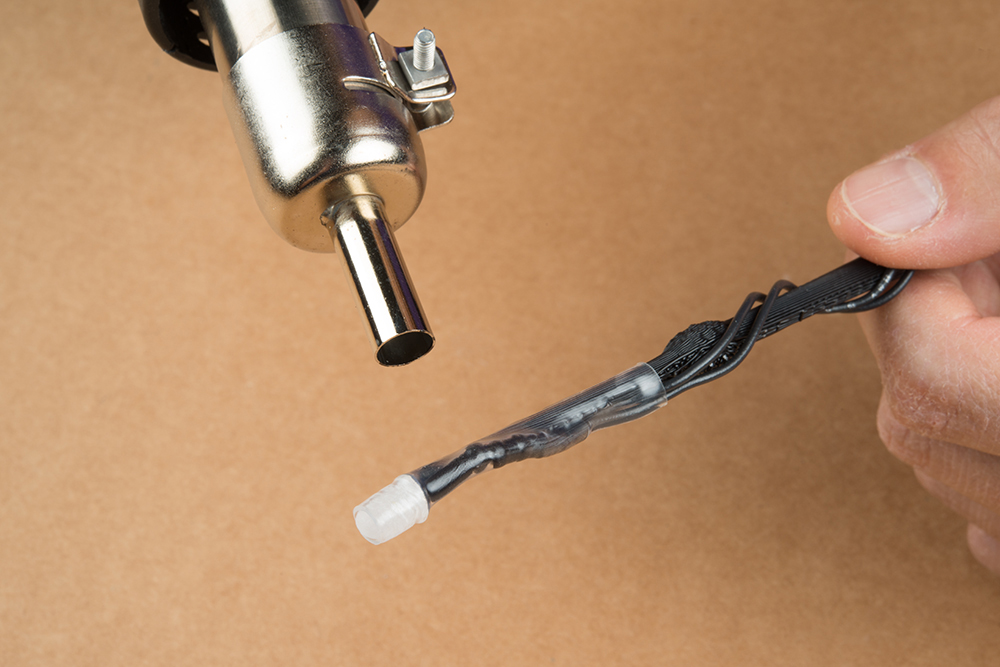
Cut some clear heat shrink and slide it over the LED and wand's tip. Apply heat to the heat shrink.
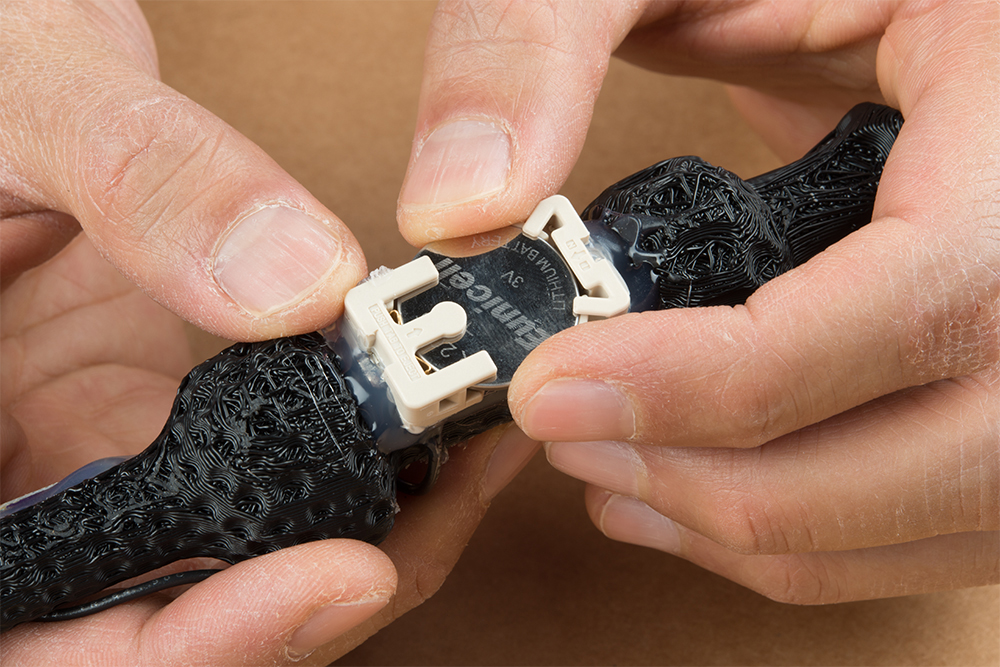
If you are satisfied with the connections, hot glue the bottom of the switch and coin cell battery holder to the wand. Avoid adding too much hot glue on the coin cell battery holder. If the holder's contacts to the battery are covered, it can interfere with the circuit causing the LED to not light up. Once the hot glue has cooled down, fully insert the coin cell battery into the holder.
The wand's handle should look similar to the image below.

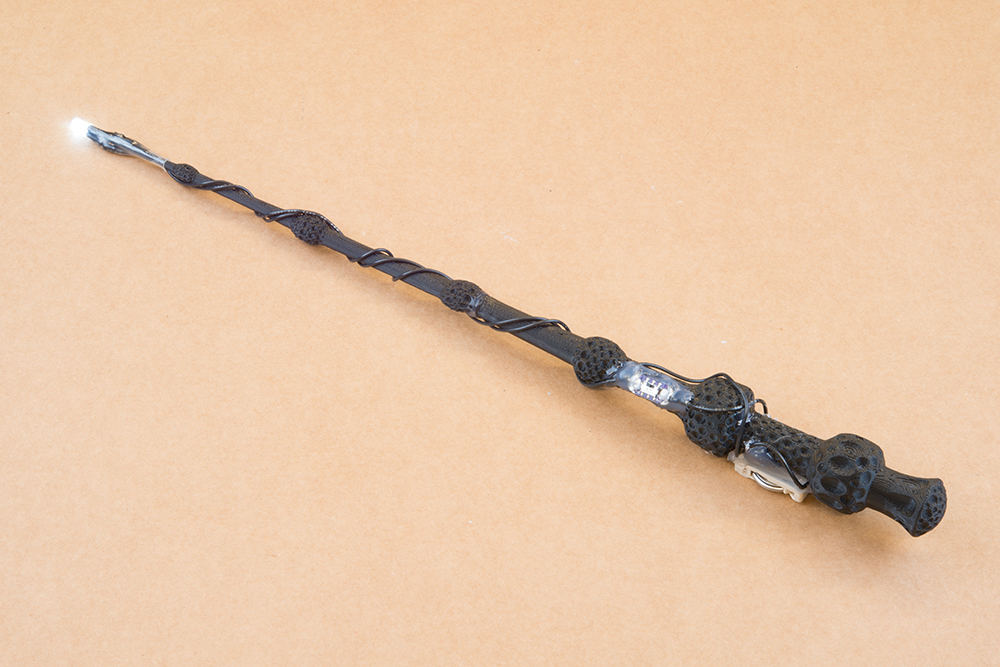
Your fully assembled 3D printed illuminated wand should look similar to the image below!

If you have not already, flip the switch to power the LED. Even in a bright room, the diffused LED was still visible!
 |
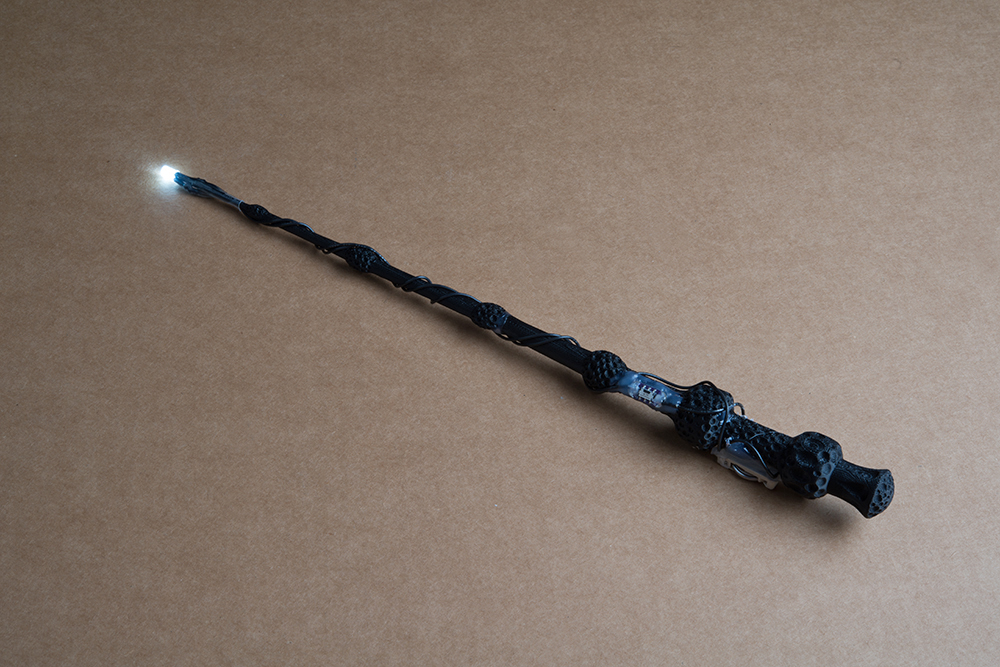 |
| Illuminated Wand in Bright Room | Illuminated Wand in Low Light |
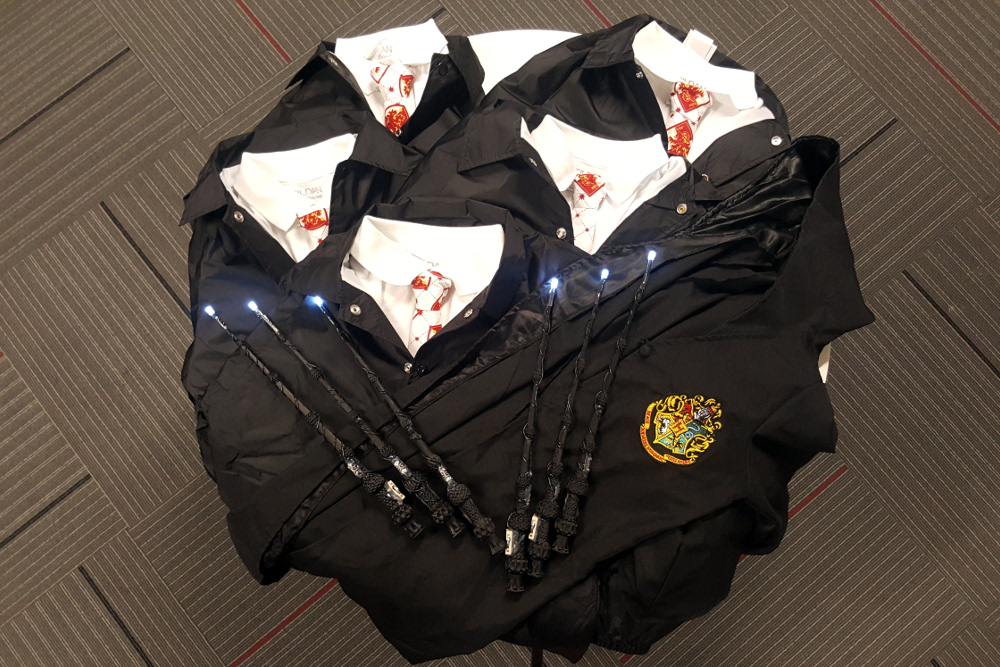
Repeat the steps above to make more wands as necessary for all of your wizards!