Advanced Autonomous Kit for Sphero RVR Assembly Guide
 Pearce, Ell C
Affixing the Mounting Plate to the RVR and Connecting the Remaining Qwiic Cables
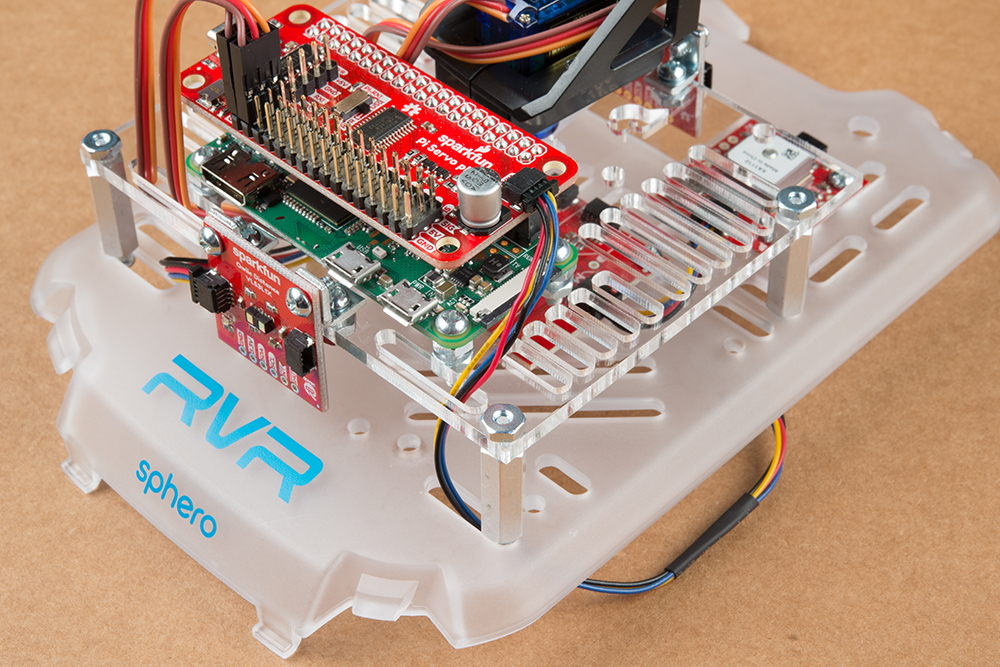
Take four of the remaining 1/4 inch screws and fasten the mounting plate to the cover plate of the RVR. The holes should lineup like this from below the cover plate:
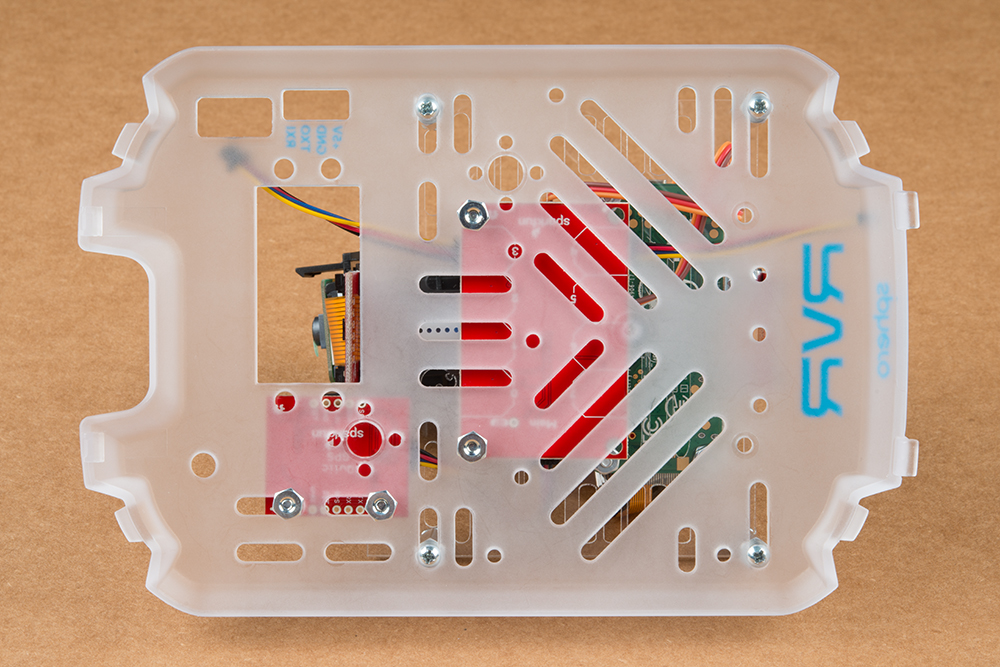
Again, be mindful with how tight you make the screws so as to not crack the acrylic plates.
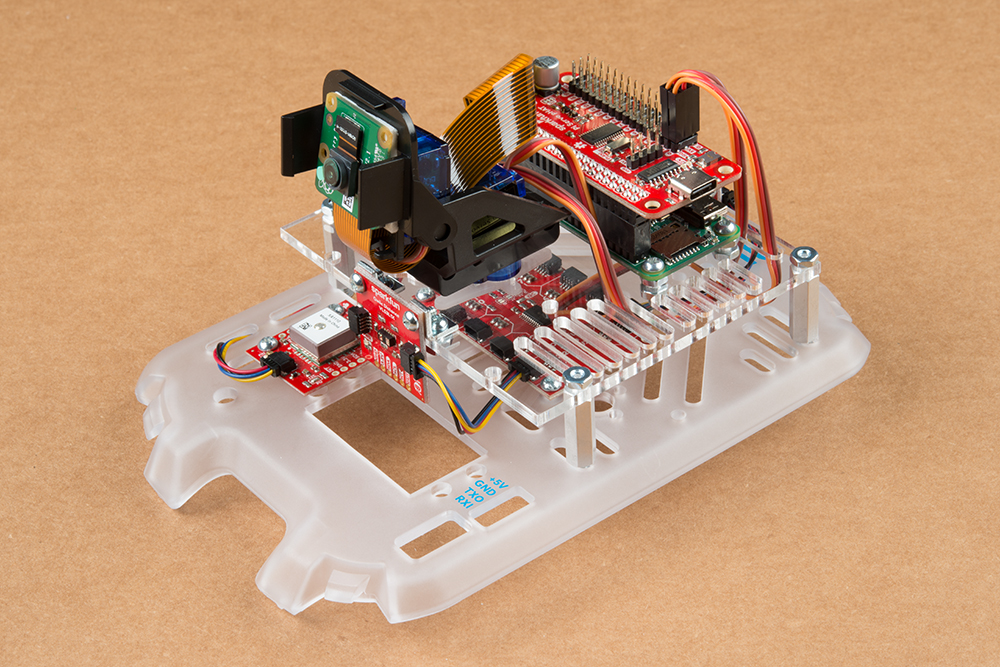
With all the boards in place, we can plug in the remaining boards to the Qwiic bus. The two 50mm Qwiic cables connected to connectors 3 and 4 on the Mux board will plug into the front and rear facing Time of Flights sensors (respectively).

Finally, we'll plug the GPS board into the Servo pHAT. Take the 200mm Qwiic cable and plug it into the Qwiic connector on the Servo pHAT. Then, we'll run the cable through the slot in the mouting plate, then down through the slot directly underneath it in the RVR Cover Plate.
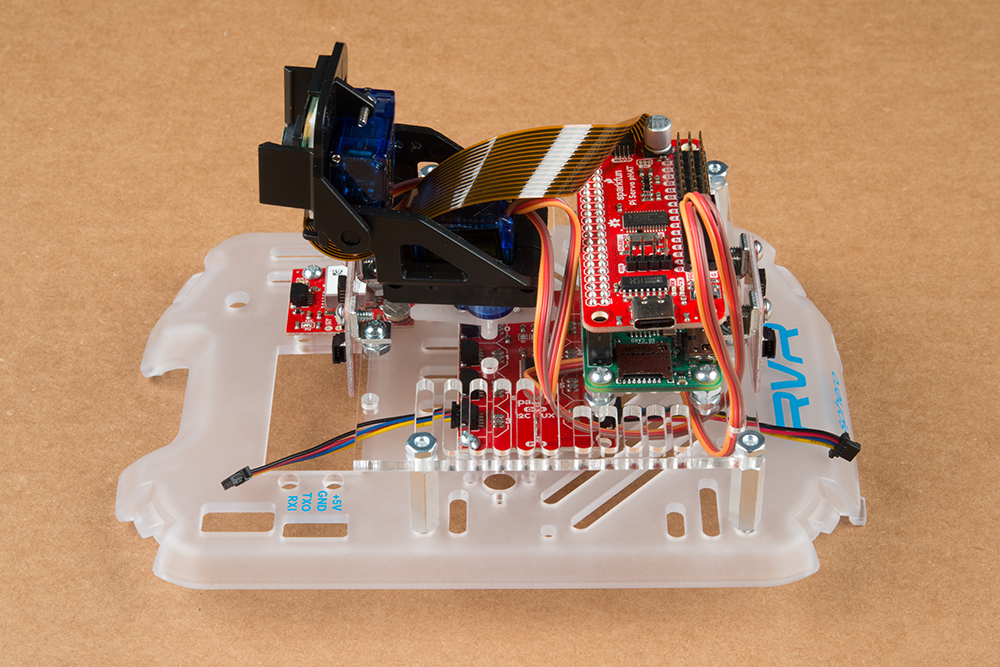
Next, we'll run the cable back up through the outside slot next to the GPS board mentioned in the first steps. Plug the cable into the Qwiic connector on the GPS board facing forward.
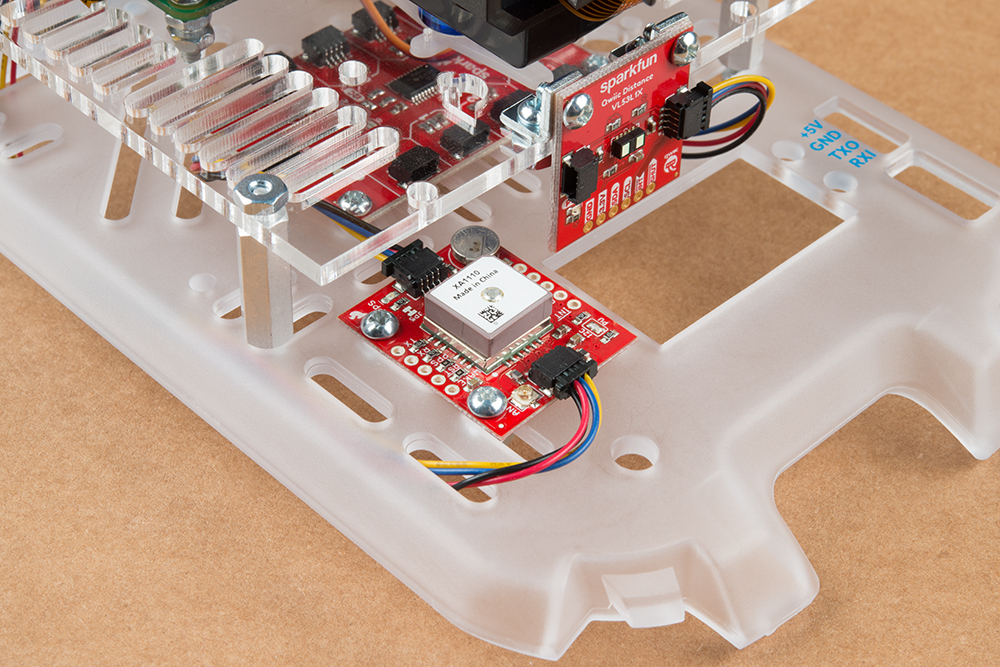
We'll take any slack from the 200mm cable and pull it gently under the RVR Cover Plate giving the system a cleaner look from the visible side.

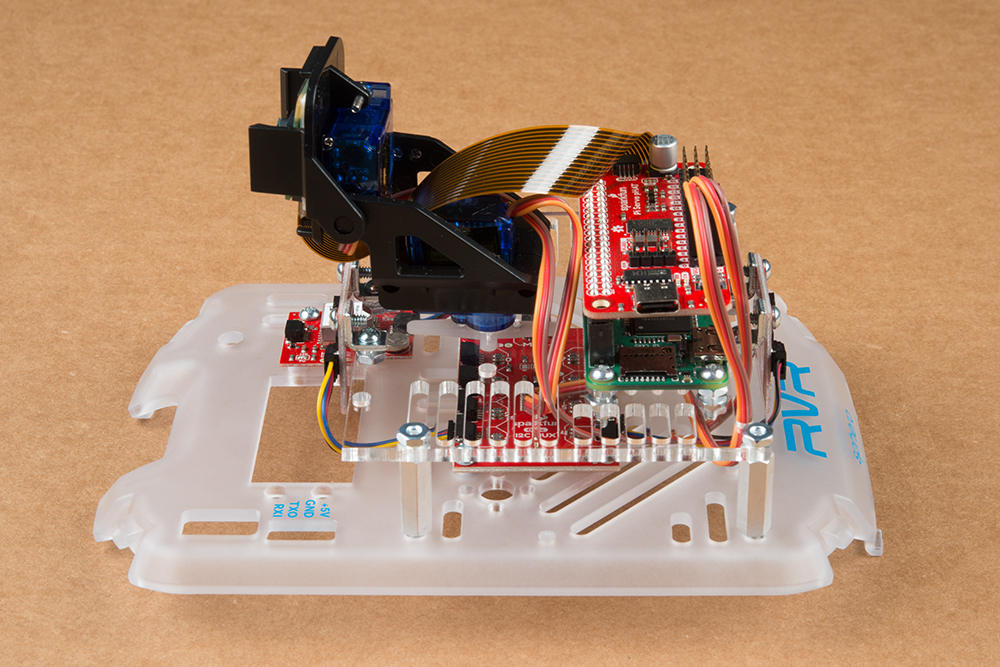
Congratulations! You've built the entire system. Now it's time to connect it to the RVR. Gently clip the RVR Cover Plate into place.