Advanced Autonomous Kit for Sphero RVR Assembly Guide
 Pearce, Ell C
GPS Module and Mux
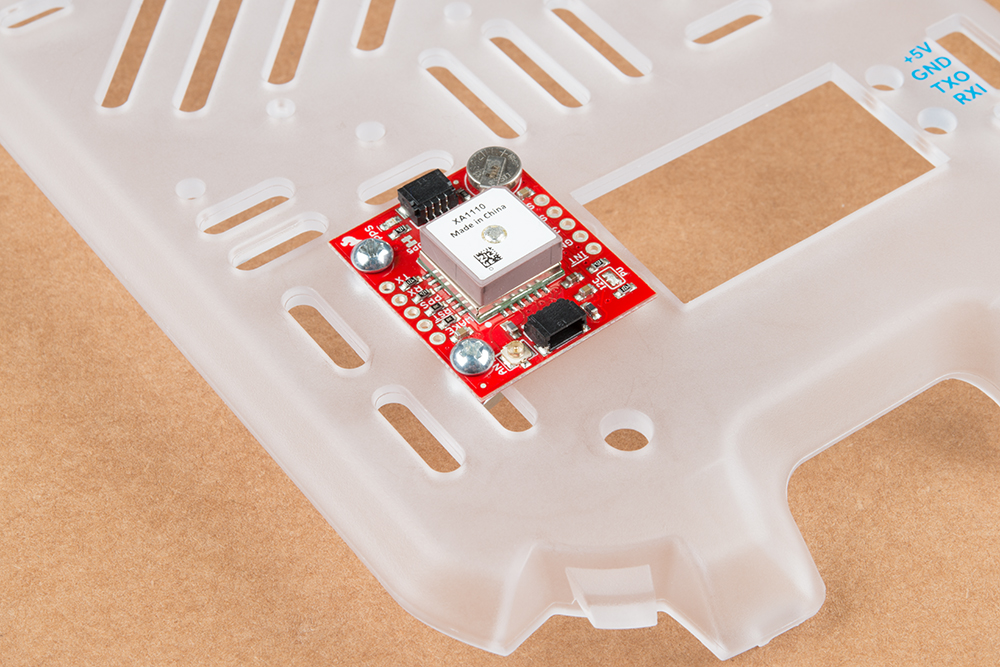
The GPS board and Mux board are the only two boards that will mount directly to the cover plate. It’s best to put these boards on first as the additional mounting plate obscures part of the board. We'll do this using two of the 1/4 inch screws and 2 nuts for each board.

The antenna (the beige part on the board) will need to be unobstructed and pointed towards the sky, so we'll mount it off to the side and near the front of the cover plate on the inner set of slide holes. The Qwiic cable that runs from the Servo pHAT to the GPS will use the outer set of holes later. If you have the means, putting the GPS board up higher always helps, but be sure not to obscure the pan-tilt camera rig.
The Mux board will mount to the two screw holes in the middle of the RVR Cover Plate. it's important that the "Main" Connector is facing away from the labeled connector port on the RVR Cover Plate (see photo below).
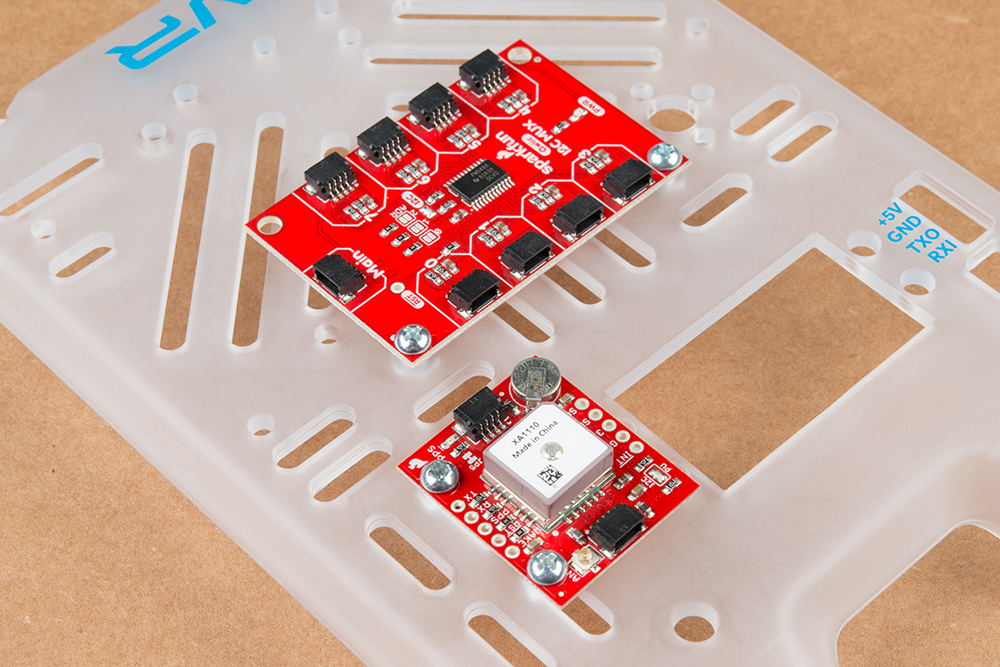
Once the Mux board is in place, we'll plug in the 50mm Qwiic cables (these might be 2x 100mm cables and 1 50mm cable in your kit) into the Mux board. We'll want one cable running from rear-facing Qwiic connector on the GPS board to the "Main" Qwiic connector on the Mux board. Then we'll plug one cable into connector 3 and a separate one into connector 4 on the Mux board (where you'll use the 2 100mm cables if you have them). We'll plug these into the Time of Flight sensors later in the tutorial. It's important to use connectors 3 and 4 (3 for the front facing Time of Flight sensor and 4 for the rear) as this corresponds to code in the example. If you want to change which connectors you're using, you'll have to change some parts of the code.
