APA102 Addressable LED Hookup Guide
 bboyho
Hardware Hookup
The great thing about these LEDs is they're super easy to chain together. Plus just two pins from your microcontroller is required to control an entire strip of LEDs. In this example, we'll control one 1M LED strip, but you should be safe to increase that ten-fold or even more.
Solder/Wire Something
The first assembly step for each of these products is creating a reliable, electrical connection from the LED to your control board. For a secure connection, you'll need to solder pigtail wires to a protoboard/shield to connect if you decide to place them into a project with a lot of movement or strip if you cut them into strands. You can also strip and splice some hookup wire to connect the LED strips.
How to Solder: Through-Hole Soldering
September 19, 2013
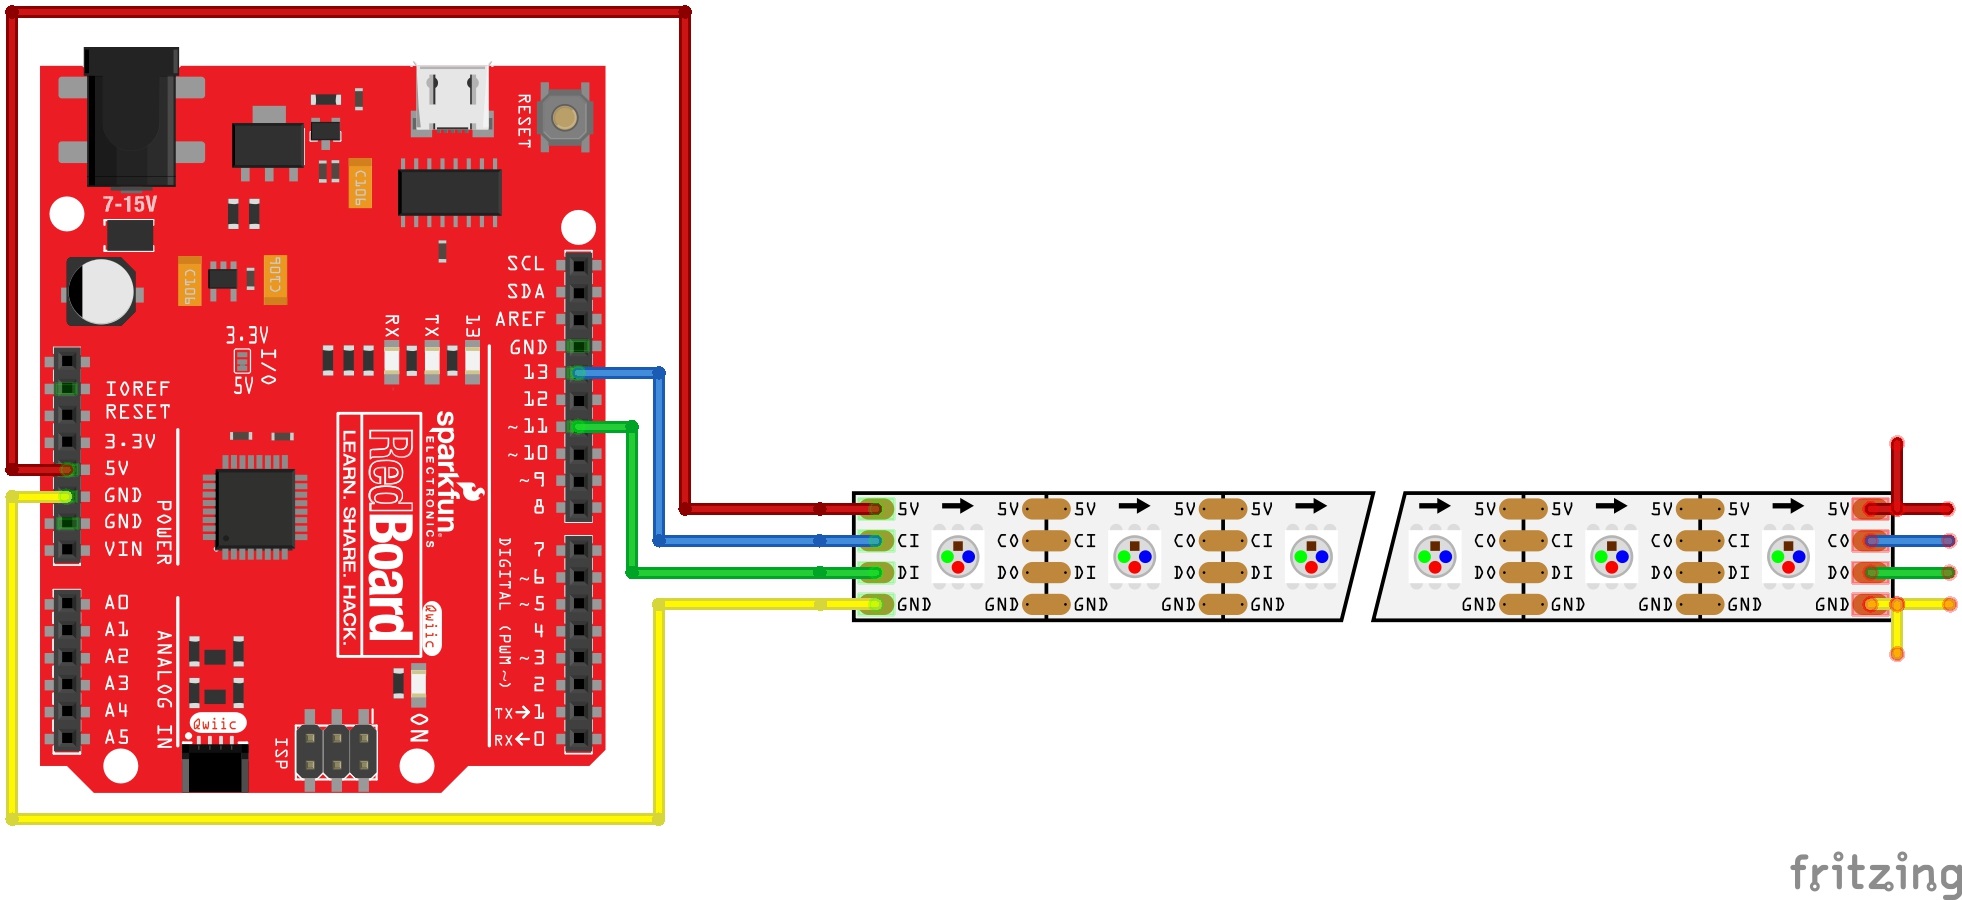
Connecting to an Arduino
This hookup is fairly straightforward. You can power the breakout board(s) with USB power and the Arduino's 5V and GND pins. Then all you need is to send data and clock signal to the LED. Let's go with pin 11 and 13, respectively. We recommend using a hardware pins for your microcontroller for best performance. Simply connect four M/F jumper wires to the RedBoard Qwiic.
Protect Your APA102's!
In addition to the hookup above, we recommend adding a capacitor as close as possible to your addressable LEDs like the WS2812's to help you get the most out of your APA102-based devices for long strips. Below is an example with an addressable LED strip and separate power supply via the barrel jack connector. Read below for more information on suggested values!
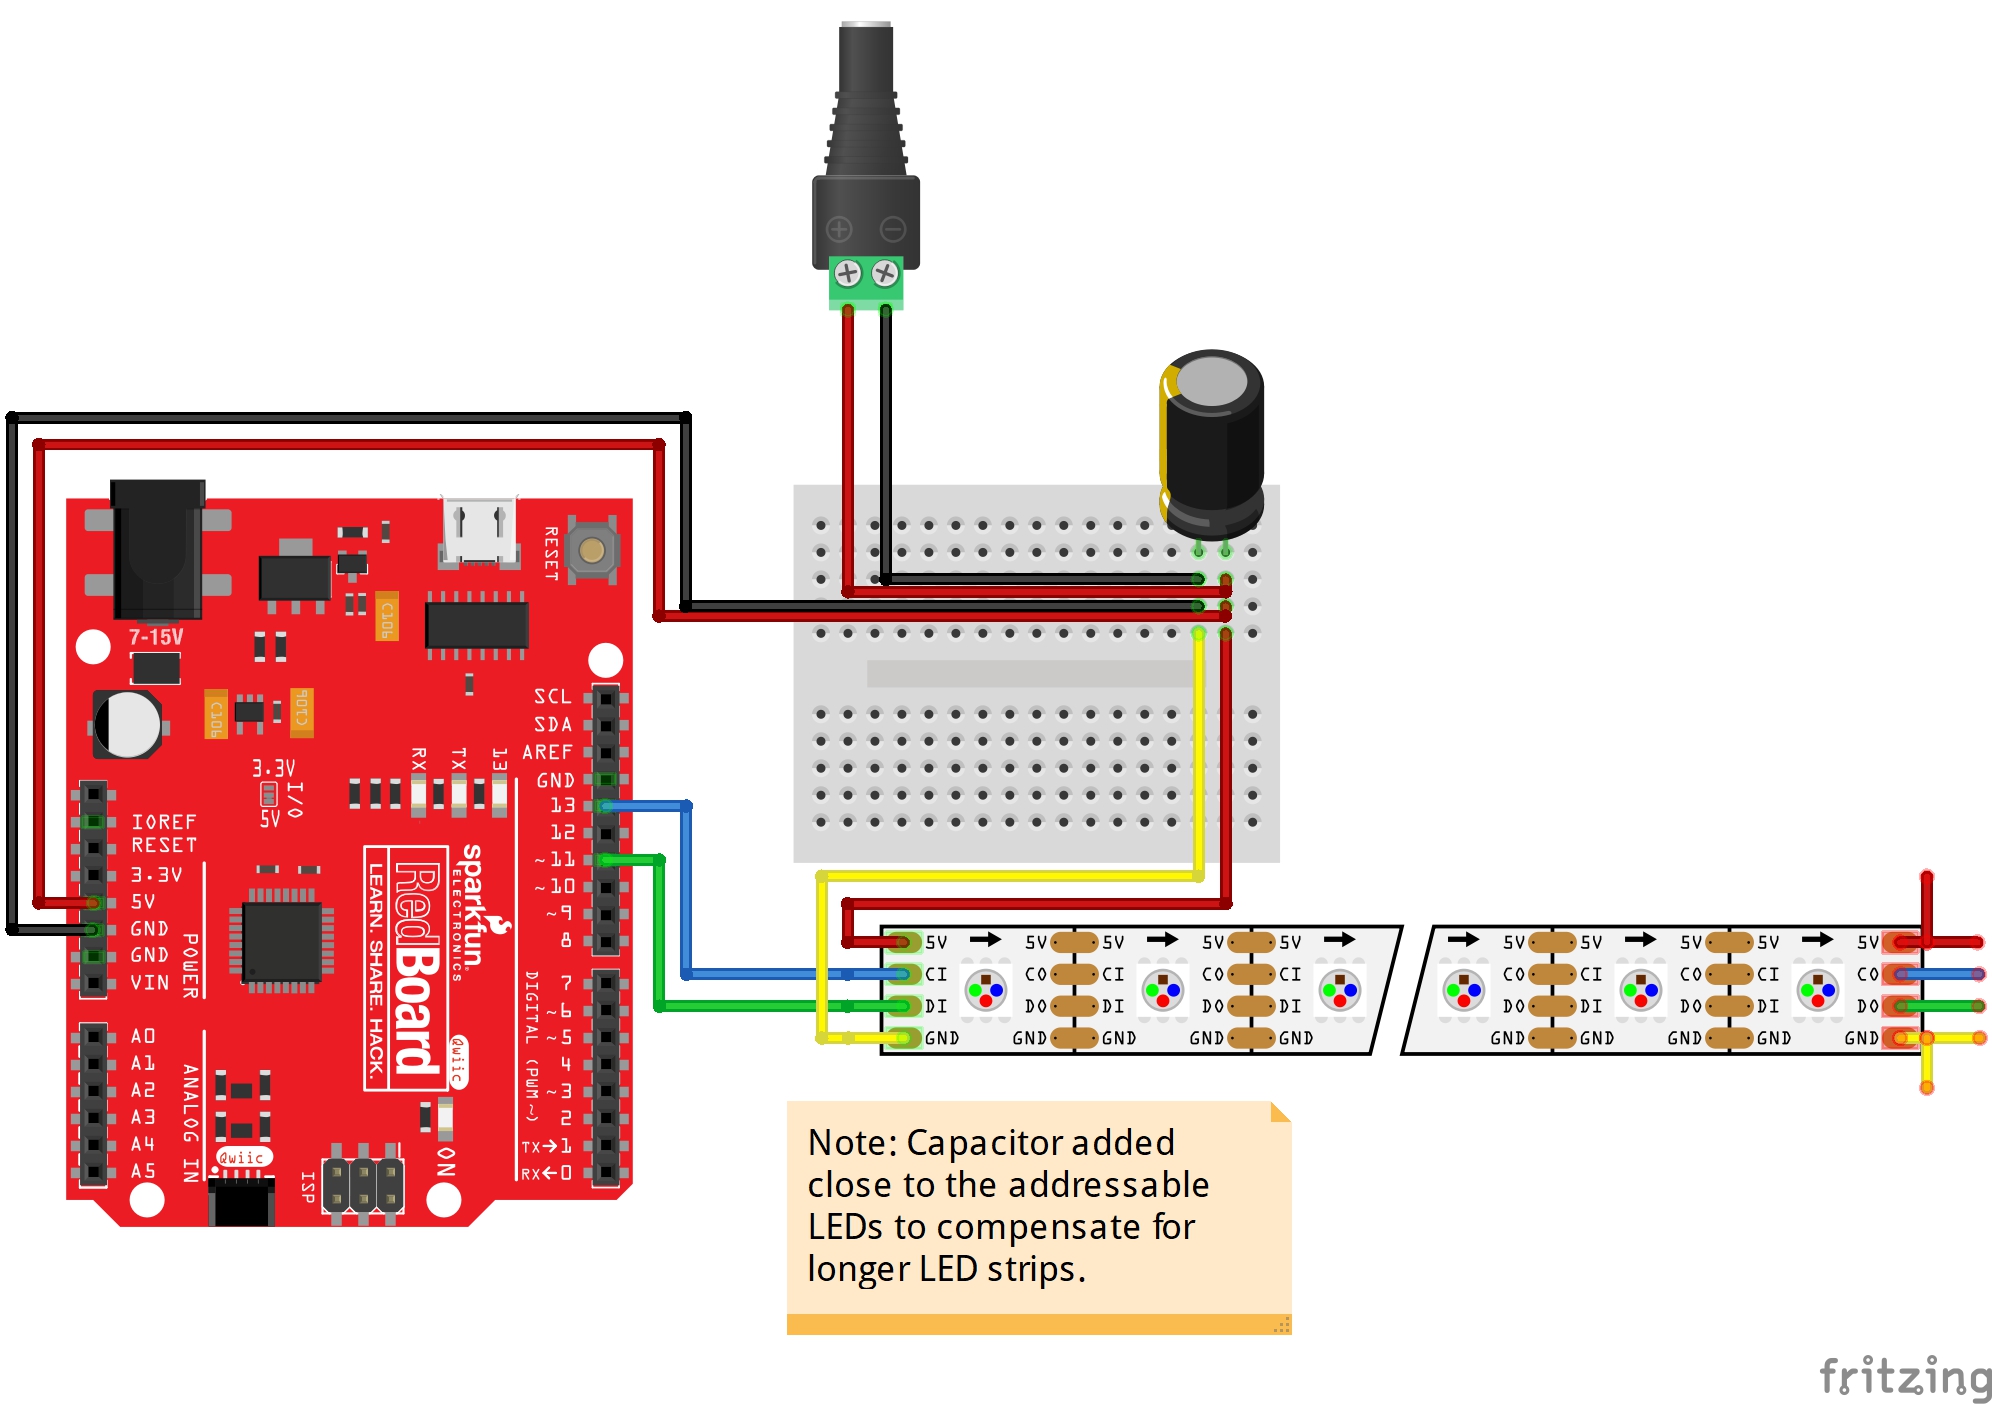
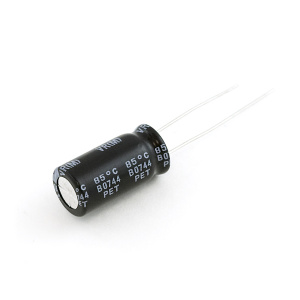
Add a Big Smoothing Capacitor
Before connecting the APA102 to a power source, connect a big capacitor from power to ground. A cap between 100µF and 1000µF should be good.
This cap will help to smooth out your power supply. The current draw of a APA102 can vary wildly, and as current draw grows and shrinks it'll be up to your power source to compensate. The cap will act as a "power reservoir" to store energy in case the supply dips.
Try to place this cap as close to your APA102 as possible by placing it in parallel to the Vcc and GND pins.
Keep Wires Short!
Wires don't conduct perfectly. They'll inevitably induce some voltage loss, especially when they're really long. Try to keep wires between your power supply, Arduino, and APA102 as short as possible to minimize this loss.