Favorited
Favorite
10
Introduction
The APA102C addressable LEDs employ a 2-wire communication protocol consisting of a clock and data line. While this requires one more wire than standard WS2812 addressable LEDs, the advantage is that the communication with the LEDs have a faster data and refresh rates (great for persistence of vision (a.k.a. POV) projects). They are not as strict with timing compared to the WS2812's.
In stock
COM-14863
This APA102C is the regular, 5050-sized SMD LED version. With a control circuit embedded, the APA102C-5050 is incredibly brig…
LED Strips
LED strips can come in sealed and unsealed versions. The SparkFun catalog carries the APA102's in 1M bare and 5M bare strips.
In stock
COM-14015
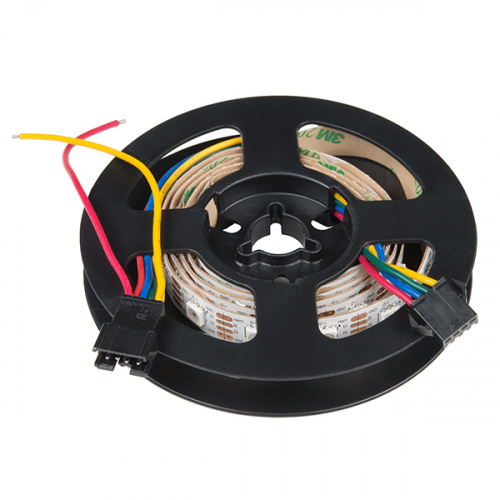
These are addressable 1-meter-long 5V RGB LED strips that come packed with 60 APA102Cs. APA102 LEDs are very similar to WS281…
2
In stock
COM-14016
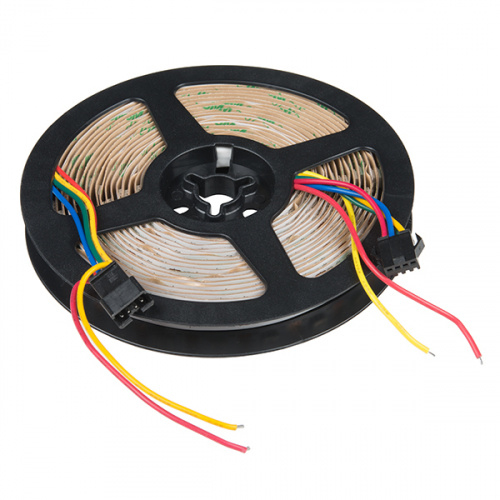
These are addressable 5-meter-long 5V RGB LED strips that come packed with 300 APA102Cs. APA102 LEDs are very similar to WS28…
2
Matrices, Rings, Sticks, Shields
Depending on the project, they can also be populated on PCBs as a matrix, ring, or stick. These can be useful for marquees or adding unique animations to your project! There are different sizes of APA102's.
25 available
COM-14966
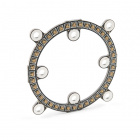
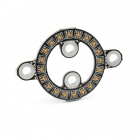
The two inch version of the SparkFun LuMini LED Ring, packed with 40 individually addressable LEDS, each capable of producing…
In stock
COM-14967
The one inch version of the SparkFun LuMini LED Ring, packed with 20 individually addressable LEDS, each capable of producing…
20 available
COM-18354
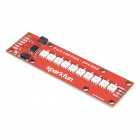
The SparkFun Qwiic LED Stick features ten addressable APA102 LEDs, making it easy to add full color LED control using I2C.
4
24 available
COM-15047
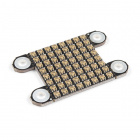
The 8x8 SparkFun LuMini LED Matrix, packed with 64 individually addressable LEDS, each capable of producing 16 million colors…
1
Required Materials
To follow along with this tutorial, you will need the following materials. You may not need everything though depending on what you have. Add it to your cart, read through the guide, and adjust the cart as necessary.
APA102-Based LED Board or Strip
Stating the obvious: you'll need a APA102-based board or strip. The more the merrier! In the example hookup, we'll be using a 1M LED strip, but the example should be adaptable to the other APA102-based products. Grab however many you think you'll need for your project, regardless of how many you have, it's not enough.
Microcontroller or Single Board Computer?
To get started, you're going to need a microcontroller or a single board computer. Something that can send the series of 1's and 0's used to control the LEDs. Our go-to is the classic Arduino Uno with the ATmega328P, but any Arduino board that is supported with the library should do. A Teensy, ESP8266, ESP32, or Raspberry Pi can work as well but for the scope of this tutorial, we will be using a 5V Arduino populated with an ATmega328P, the SparkFun RedBoard Qwiic.
In stock
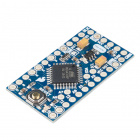
DEV-11113
SparkFun's minimal design approach to Arduino. This is a 5V Arduino running the 16MHz bootloader.
140
In stock
DEV-15123
The SparkFun RedBoard Qwiic is an Arduino-compatible development board with a built in Qwiic connector, eliminating the need …
19
Out of stock
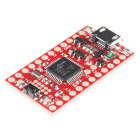
DEV-13664
If you’re ready to step your Arduino game up from older 8-bit/16MHz microcontrollers, the SparkFun SAMD21 Mini Breakout is …
18
Logic Level
The APA102C addressable LEDs operate natively with 5V logic, so it will save you trouble to choose a controller that can give you 0-5V, but it can be made to work with 3.3V logic with the use of a level translator. If you are using a 5V microcontroller, you will not need the following.
In stock
BOB-12009
The SparkFun bi-directional logic level converter is a small device that safely steps down 5V signals to 3.3V AND steps up 3.…
120
In stock
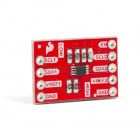
BOB-15439
Different parts sometimes use different voltage levels to communicate. This PCA9306 Level Translator can be the key to making…
3
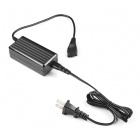
Power Supply
You will also need a 5V power supply to run your controller and new lights. Each APA102C can draw as much as 60mA when red, green and blue are all full-on, so you'll want to have something a little beefy. For testing purposes (assuming that you do not turn all the LEDs fully on), you can use a computer's USB port and cable. A wall adapter capable of 2.5A should be plenty for our demonstration if you are placing it in an installation. If you've got a bigger project in mind, check out the Mean Well 5V/20A supply.
15 available
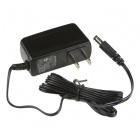
TOL-15312
This is a high quality switching 'wall wart' AC to DC 5V 2000mA Barrel Jack wall power supply manufactured specifically for S…
2
In stock
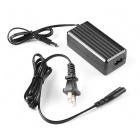
TOL-15352
This is a high quality power supply manufactured specifically for SparkFun Electronics packs a lot of power; 20W at 5V and 40…
21 available
TOL-13831
This is a high-quality switching 'wall wart' AC to DC 5.1V 2,500mA USB Micro-B wall power supply manufactured specifically fo…
22
In stock
TOL-15664
This 2A "laptop brick" supply outputs both 5V and 12VDC and is terminated with a 4-pin ATX connector.
4
Wires
You'll also need some way to connect the boards and an Arduino. If you are using a breakout board or pieces of the LED strip, you could use a combination of jumper wires (such as M/M or M/F) and breadboard (solderless or solderable). Or you could just go with a few pieces of hookup wire or 4-pin JST-SM pigtail connectors.
In stock
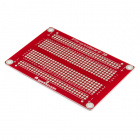
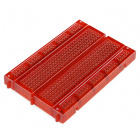
PRT-12070
This is the SparkFun Solderable Breadboard. A bare PCB that is the exact size as our regular breadboard with the same connect…
18
In stock
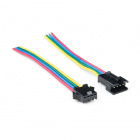
CAB-14576
These 4-pin JST-SM pigtail connectors mate perfectly with LED strips and other applications that require only two lines and a…
In stock
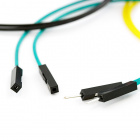
PRT-09140
This is a SparkFun exclusive! These are 155mm long, 26 AWG jumper wires terminated as male to female. Use these to jumper fro…
1
In stock
PRT-11317
**Description**: How could anyone improve on the clear plastic breadboard. I mean, that's pretty sweet right?
What if it wa…
1
Tools
Lastly, you are going to need a few tools. A soldering iron, some solder, general soldering accessories, wire, and a wire stripper should do if you are modifying the LED strip or connecting to a breakout board.
20 available
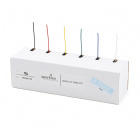
PRT-11375
An assortment of colored wires: you know it's a beautiful thing. Six different colors of stranded wire in a cardboard dispens…
19
In stock
TOL-14456
This adjustable-temperature soldering iron is a great tool for when you don't want to break the bank but need a reliable iron…
16
In stock
TOL-24771
This wire stripper and cutter works with six standard wire sizes from 20 to 30 AWG.
In stock
TOL-09163
This is your basic tube of unleaded (Pb-free) solder with a no clean, water soluble resin core. 0.031" gauge and 15 grams
4
Suggested Reading
We're tried to make this hookup guide as simple as possible, but you may be lacking some basic information that could help your understanding as we go forward. For more info, check out these tutorials.
Installing an Arduino Library
How do I install a custom Arduino library? It's easy! This tutorial will go over how to install an Arduino library using the Arduino Library Manager. For libraries not linked with the Arduino IDE, we will also go over manually installing an Arduino library.
Binary
Binary is the numeral system of electronics and programming...so it must be important to learn. But, what is binary? How does it translate to other numeral systems like decimal?
Logic Levels
Learn the difference between 3.3V and 5V devices and logic levels.
 bboyho
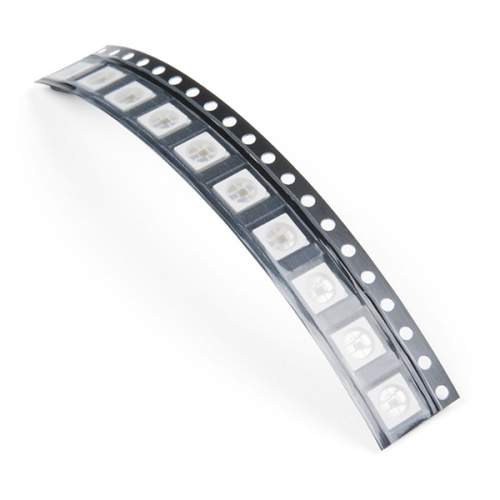


