Arduino Shields v2
 jimblom,
  El Duderino
 Installing Headers (Preparation)
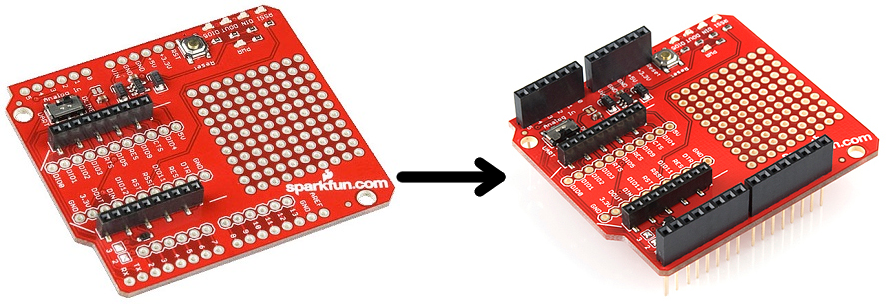
Many shields come without any headers attached. This keeps their final fate open to your interpretation (maybe you'd rather use straight male headers, instead of the usual stackable headers). The following pages will explain how you can turn your drab, header-less shield into a fully functional, ready-to-plug-in module.
Shield assembly requires soldering. Solder helps make a good physical and electrical connection. Without solder, your shield and Arduino will almost certainly not work properly. If it manages to work at all it will be erratic and intermittent at best. If this is your first time soldering, consider checking out our How to Solder: Through-Hole Soldering Tutorial prior to assembling your shield:
How to Solder: Through-Hole Soldering
September 19, 2013
Required Materials
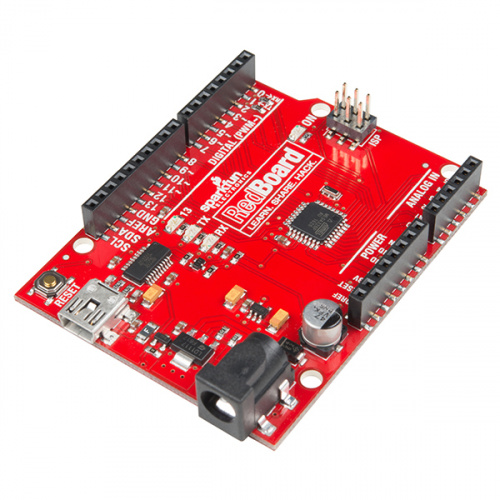
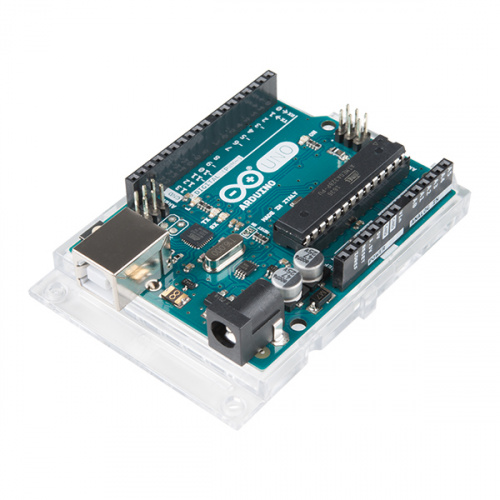
With your shield (or shields) chosen, the only other required materials are a compatible Arduino development board and some headers. The SparkFun RedBoard and Arduino Uno R3 are great options that will work with nearly any Arduino shield with no issues:
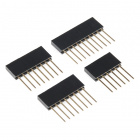
And here are some recommended header options:

Required Tools
You will also need at least a soldering iron and some solder to assemble your shield. Below are a few soldering iron and solder options along with a couple of kits that will have all the tools necessary to start soldering:

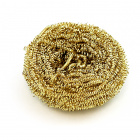


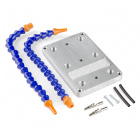
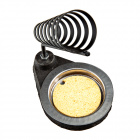
Along with these required tools, these accessories can help make your soldering experience a little easier:

What Kind of Header Should You Use?
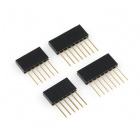
There are all kinds of headers, but there are only two that we recommend for installing on shields: stackable or male.
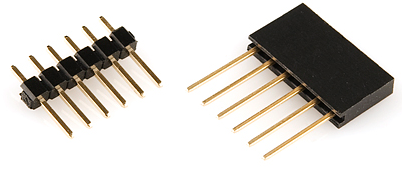
Stackable headers are especially great for stacking shields. They also maintain your ability to plug a jumper wire into any of the Arduino's pins. This tutorial will primarily explain how to install stackable headers. Stackable headers are available individually in 6-pin, 8-pin, and 10-pin varieties (there are other stackable header options for development boards that use different footprints/form factors), or you can buy the headers in packs like the ones shown in the Required Materials section above.
Simple straight male headers are also an option for connecting a shield to an Arduino. Male headers are beneficial in that they create a lower-profile stack when connected to an Arduino. If you plan to stuff your Arduino/shield combo into an enclosure, you may need to consider using male headers. This tutorial focuses on stackable header installation, check the Tips and Tricks section for male header assembly instructions.
Do not install female headers, right-angle male headers, swiss machine-pinned headers, round headers, or a variety of other headers that may exist out there. You really should only use headers that have straight, rectangular, male pins.
Now then, plug in and start warming up those soldering irons. It's time to get soldering!