Arduino Shields v2
 jimblom,
  El Duderino
 Shield Form Factor
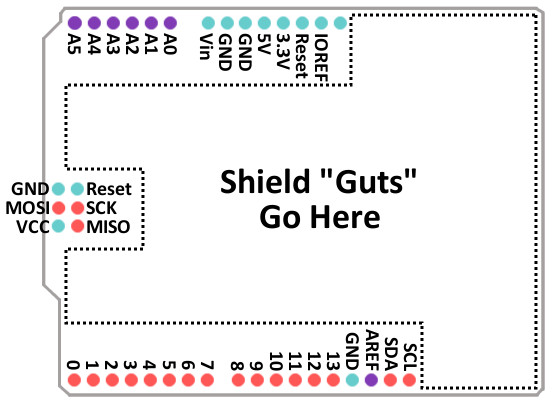
Every Arduino shield must fit the same form factor as the Arduino it mates to.
Shields designed to work on the Arduino Uno R3 form factor have power and ground pins on one eight (previously six) pin header, and analog pins on a six-pin header next to that. DiAgital pins cover the other edge on the opposite side, an eight-pin header separated from a 10-pin by that weird 0.5" spacing. Some shields also require a connection to the Arduino's ICSP header (the 2x3 programming header on the end).
Pin Functionality
Some shields use nearly every available pin on the Arduino, while others only use a couple. Some shields communicate with the Arduino via SPI, I2C, or Serial. Other shields use the Arduino's interrupts, analog inputs, and PWM. When stacking shields it's important to make sure they don't use overlapping pins.
Serial Communication
Serial Peripheral Interface (SPI)
Analog to Digital Conversion
Processor Interrupts with Arduino
Additionally, you will also want to ensure that shield pins are compatible with your development board. If a shield was designed with the ATmega328p in mind, the pin functionality may be in a different location. For example, the XBee shield was designed for the Arduino Uno R3 (an ATmega328P-based board). If you were to use the Arduino Leonardo (an ATmega32U4-based board) or the Arduino Mega 2560 (an ATmega2560-based board), you would need to reroute the connection and redefine the pin definitions. For more information, check out the XBee Shield Hookup guide.
 |
 |
| XBee Shield Pins Rerouted for ATmega2560-Based Arduino | XBee Shield Pins Rerouted for ATmega32U4-Based Arduino |
Logic Levels
Also note that there are several Arduino development boards available now that fit the R3 form factor but run at a different logic level than the standard Uno/RedBoard. For example, the Arduino Uno R3 runs at 5V logic where the RedBoard Artemis runs at 3.3V. Quite a few shields can function just fine with a board running at either logic level but you may run into some erratic behavior with level shifting circuits set up to work best with a 5V system. Another potential issue you may run across with a 3.3V logic Arduino is if the shield pulls any of the pins to a 5V reference voltage through something like a pull up resistor.
Other Shield Form Factors
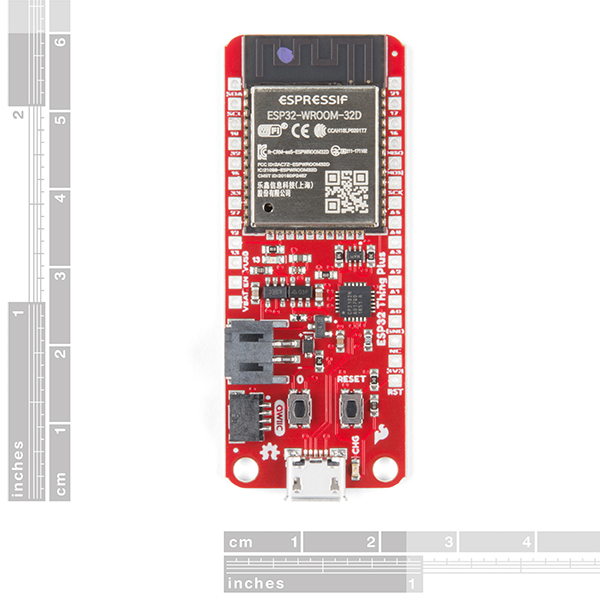
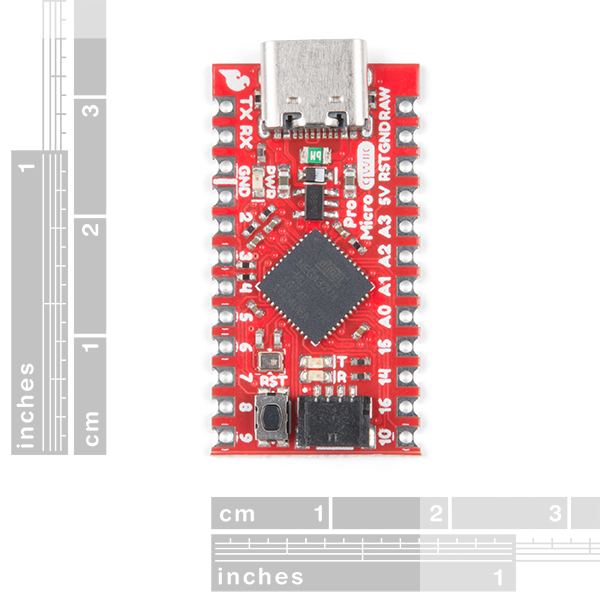
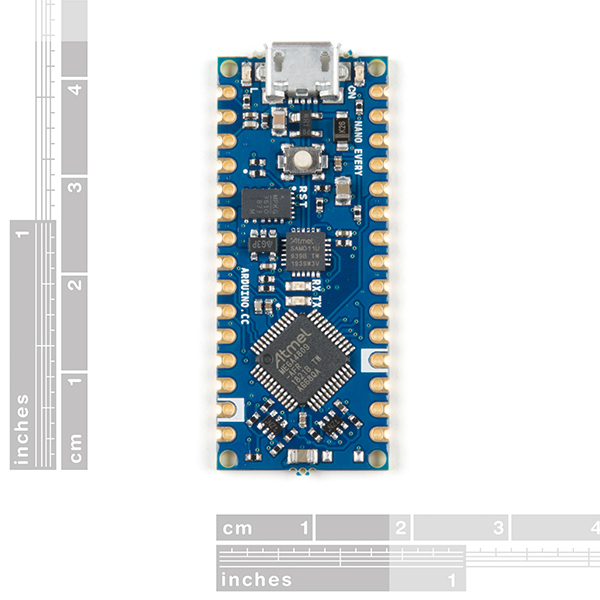
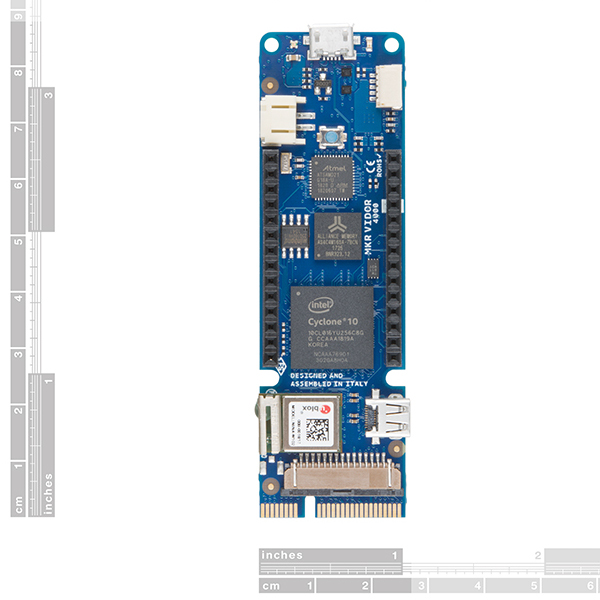
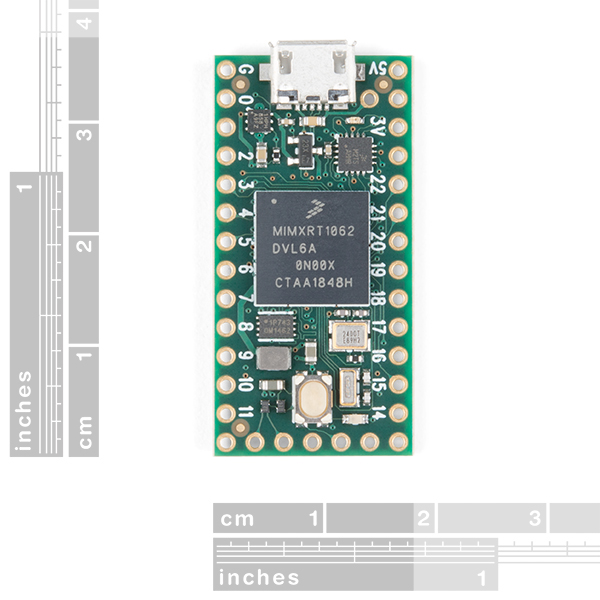
There is a great variety of Arduino shields out there -- too many to ever include in this tutorial. While most adhere to the standard Arduino Uno R3 form factor, some shield designs can vary depending on the development board's footprint and environment. Some of these designs include the Thing Plus, Pro Mini, Pro Micro, Arduino Nano, Arduino MKR, and Teensy footprints.

In the next section, we'll go over a handful of the more popular and unique shields designed for the R3 form factor that SparkFun carries.