Ardumoto Kit Hookup Guide
 jimblom,
  MTaylor
Motor and Wheel Assembly
This is where the shield assembly gets very project-specific. Have you picked out which motors you'll be driving with the shield? Do you know how long the wires need to be trimmed? There's a lot to be answered here before continuing on...
Motor Wiring
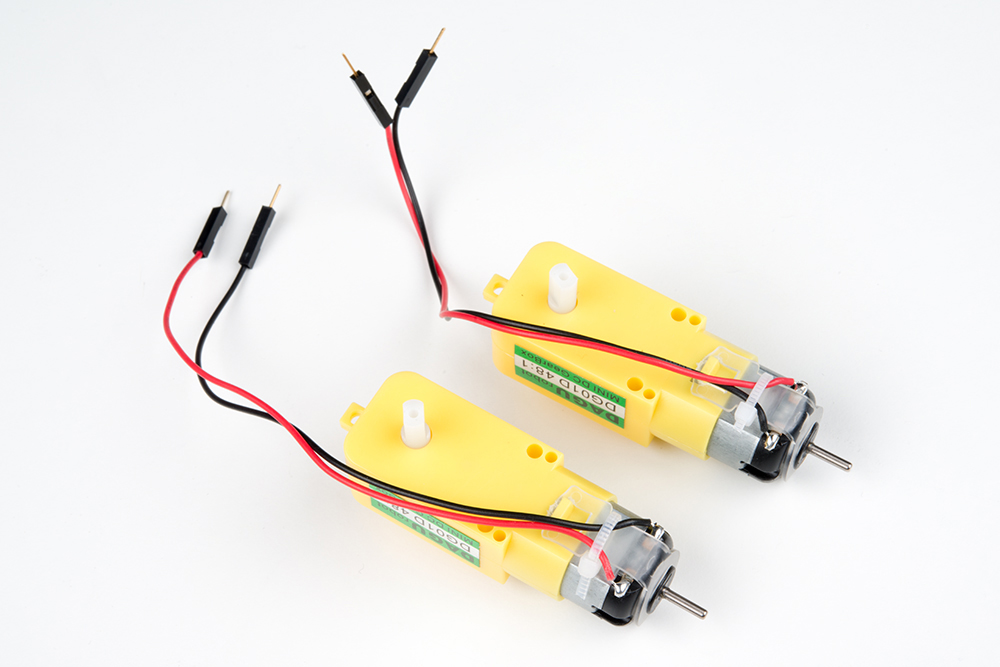
If you have the kit, the motors come with wires attached, but take the time to notice how they are wired. They are a left-right pair, which can be seen by holding the motors in the same orientation and looking at how the red and black wires are attached. When they are installed with the wire-side facing each other, a positive polarity drives either motor "forward," even though one is spinning clockwise while the other spins counterclockwise.
Connecting Motors
If you added screw terminals in the last step, break out your screwdriver, slide the wires in, and tighten the terminals down.
In lieu of screw terminals, you can solder the motor wires into either the 0.1" header or the screw terminal header.

If you've got the kit, install one motor's red to output '1', and black to output '2'. Install the other motor's red to output '3', and black to output '4'.
Upcycling the SparkFun Box
If you have the Ardumoto Shield Kit, you probably also have a robust, resplendently red SparkFun box. These SparkFun boxes come in handy for all sorts of projects --- including robot chassis!
With some measured hobby knife incisions, you can cut out some mounts for the motors and tie your Arduino/shield combo down as well:
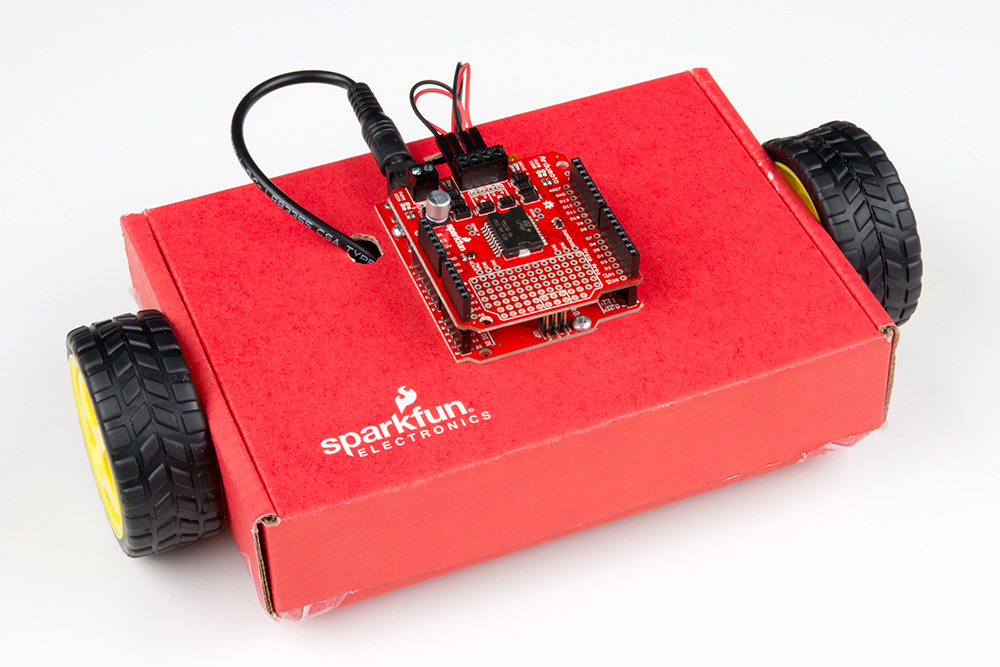
This shape of robot relies mostly on balance, and slides across the floor. If driving on carpet, slick clear tape can be added to the corners to prevent catching.