Assembly Guide for RedBot with Shadow Chassis
 HelloTechie
 SFUptownMaker
 Shawn Hymel
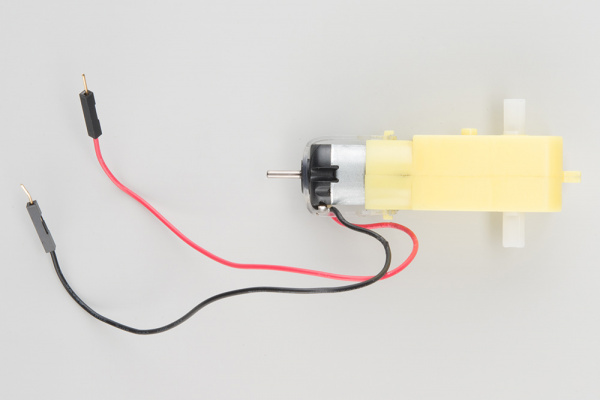
2. Motors and Wheels
The motors add some motion to the RedBot by turning the nice, rubbery wheels.
NOTE: If you completed the previous Wheel Encoder (SIK) step, your motors will each have an encoder magnet plate attached to their rear shaft. However, they are not necessary to complete this step.
ALSO NOTE: Your motors might not be yellow. Worry not, they will work just as well!
Locate the Following:
| 2x Front Motor Mount (C) | 2x Rear Motor Mount (D) | 2x Motor (K) |
 |
 |
 |
| 2x Wheel (L) | ||
 |
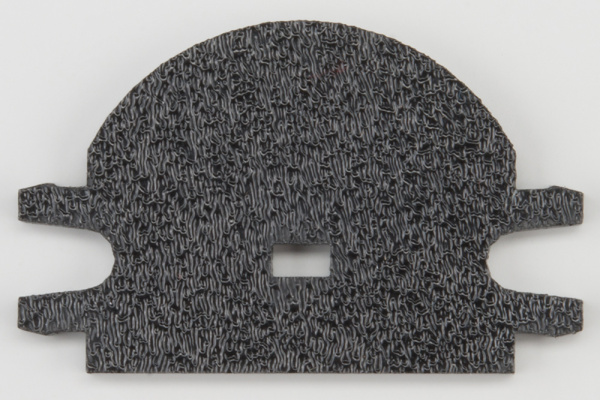
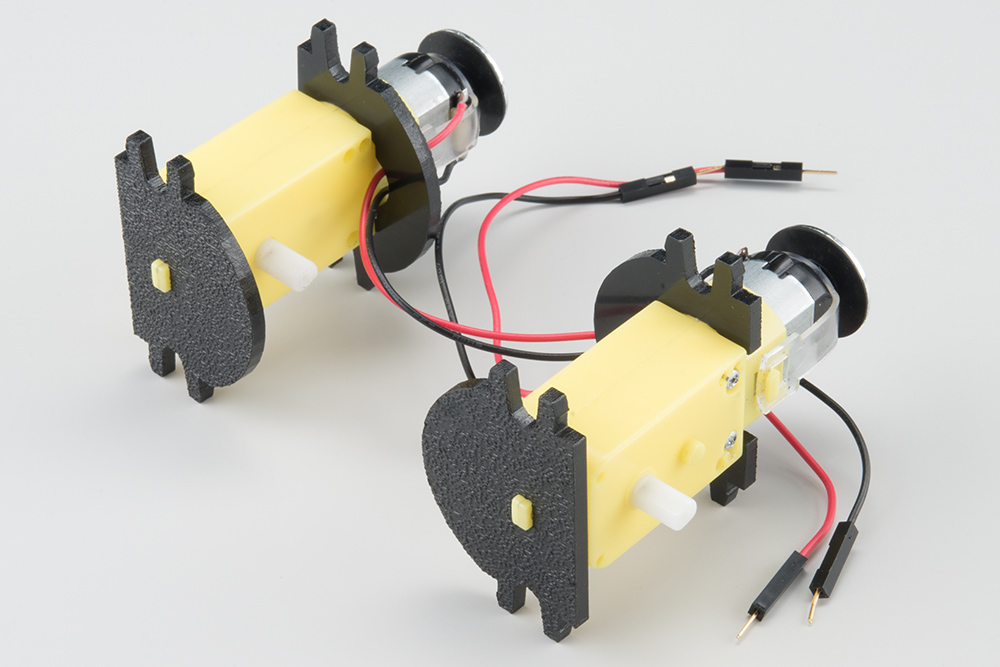
Attach Rear Motor Mounts
Hold the wires near the middle of the Motor (K), and carefully slide a Rear Motor Mount (D) in from the side and over the two motor wires. Be careful not to snag the wires, the cable tie, or the clear plastic strap.
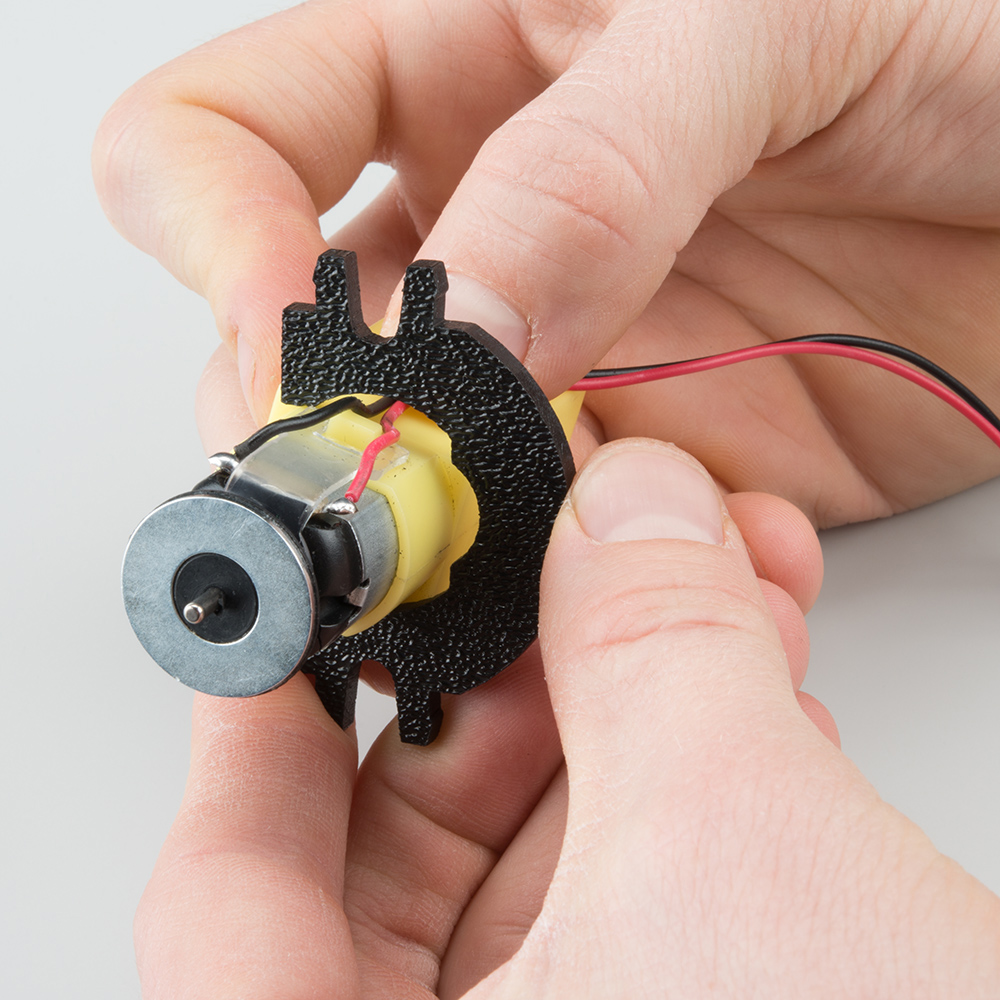
Holding the motor wires, gently twist the Rear Motor Mount counter clockwise so that it snaps in place on the motor and the wires are centered in the gap of the motor mount. Again, be sure not to snag the wires under the motor mount.
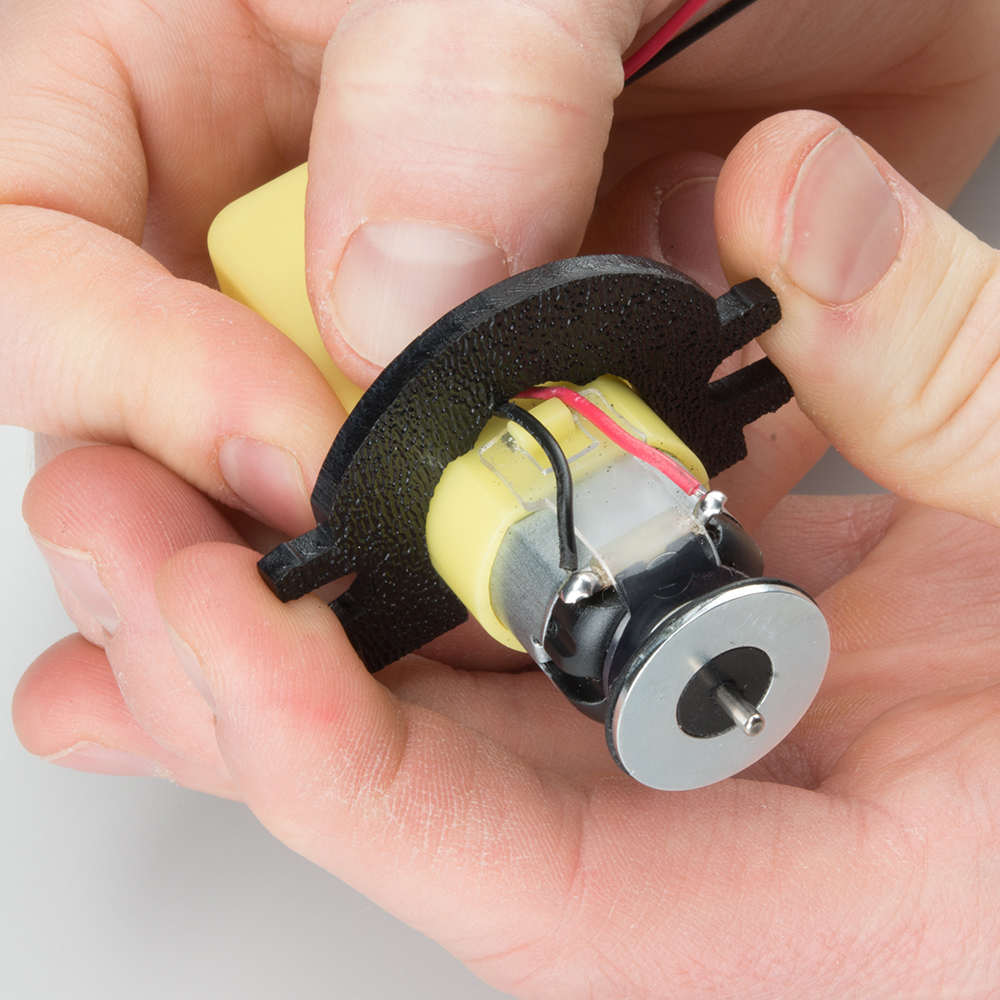
Repeat the process for the second motor.

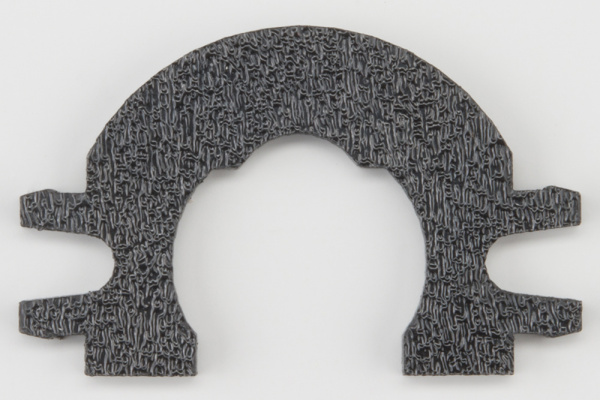
Attach the Front Motor Mounts
Slide a Front Motor Mount (C) onto the protruding eyelet on the front of a Motor (K). Ensure the rounded sides of the motor mounts are facing the same way.
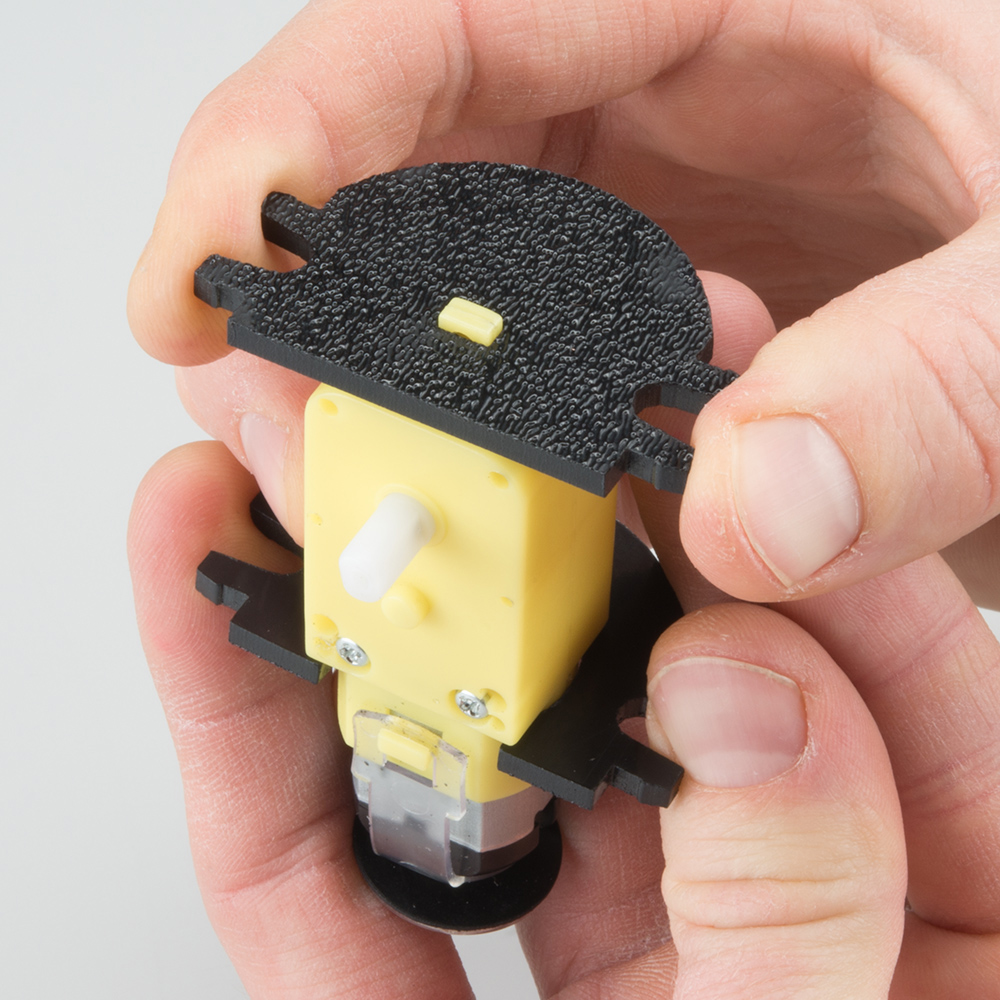
Repeat the process for the second motor.
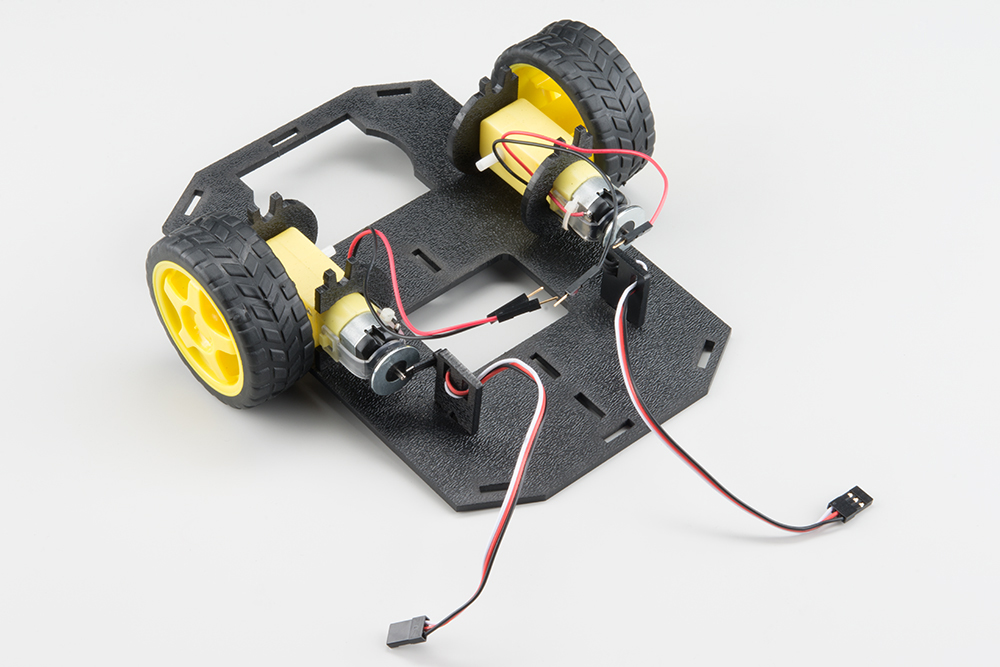
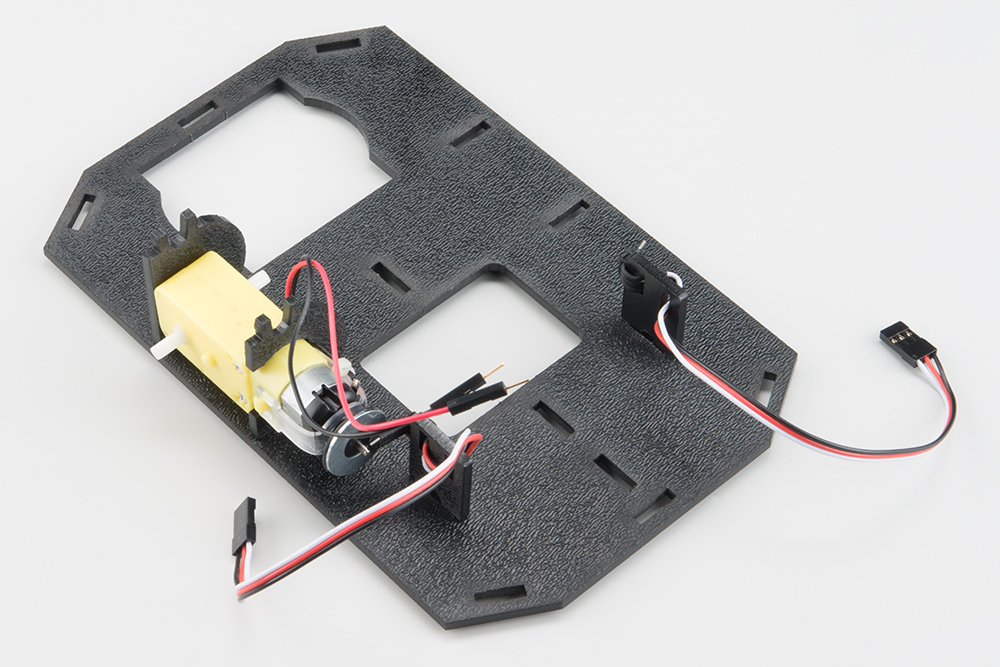
Attach the Motor Assemblies to the Chassis
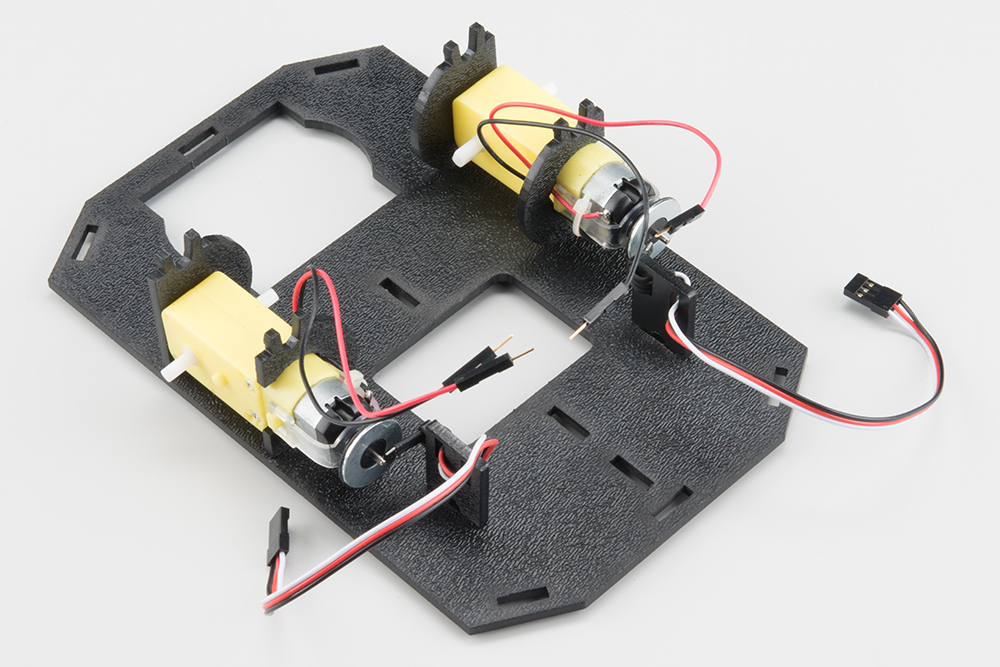
Snap one of the motor assemblies into the left 2 horizontal slots of the Bottom Chassis Plate (A). Make sure that the rounded edges of the motor mounts and the wires are facing toward the center of the chassis.
Snap the other motor assembly into the right 2 horizontal slots of the Bottom Chassis Plate (A). Again, make sure that the rounded edges of the motor mounts and the wires are facing the center of the chassis.
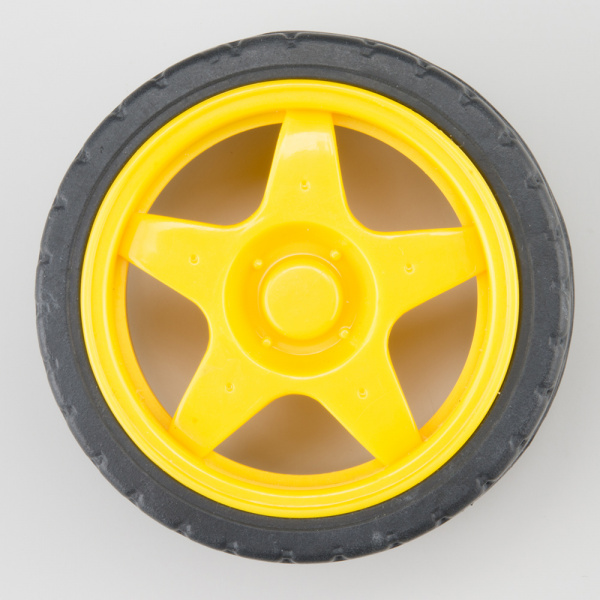
Attach the Wheels
Slide one Wheel (L) onto the plastic shaft of a Motor (K). Look at the motor shaft. Notice it has two flat edges. Make sure to line up the flat edges of the motor shaft with the flat edges of the wheel.
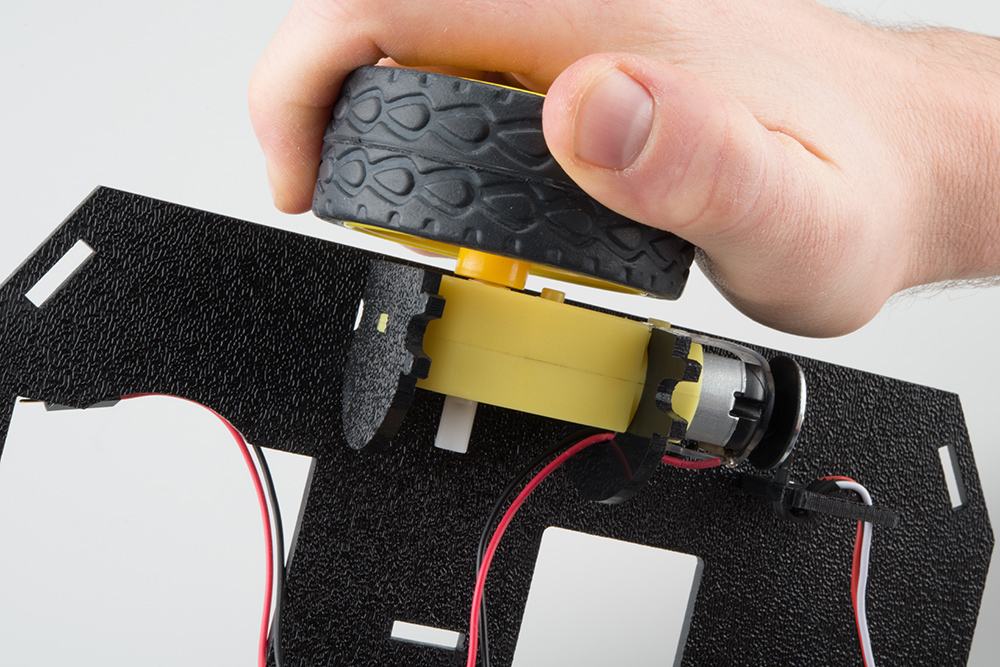
Repeat with the other wheel.