Blynk Board Project Guide
 jimblom
 Project 6: Automating With the Timer
A large chunk of Internet-of-Things projects revolve around home automation -- a classic example of which is automatically switching your lights on and off. Using the Blynk Timer widget, you can trigger specific outputs to fire at any time of the day -- even if your app is closed and your smart device is off!
The timer's pair of settings include a start time and a stop time. When the start time is triggered, the timer's configured pin turns HIGH. When the stop time is met, the pin goes back into a LOW state.
Blynk Setup
All you'll need for this project is the simple but powerful Timer widget.
Add a Timer Widget on V9
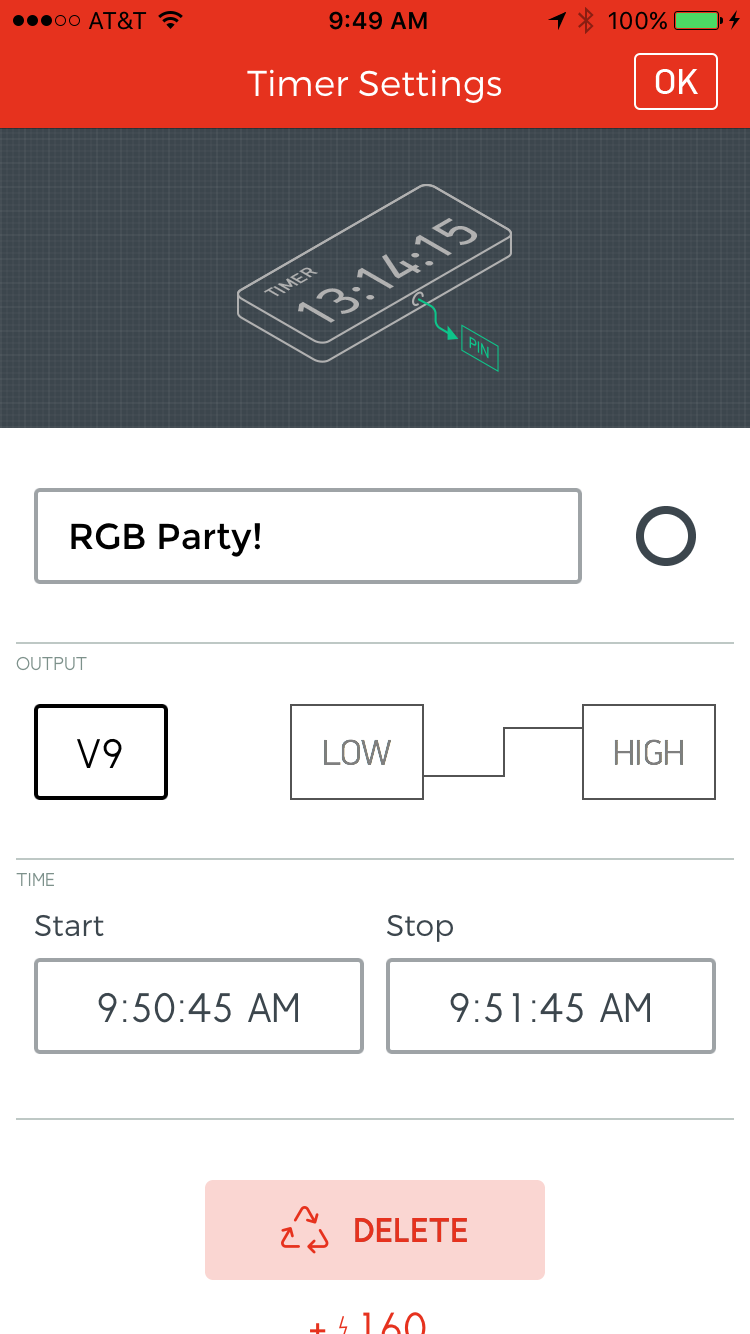
Add the Timer widget to your project -- you'll find it under the "Controllers" list. Then tap the widget to open up the settings page.
Depending on what you have plugged into the board, there are a variety of options available to you on the Pin setting. For now, let's use it to trigger an RGB light show. Set the Timer's pin to V9, which is configured to start Rainbow Mode on the Blynk Board's RGB LED.
Alternatively, you can use it to toggle any digital pin -- like the pin 5 blue LED, or an external LED on pins 12 or 13.
For experimenting purposes, set the start time to about a minute from now and the stop time to 30-60 seconds later. Once you get a feel for the timer, you can start using it more strategically.
As usual, give it any name and color you please.
Blynk Run
Once you've set your timer up, run the project. Hopefully you get it running before the timer's programmed Start Time! If not, stop and increase the start time another 30 seconds-or-so.
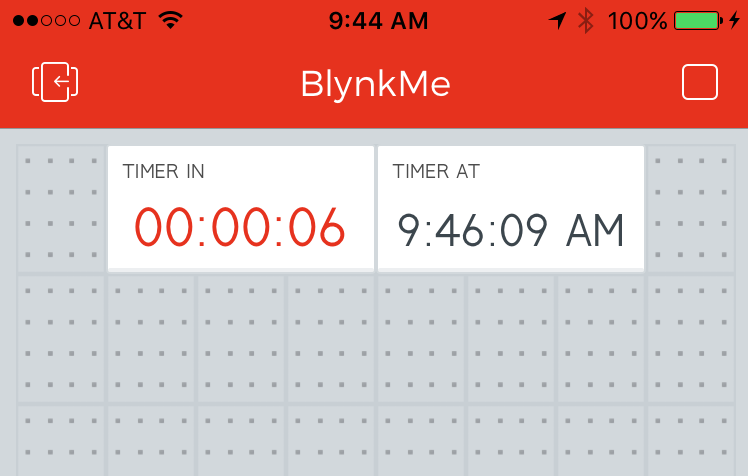
The timer has a hidden feature in run mode: if you tap it you can switch between the start-time display and a countdown display. Countdown display mode is especially handy while your just testing around.
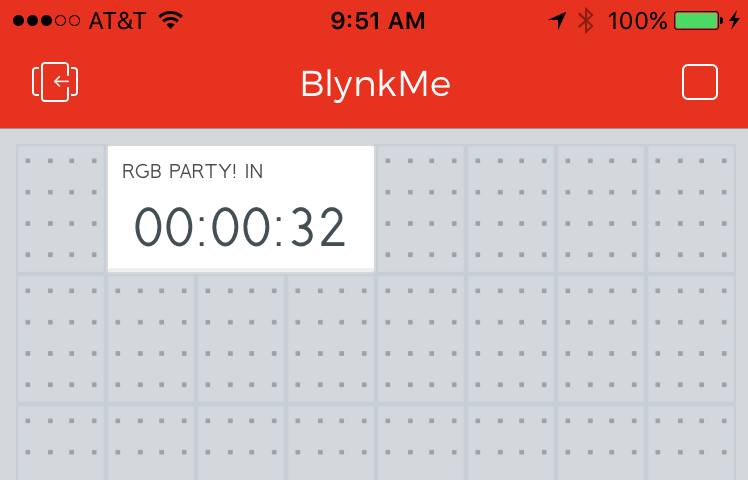
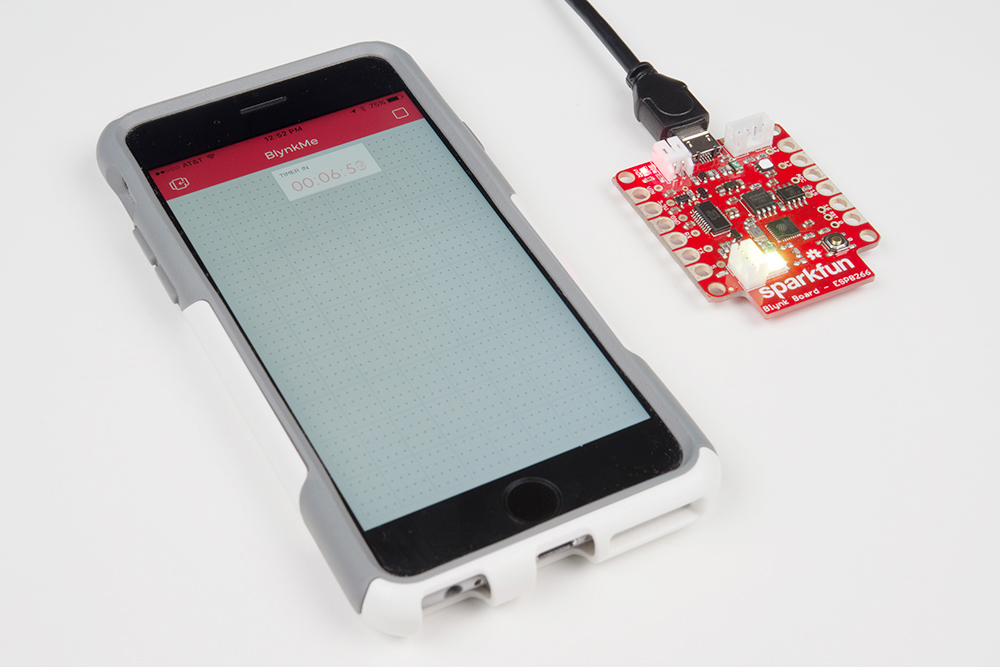
Once the timer triggers it will fade in and out to indicate the pin is on. If the timer's fading, your pin should be active. Watch the RGB do its hypnotic rainbow dance.
Once the timer hits the Stop Time, the LED should return to its previous duties -- waiting to shine another day (literally, you better adjust the start time again).
Going Further: Controlling Lamps With a Relay
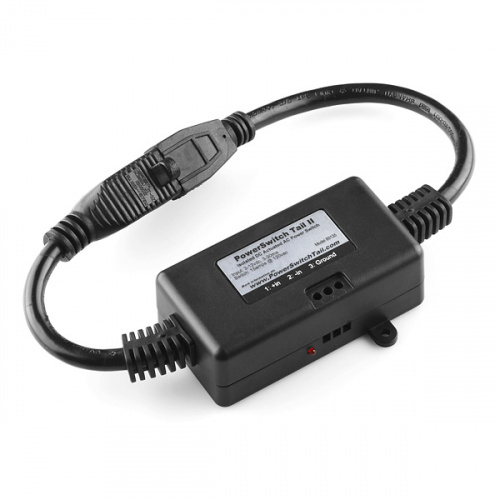
The PowerSwitch Tail and IoT Power Relay are our favorite general-purpose components in the catalog. With a simple HIGH/LOW signal from the Blynk Board, you can use the relay to control power to any device you would otherwise connect to a wall outlet. Best of all, it's completely enclosed and totally safe.
Parts Not Included
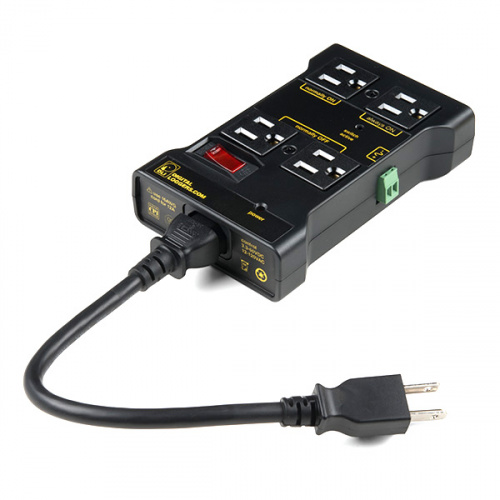
The PowerSwitch Tail used in this example is not included with the Blynk Board IoT Starter Kit. The IoT Power Relay is also not included and can be used as an alternative option to the PowerSwitchTail II.
To follow along with this example, you'll need the PowerSwitch Tail or the IoT Power Replay, a long, phillips-head screwdriver, a couple jumper wires and two alligator clip cables.
First, use your screwdriver to securely wire the jumpers into the PowerSwitch Tail's "+IN" and "-IN" pins (leave the "Ground" pin unconnected). Then clip alligator cables to the ends of those wires. Wire the "-IN"-connected cable to the Blynk Board's GND pin, and the "+IN" cable to the Blynk Board's pin 12.
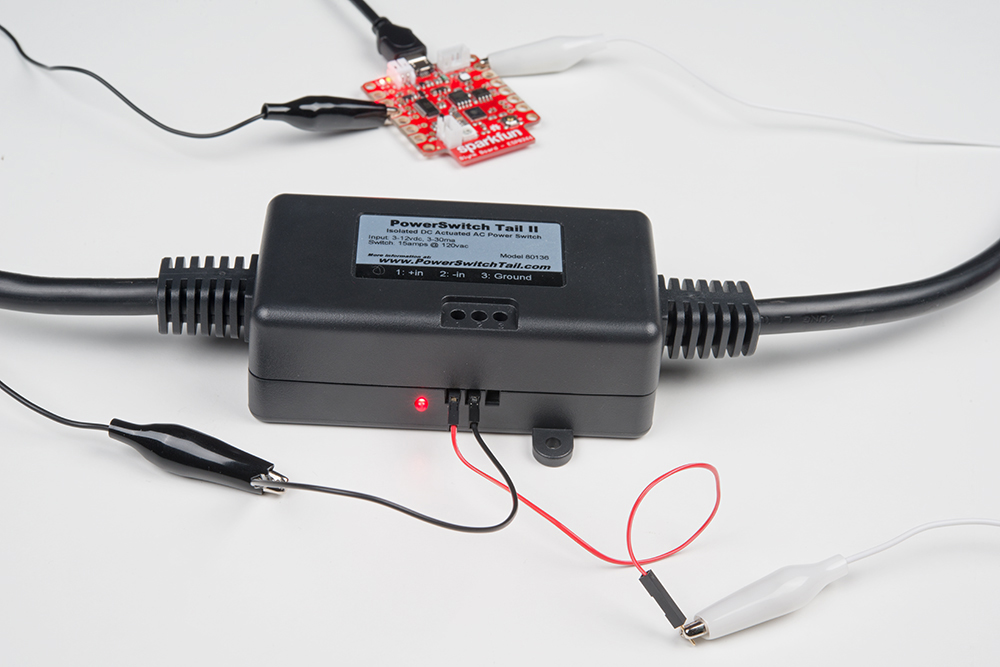
Plug a lamp, fan, or any device you'd like to automate into the PowerSwitch Tail's 3-prong female connector. Then connect male 3-prong connector into the wall.
Then set up a new timer -- this time connected to pin 12. Adjust the start and stop times, and have the Blynk Board make sure your lights are off when you're out of the house.