Blynk Board Washer/Dryer Alarm
 jimblom
Hardware Hookup
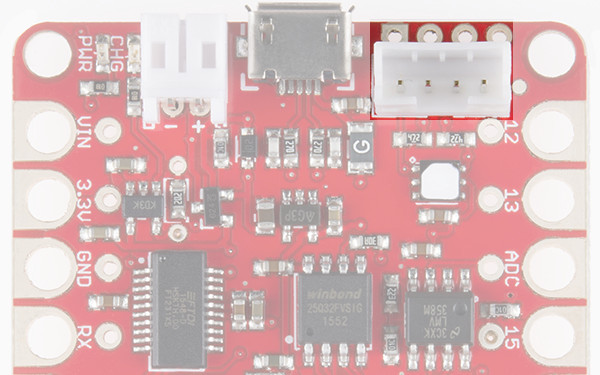
The MMA8452Q is controlled and monitored via an I2C interface interface -- a two-wire, serial interface popular among embedded electronics like this. On the Blynk Board, that interface is broken out to the 4-pin, white JST connector adjacent to the USB port.
Our 4-Pin JST wire assembly mates perfectly with that connector, but tying the other end to an accelerometer will require some soldering.
If you’ve never soldered before, don’t run off just yet! This is relatively simple soldering, and is a great introduction to the skill. Check out our How to Solder - Through Hole tutorial to learn how to get started.
Solder the JST Cable to the Accelerometer
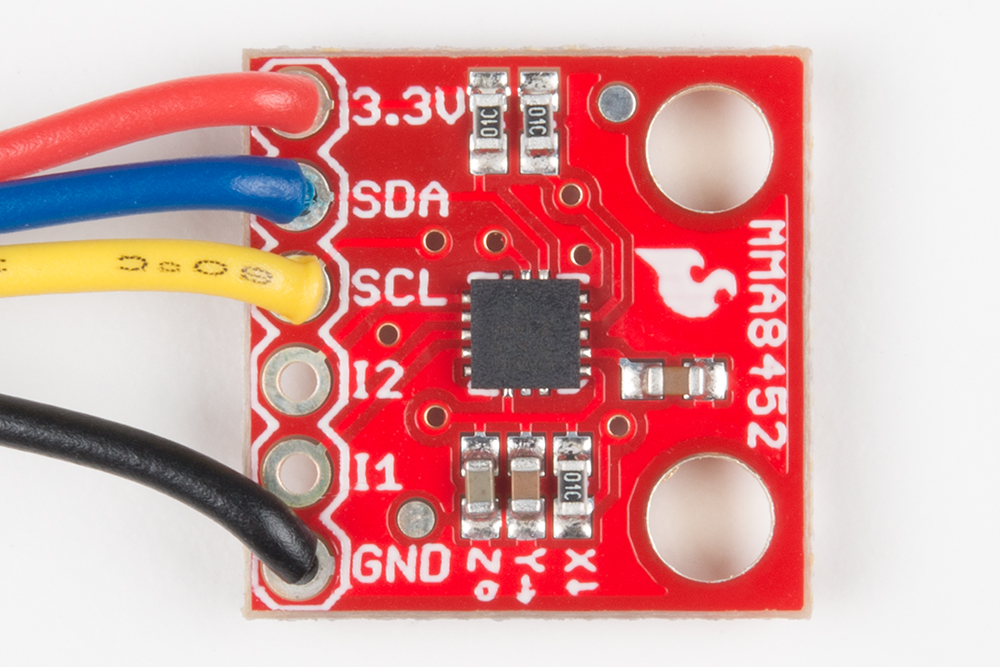
Plugged into the Blynk Board, the colors of the 4-wire JST assembly match up closely with what you'd expect. Black is ground, red is power (3.3V), yellow is SCL, and blue is SDA. That's exactly how you'll need to solder the accelerometer on the other end.
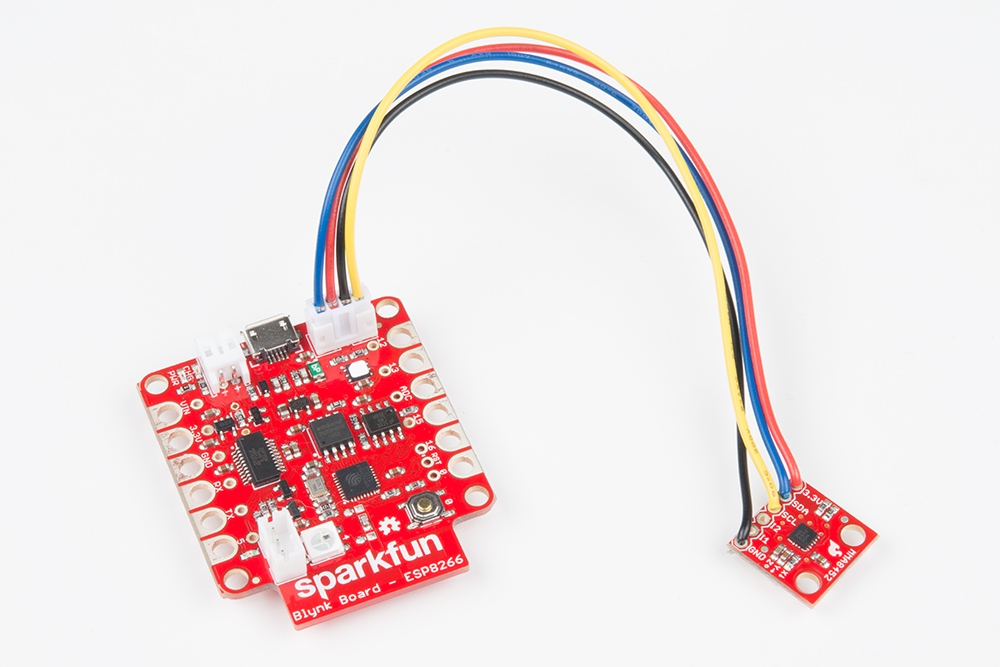
Once the JST cable is soldered into the accelerometer, simply plug the connector into the mating end of the Blynk Board.
Optional: Add a Battery
This project can take advantage of the Blynk Board's integrated LiPo battery charger. If you don't have an empty wall outlet nearby, you can simply plug the battery in and set the assembly on top of your washer/dryer.
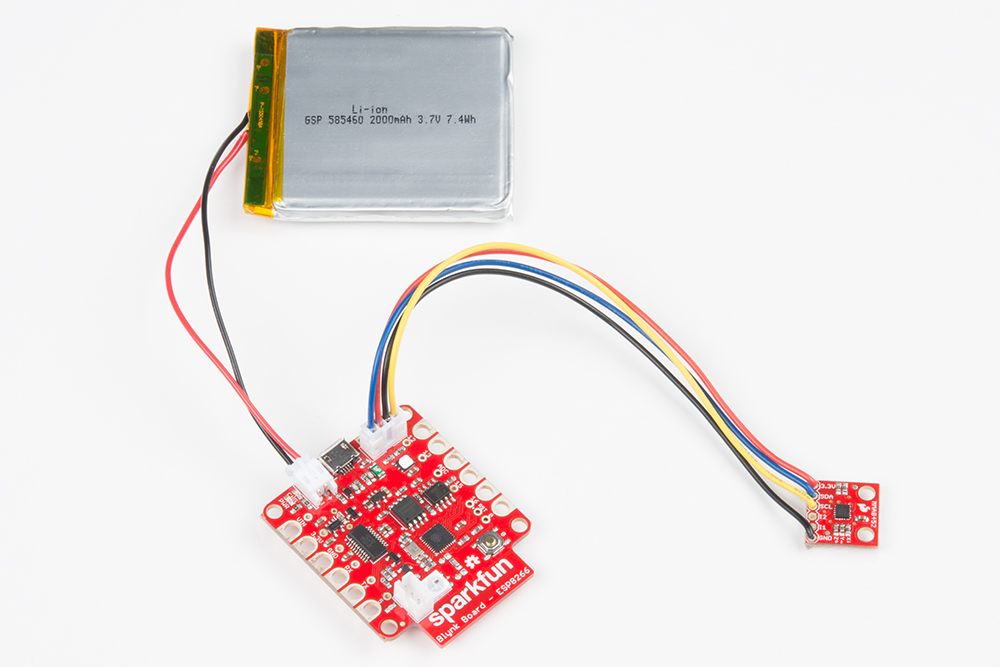
Any of our single-cell lithium-polymer batteries should work. If you're looking for suggestions, we find the 400mAh and 850mAh LiPo's to be a nice compromise between capacity and size.
To charge the battery, simply connect a USB cable (connected on the other end to either a computer or wall adapter) to the Blynk Board.