BMP180 Barometric Pressure Sensor Hookup
This Tutorial is Retired!
This tutorial covers concepts or technologies that are no longer current. It's still here for you to read and enjoy, but may not be as useful as our newest tutorials.
 MikeGrusin
Running the Example Sketches
Hopefully at this point you've installed the SFE_BMP180 library, and connected the hardware to your Arduino. Now we're ready to run the example sketches.
Running the Example Sketch
The library you just installed includes two example sketches that show basic operation of the BMP180. These are designed to be blueprints to help you write your own code.
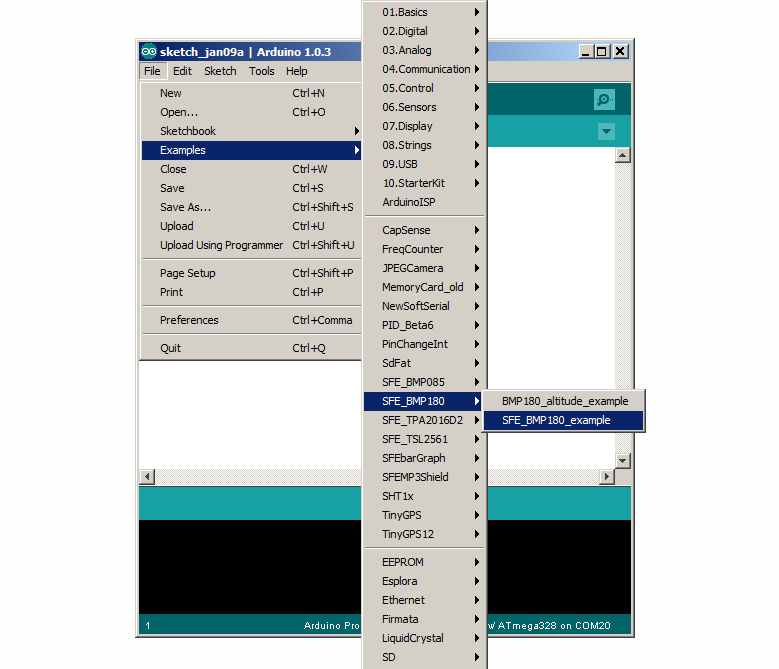
After you install the library, run the Arduino IDE, and open the following menu item: File / Examples / Sparkfun BMP180 / SFE_BMP180_example.
(If you don't see this menu item, you may not have installed the library correctly, or didn't restart the Arduino IDE. Take another look at the library installation page to see if you missed any steps.)
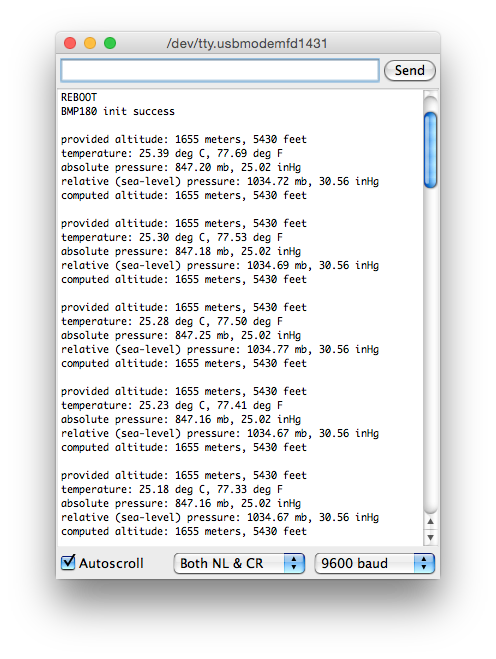
When the example opens, upload it to your Arduino (remember to select the correct board type and serial port), and open the Serial Monitor to 9600 baud. You should see some diagnostic information (if it can't find the device, double check your hardware connections) followed by pressure readings. For more about pressure, see the next section, Measuring Weather and Altitude. The readings in your terminal should look something like this, with data more relevant to your current location.
Writing Your Own Sketches
The comments and code in the example sketch should get you started when writing your own sketches. In many cases you should be able to copy and paste the example code into your own sketch.