Build a Qwiic Jukebox that is Toddler Approved!
Contributors:
 QCPete
QCPete Arduino Code
All of the Arduino code necessary for this project lives in a GitHub repository here:
Once you have your hardware all plugged in, follow these steps to get your jukebox up and running:
- Download the code from the GitHub project repository.
- Install the Arduino Library for Qwiic MP3.
- Upload the project sketches to your RedBoard Qwiic. There should be 3 tabs open in the Arduino IDE; one for each of project sketches.
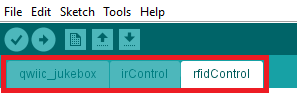 Project file tabs in Arduino IDE.
 - Open a terminal at 115200 bps and listen to debug messages.
- Determine each of your RFID tags' IDs, by holding each tag up to the reader and watching the serial monitor.
- Update the
tagList[]in therfidControl.inosketch.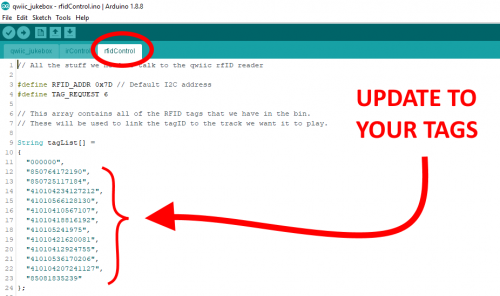
rfidControl.inosketch updated with the RFID tag IDs. (Click to enlarge) - Upload your modified code.
- Prepare your μSD card with the MP3 files.

The bones of this code come from these two examples: Qwiic MP3 Trigger: Example 1 and the Qwiic RFID: Example 1.
The main loop(), in the project sketch, basically does three things:
- Checks for new tags (either from the RFID or the IR crafty card reader). Updates active track if necessary.
- Checks PLAY button. Commands Qwiic MP3 board to play if pressed.
- Checks STOP button. Commands Qwiic MP3 board as necessary. Note, this also waits to see a second "tap" indicating the user wants PAUSE.
Note: The provided code in the repository does need to be modified in order to work. It will also need to know your RFID tags' IDs. If you listen on a terminal, it will tell you when a new tag is present and print out the unique ID.