Build a Qwiic Jukebox that is Toddler Approved!
 QCPete
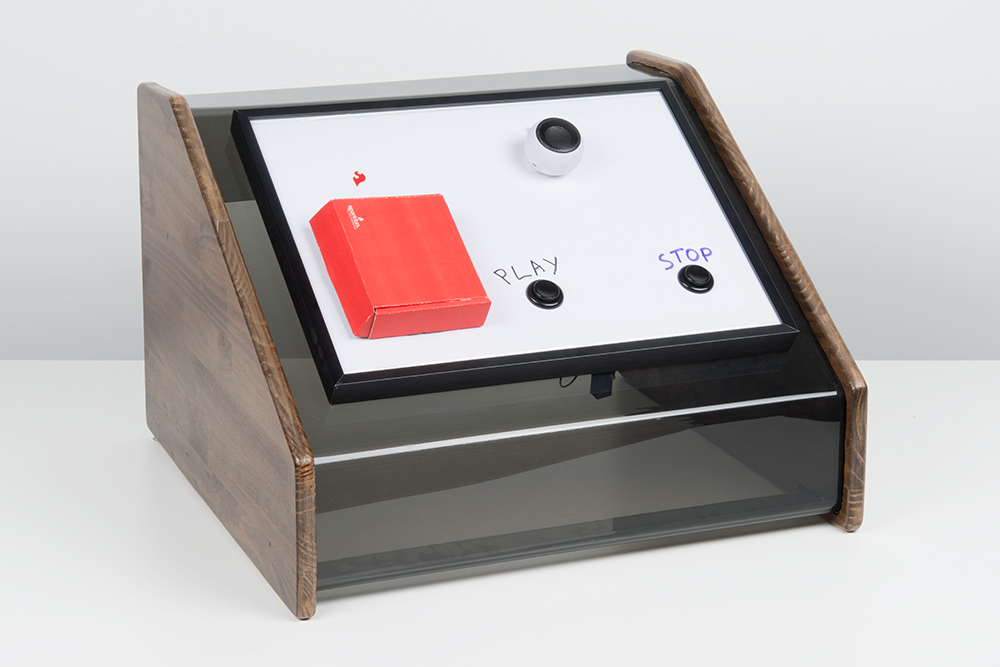
The Enclosure
A lot of my projects end up in some size of a cardboard red box, but for this one, I actually had an enclosure from a previous project sitting in my basement.
Shaping the Acrylic
As I was walking this project into the office, the first thing people asked me was, "Did you bend that acrylic?" Yep. It's actually not as difficult as it may seem. It requires a heating element strip that can be a little pricey. I believe the one we had at SparkFun was something similar to this.
The process is relatively simple, it involves planning your bend points. Then, you lay the acrylic piece on top of the heating element strip for a few minutes and it starts to get soft. If you hear crackling and see bubbles, then you've heated it too long.
I'd be curious if anyone reading has attempted to make their own heating element similar to this (or has any ideas on how to do it DIY). Please comment below. From all of the interest I have seen with this enclosure, I'm sure a cheaper DIY option would be very popular.
The Wooden Frame
For my enclosure, I opted to have wood sides. It makes for a nice finished look (without any screws or bolts showing). I used a hand router to make some channels where the edge of the bend acrylic would "press" into the side of my wood sides. Some great info on hand routing here.
If you had a CNC machinelike the Shapeoko XXL, you could design the route and get a much cleaner cut. To do it by hand, I layed my bent acrylic on it's side (on top of the wood), traced it, then slowly guided the router along the trace.
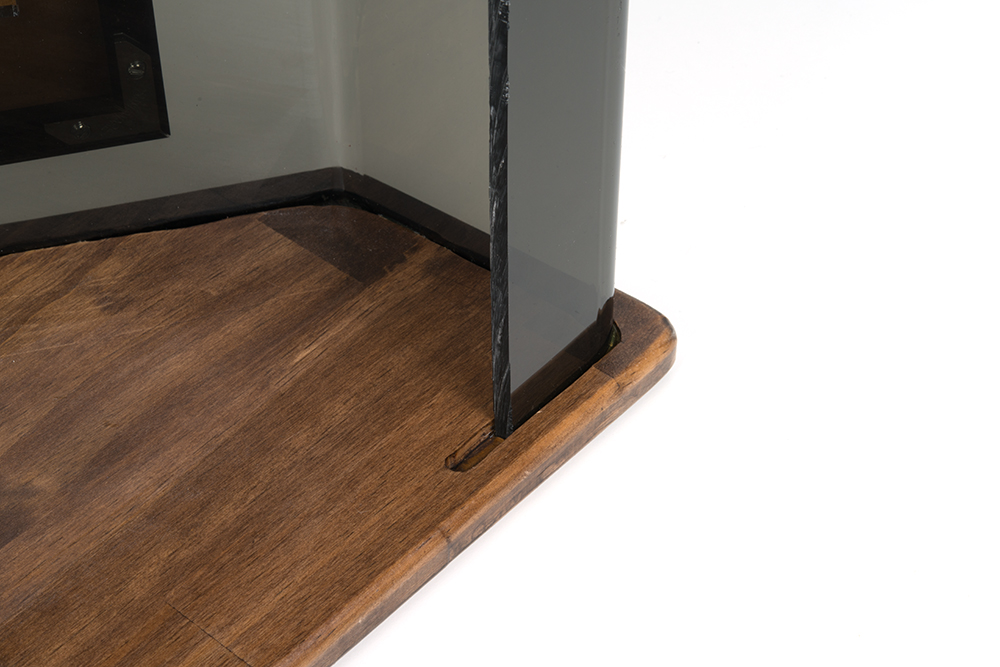
Imperfections on the inner cut. (Click to enlarge.)
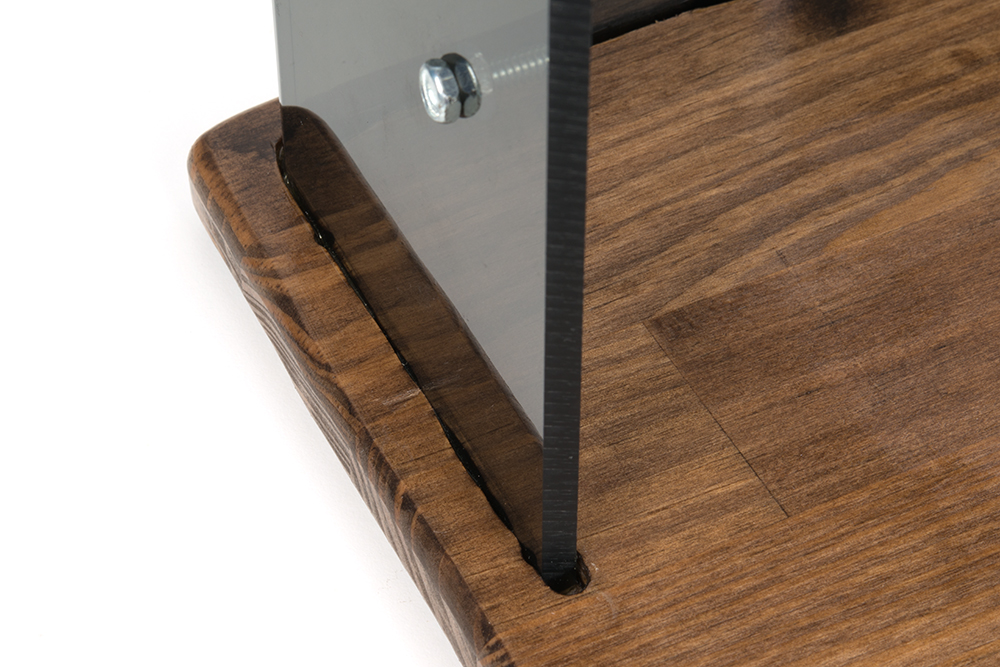
Frame glued with epoxy. (Click to enlarge.)
In the picture on the left, you can see how my route isn't perfectly straight, but ultimately the small imperfections will not be noticed. After a quick stain on the wood and a couple sprays of poly, the final step is to fill the route with a bead of epoxy and slide the acrylic into place (pictured on right).
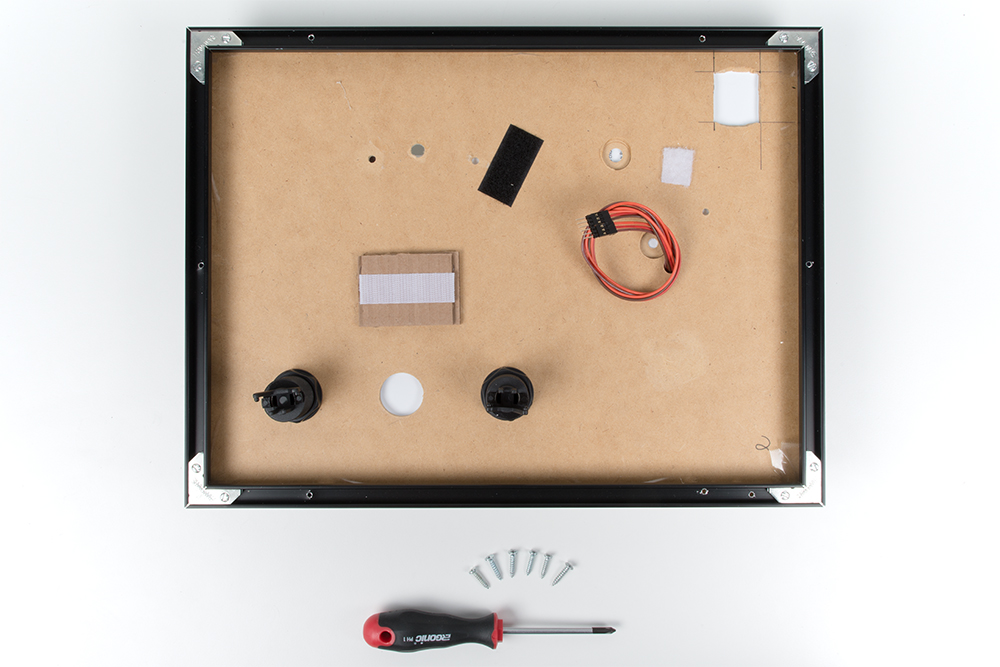
The Faceplate
I opted to have a removable faceplate, so that I could have better access to the electronics during development and eventually re-purpose this enclosure for various projects. I'm so glad I did, because it worked perfectly for this jukebox project.