Cackling Apple Head Witch
 Mando,
  MikeGrusin
Step 4: Sewing in Your Components
Now, you’ll take your interfacing and cut out an 18 inch diameter circle. After the circle is cut you’ll want to cut the circle in half.
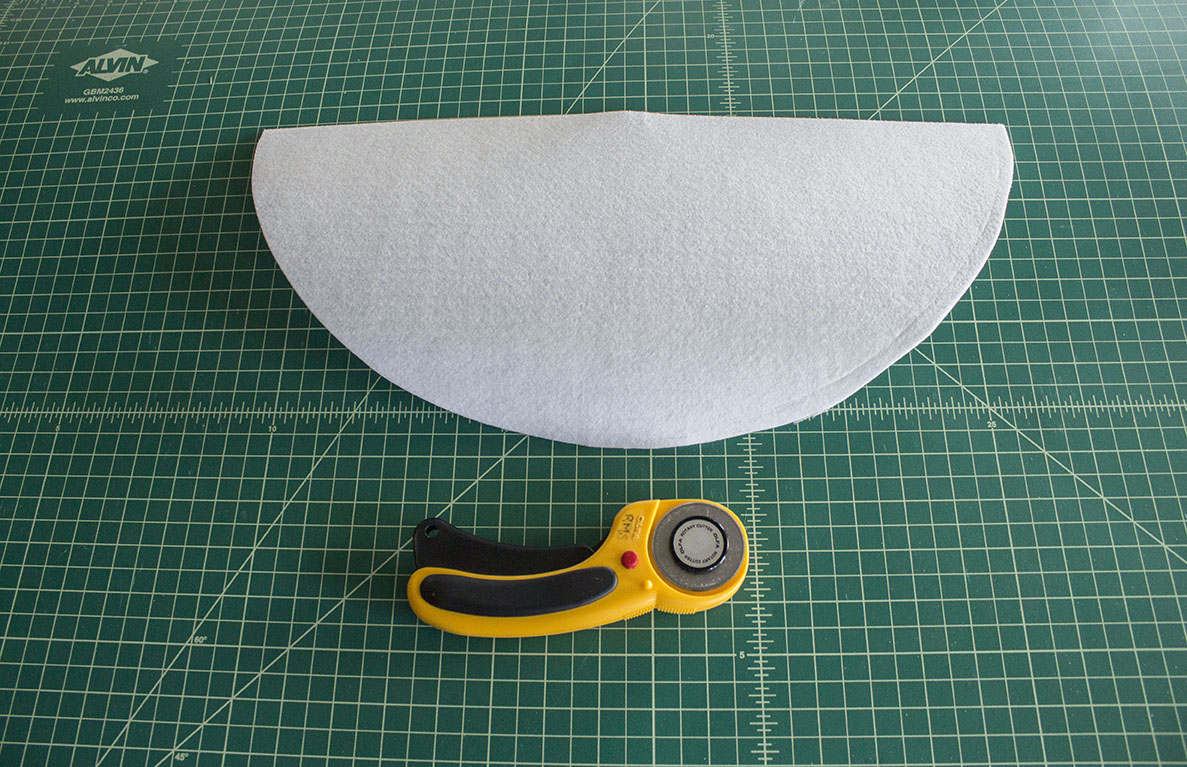
Grab your dress fabric and cut out a 19 inch diameter circle. You’ll want this circle to be just a tad bit bigger than the interfacing circle so that it covers up the interfacing and you'll only see the dress fabric. After the circle is cut you’ll want to cut the circle in half.

Hot glue (or an adhesive that bonds well with fabric) the dress fabric onto the interfacing making sure that you don’t see any of interfacing behind it. Make sure the two pieces are lined up well and that the bond is clean and tight with no wrinkles. This is one of the main focal points of the witch, so you want it to look good!
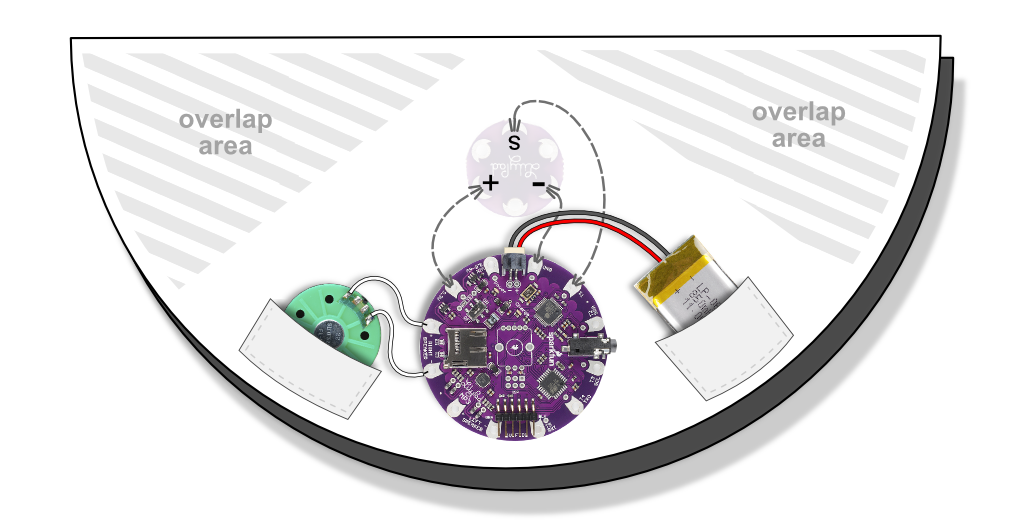
Next, take your LilyPad MP3 with the soldered speaker and position it inside of the dress with the speaker facing outward towards the front. By doing this you'll be able to hear the cackle more clearly when it is turned on. The MP3 Trigger may be hot glued to the inside of the dress. When hot gluing the MP3 board to the dress, make sure to avoid gluing any areas with exposed pins that are on the board. Make sure the side with the components on the MP3 board is facing out so you can easily access the pins.
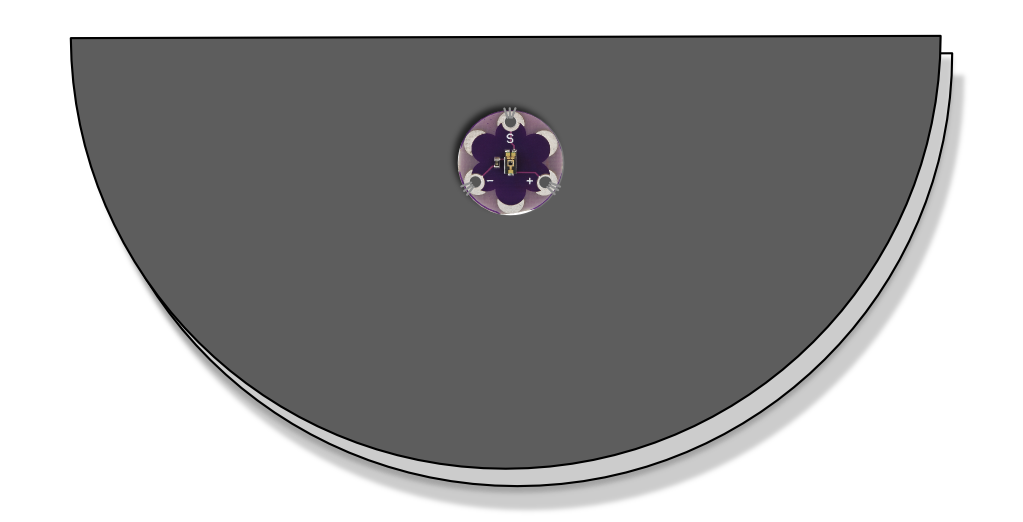
Take your LilyPad light sensor, and figure out where you want it to be sewn into the dress. I find that the best place is the front of the dress for the best light exposure.
You’re going to carefully sew traces to each of the following through the dress:
| from | to |
| S pin on the LilyPad light sensor | T1 pin on the MP3 Trigger |
| negative pin (-) on the LilyPad light sensor | GND (ground) pin on the MP3 Trigger |
| positive pin (+) on the LilyPad light sensor | 3.3v pin on the MP3 Trigger |
Next, cut out two 3 inch squares of a sturdy fabric (felt will do). These are going to be your pockets for your speaker and battery to sit in inside of the dress .
Position the pockets so that they sit close to the front of the dress. Hot glue the sides and bottom of the squares and position them within the dress on the interfacing. Test to make sure your speaker and battery will sit nicely inside the pockets.