Computer Vision and Projection Mapping in Python
Calibrate the Camera
Camera calibration is one of those really important steps that shouldn't be overlooked. With the reduction in price of small cameras over the years, we've also seen a significant increase in the amount of distortion their optics introduce. Calibration allows us to gather the camera's intrinsic properties and distortion coefficients so we can correct it. The great thing here is that, as long as our optics or focus don't change, we only have to calibrate the camera once!
Another important general note about camera calibration that doesn't apply to our project, but can be very helpful is that camera calibration also allows us to determine the relationship between the camera's pixels and real world units (like millimeters or inches).
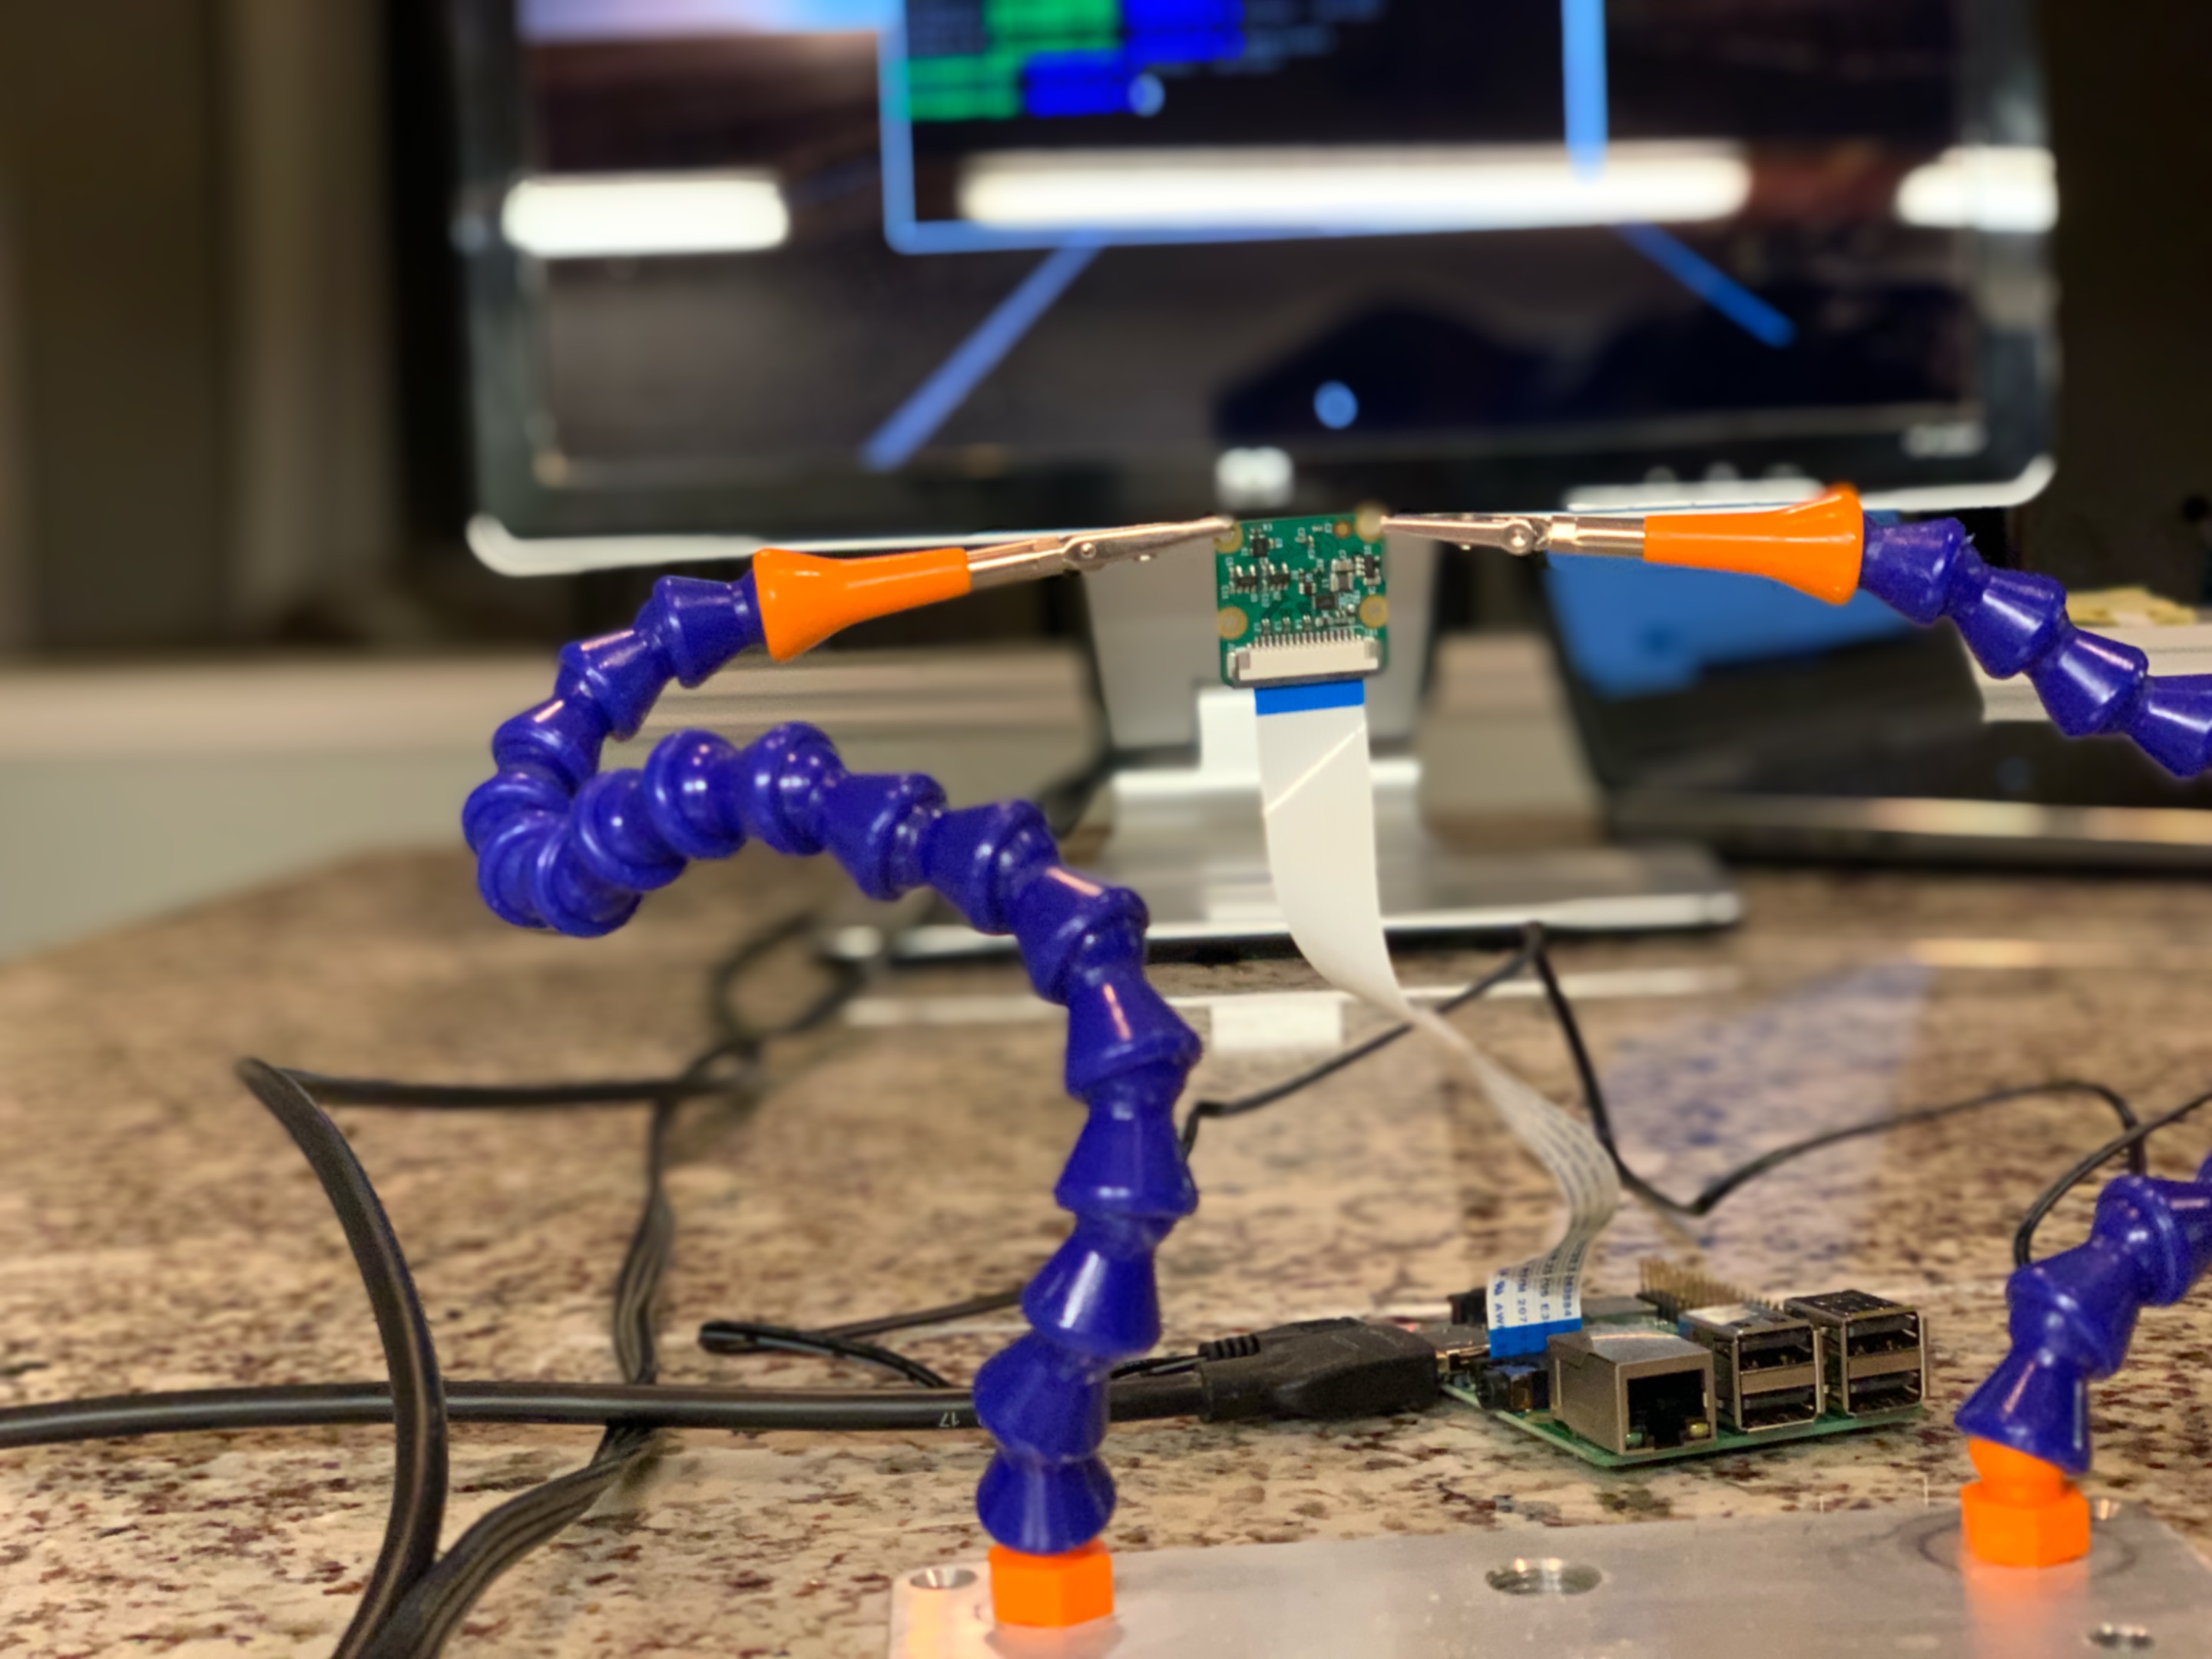
For my calibration setup, I mounted my Pi Camera module in some helping hands, and pointed it directly at my monitor. We need the calibration pattern to be on a flat surface, and instead of printing and mounting it, I figured this was easier. All of the documentation I found stressed the importance of capturing multiple view points of the calibration patter, but I'll admit, I only used one view point for this demo and you'll see that in the code. I've tried other calibration techniques gathering multiple views as well, and I found putting the calibration image on a tablet was useful. The screen of the tablet is very flat, and the fact that image is emitted light, not reflected, makes the ambient lighting not matter.
Let's start looking at the code
language:python
#! /usr/bin/env python3

"""
    A script to calibrate the PiCam module using a Charuco board
"""

import time
import json

import cv2

from cv2 import aruco
from imutils.video import VideoStream

from charuco import charucoBoard
from charuco import charucoDictionary
from charuco import detectorParams
We'll start all of our files with a #! statement to denote what program to use to run our scripts. This is only important if you change the file to be executable. In this tutorial we will be explicitly telling Python to run the file, so this first line isn't particularly important.
Moving on from there, we need to specify all of the import statements we will need for the code. You'll see I've used two different styles of import here: the direct import and the from. If you haven't run across this syntax before, it allows us to be specific about what we are including, as well as minimizes the typing required to access our imported code. A prime example is how we import VideoStream; we could have imported imutils directly and still accessed VideoStream like so:
language:python
import imuitls
vs = imutils.video.VideoStream
Another note about organization. I like to group my import statements by: included in Python, installed dependency, from statements included with Python (there are none in this case), from installed dependencies, and from created libraries. The charuco library is one I made to hold some values for me.
Now let's look at the functions we've put together to help us here.
language:python
def show_calibration_frame(frame):
    """
    Given a calibration frame, display the image in full screen
    Use case is a projector.  The camera module can find the projection region
    using the test pattern
    """
    cv2.namedWindow("Calibration", cv2.WND_PROP_FULLSCREEN)
    cv2.setWindowProperty("Calibration", cv2.WND_PROP_FULLSCREEN, cv2.WINDOW_FULLSCREEN)
    cv2.imshow("Calibration", frame)
This function allows us to easily use cv2 to show an image in full screen. There are several times while running this code where we will need to have a test pattern or image fill the available area. By naming our window we can find it later to destroy it.
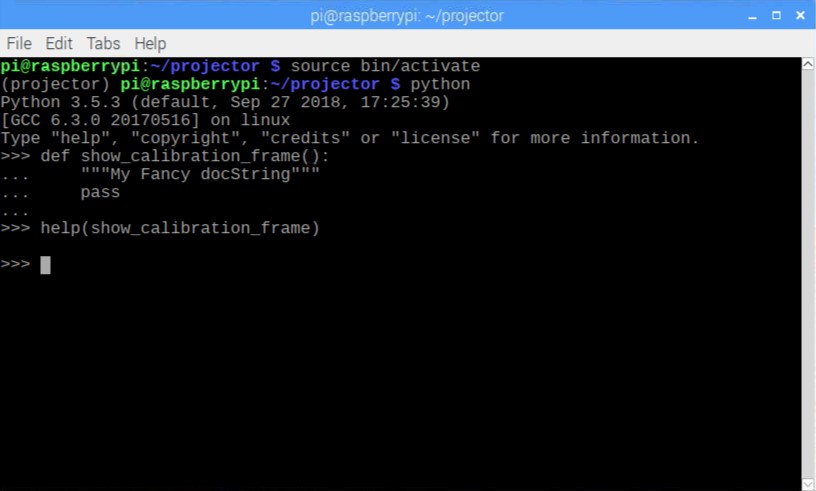
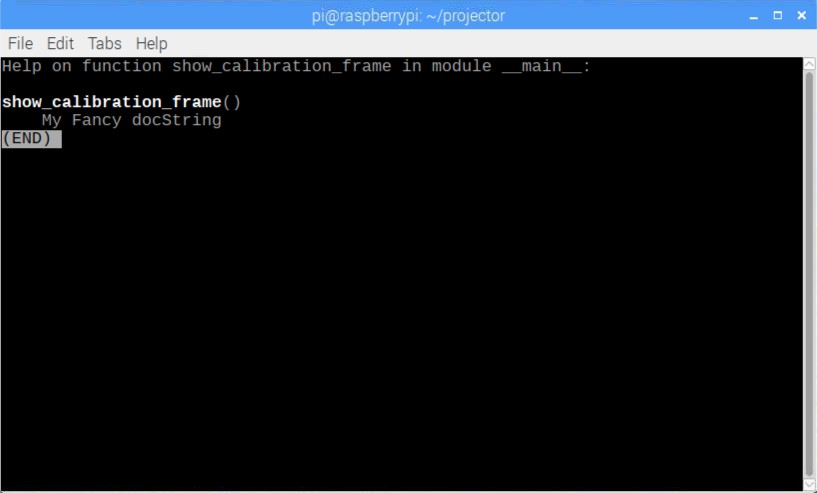
In Python, it's a good idea to add a docstring after the function declaration. This is just a string hanging out, but it's given some extra consideration. For example, if you document your code this way, the Python console can tell you information about a function by using the help command.
language:python
def hide_calibration_frame(window="Calibration"):
    """
    Kill a named window, the default is the window named "Calibration"
    """
    cv2.destroyWindow(window)
Here's our function that destroys our full screen image once we're done with it. The important thing to notice is that the names must match when the full screen image is created and destroyed. This is handled here by our default parameter, window="Calibration".
language:python
def save_json(data):
    """
    Save our data object as json to the camera_config file
    :param data: data to  write to file
    """
    filename = 'camera_config.json'
    print('Saving to file: ' + filename)
    json_data = json.dumps(data)
    with open(filename, 'w') as f:
        f.write(json_data)
Here we have a helper function that takes an object that we pass in, and writes it into a JSON file for us. If you're new to Python, it's worth mentioning the context manger we use when writing to the file.
The with open line above limits how long we have the file open in our script. We don't have to worry about closing the file after we're finished, as soon as we leave the scope of the with statement, the file is closed on our behalf.
language:python
def calibrate_camera():
    """
    Calibrate our Camera
    """
    required_count = 50
    resolution = (960, 720)
    stream = VideoStream(usePiCamera=True, resolution=resolution).start()
    time.sleep(2)  # Warm up the camera
Here we do some setup. We'll be looking to make sure we have at least 50 marker points for our calibration. We also set the camera resolution, as well as start the camera thread. We insert the sleep to make sure the camera stream is warmed up and providing us data before we move on.
language:python
   all_corners = []
    all_ids = []

    frame_idx = 0
    frame_spacing = 5
    success = False

    calibration_board = charucoBoard.draw((1680, 1050))
    show_calibration_frame(calibration_board)
Here is the last part of our setup. We make some lists to hold our discovered points, and set our frame offset. We don't really need to check every frame here, so it can help speed up our frame rate to only check every fifth frame.
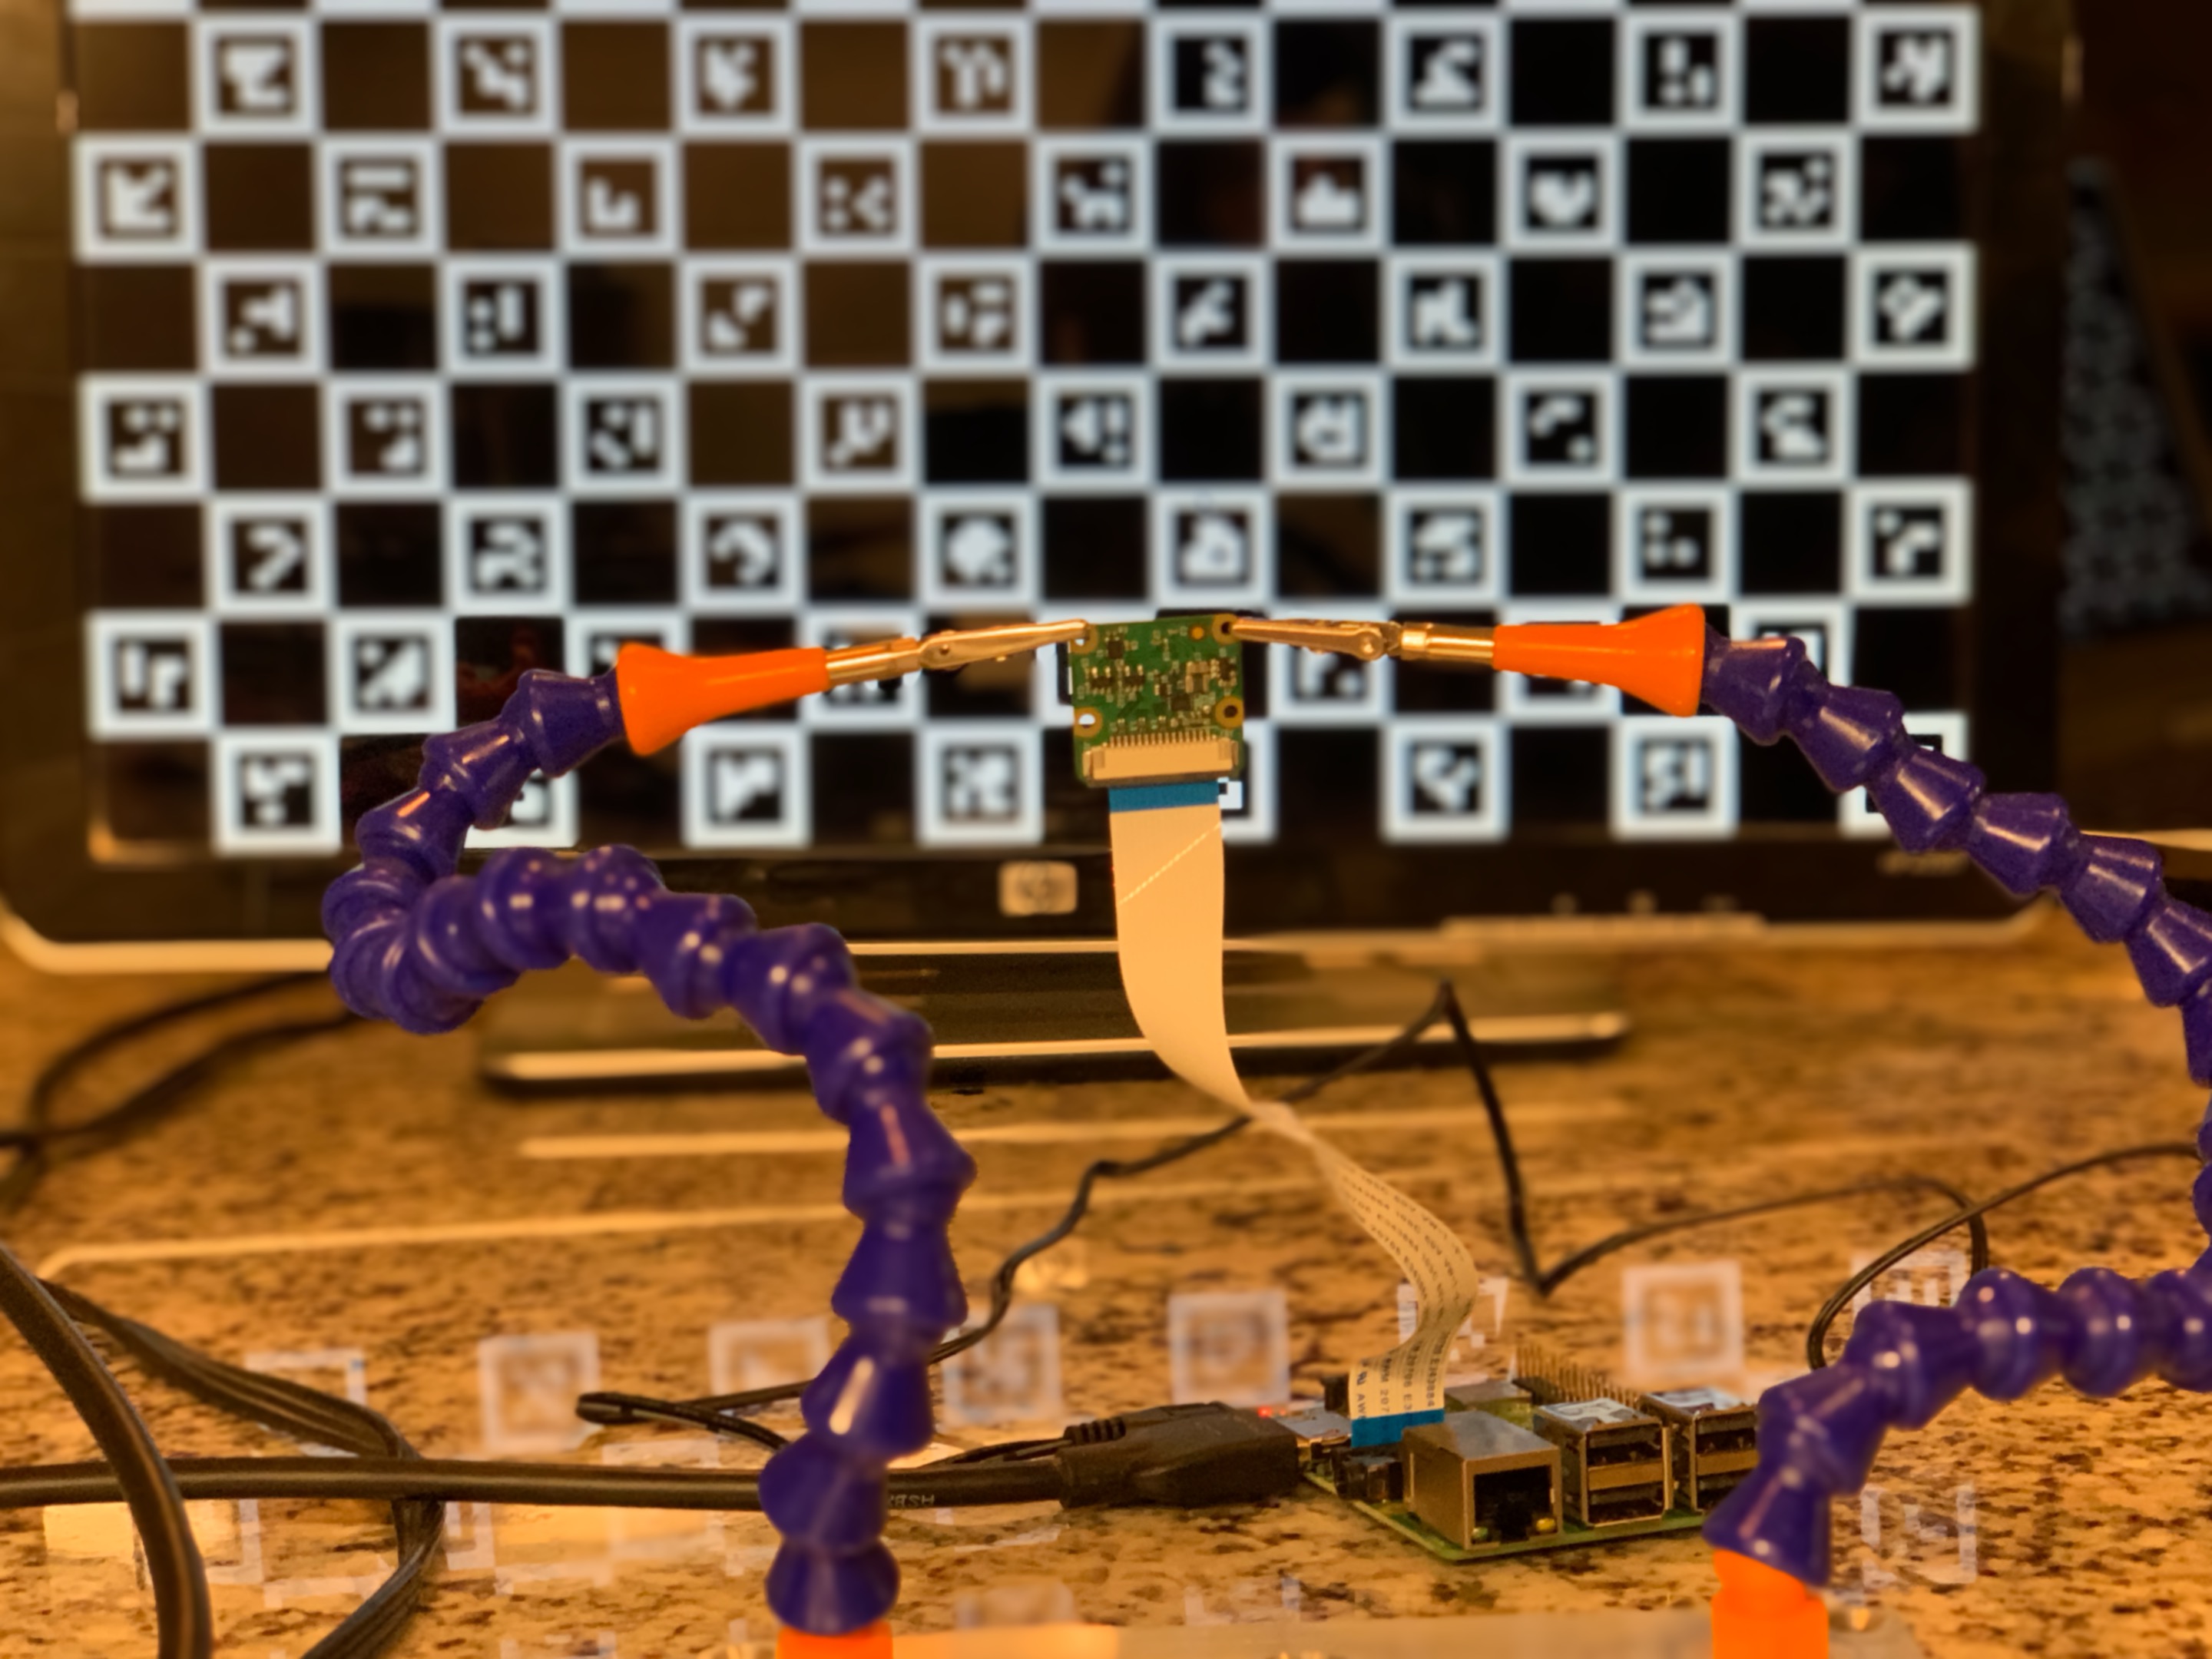
We also load in our charuco board. Charuco boards are a combination of aruco markers (think along the lines of QR code marker) and a chessboard pattern. With the combination of both technologies, it is actually possible to get sub pixel accuracy.
You can find more information about the markers here.
language:python
    while True:
        frame = stream.read()
        gray = cv2.cvtColor(frame, cv2.COLOR_BGR2GRAY)

        marker_corners, marker_ids, _ = aruco.detectMarkers(
            gray,
            charucoDictionary,
            parameters=detectorParams)
Here we start the main loop where we will do our work. We start by getting a frame from the Pi Camera module and converting it to grayscale. Once we have our grayscale image, we feed it into OpenCV's detector along with the original dictionary we used when creating the board. Each marker is encoded with an ID that allows us to identify it, and when combined with the board placement, it gives us accurate information even if the board is partially occluded.
Another thing to point out here if you're new to Python is the unpacking syntax used for assignment. The aruco.detectMarkers function returns a tuple containing three values. If we provide three separate comma separated variables, Python will assign them in order. Here we are only interested in two of the values, so I've stuck an underscore in place as the last variable. An alternative would have been
language:python
return_val = aruco.detectMarkers(
    gray,
    charucoDictionary,
    parameters-detectorParams)
marker_corners = return_val[0]
marker_ids = return_val[1]
Let's continue with our original code.
language:python
       if len(marker_corners) > 0 and frame_idx % frame_spacing == 0:
            ret, charuco_corners, charuco_ids = aruco.interpolateCornersCharuco(
                marker_corners,
                marker_ids,
                gray,
                charucoBoard
                )
            if charuco_corners is not None and charuco_ids is not None and len(charuco_corners) > 3:
                all_corners.append(charuco_corners)
                all_ids.append(charuco_ids)

            aruco.drawDetectedMarkers(gray, marker_corners, marker_ids)
Next we check to see if we found any marker corners, and whether we've reached our fifth frame. If all is good, we do some processing on our detected corners, and make sure the results pass some data validation. Once everything checks out, we add the markers into the lists we set up outside of our loop.
Lastly, we draw our detected marker on our camera image.
language:python
        if cv2.waitKey(1) & 255 == ord('q'):
            break
Here we've added a check to see if the q key is pressed. If it is, we bail on the while loop. OpenCV is a little strange on how it wants to check keys, so we need to bitwise & the key value with 255 before we can compare it to the ordinal value of our key in question.
language:python
       frame_idx += 1
        print("Found: " + str(len(all_ids)) + " / " + str(required_count))

        if len(all_ids) >= required_count:
            success = True
            break
    hide_calibration_frame()
At this point we have ether successfully found the points we need, or we've hit the q key. In both cases, we need to stop showing our full screen calibration image.
language:python
    if success:
        print('Finished collecting data, computing...')

        try:
            err, camera_matrix, dist_coeffs, rvecs, tvecs = aruco.calibrateCameraCharuco(
                all_corners,
                all_ids,
                charucoBoard,
                resolution,
                None,
                None)
            print('Calibrated with error: ', err)

            save_json({
                'camera_matrix': camera_matrix.tolist(),
                'dist_coeffs': dist_coeffs.tolist(),
                'err': err
            })

            print('...DONE')
        except Exception as e:
            print(e)
            success = False
From here, if we've collected the appropriate number of points, we need to try to calibrate the camera. This process can fail, so I've wrapped it in a try/except block to ensure we fail gracefully if that's the case. Again, we let OpenCV do the heavy lifting here. We feed our found data into their calibrator, and save the output. Once we have our camera properties, we make sure we can get the later, by saving them off as a JSON file.
language:python
        # Generate the corrections
        new_camera_matrix, valid_pix_roi = cv2.getOptimalNewCameraMatrix(
            camera_matrix,
            dist_coeffs,
            resolution,
            0)
        mapx, mapy = cv2.initUndistortRectifyMap(
            camera_matrix,
            dist_coeffs,
            None,
            new_camera_matrix,
            resolution,
            5)
        while True:
            frame = stream.read()
            if mapx is not None and mapy is not None:
                frame = cv2.remap(frame, mapx, mapy, cv2.INTER_LINEAR)

            cv2.imshow('frame', frame)
            if cv2.waitKey(1) & 255 == ord('q'):
                break

    stream.stop()
    cv2.destroyAllWindows()
In this last section we leverage OpenCV to give us the new correction information we need from our camera calibration. This isn't exactly necessary for calibrating the camera, but as you see in the nested while loop, we are visualizing our corrected camera frame back on the screen. Once we've seen our image, we can exit by pressing the q key.
language:python
if __name__ == "__main__":
    calibrate_camera()
Here's our main entry point. Again, if you're new to Python, this if __name__ == "__main__": statement might look a bit weird. When you run a Python file, Python will run EVERYTHING inside the file. Another way to think about this is if you want a file loaded, but no logic executed, all code has to live inside of a class, function, conditional, etc. This goes for imported files as well. What this statement does is make sure that this code only runs if it belongs to the file that was called from the command line. As you'll see later, we have code in this same block in some of our files, and it allows us to import from them without running as if we were on the command line. It lets us use the same file as a command line program and a library at the same time.
Now let's take a look at what's in our imported charuco file.
language:python
#! /usr/bin/env python3

from cv2 import aruco

inToM = 0.0254

# Camera calibration info
maxWidthIn = 17
maxHeightIn = 23
maxWidthM = maxWidthIn * inToM
maxHeightM = maxHeightIn * inToM

charucoNSqVert = 10
charucoSqSizeM = float(maxHeightM) / float(charucoNSqVert)
charucoMarkerSizeM = charucoSqSizeM * 0.7
# charucoNSqHoriz = int(maxWidthM / charucoSqSizeM)
charucoNSqHoriz = 16

charucoDictionary = aruco.getPredefinedDictionary(aruco.DICT_4X4_100)
charucoBoard = aruco.CharucoBoard_create(
    charucoNSqHoriz,
    charucoNSqVert,
    charucoSqSizeM,
    charucoMarkerSizeM,
    charucoDictionary)

detectorParams = aruco.DetectorParameters_create()
detectorParams.cornerRefinementMaxIterations = 500
detectorParams.cornerRefinementMinAccuracy = 0.001
detectorParams.adaptiveThreshWinSizeMin = 10
detectorParams.adaptiveThreshWinSizeMax = 10
I've put up the relevant portions of the file here. There's a bit more that is used in another file where I was attempting an alternative approach, so you can just disregard that for now. As you can see, the file is mostly just constants and a little work to build our board and set up our parameters. One thing to notice here is our code does not live inside a class, function, or conditional. This code is run at import time, and before any of our main code is run! This way we can make sure all of our values are correct and available to us when we're ready to use them.
The full working examples can be found in the GitHub repo as the aruco_calibration.py and charuco.py files.