Customizing LilyPad LED Colors
 Dia
Dia 
Coat Your LEDs
Let's get started!
But first, let's spend a moment with this very informative label. "Danger", it says. "Poison Flammable", it continues. The skull and crossbones figure is displayed prominently, though there are no indications that this product is intended for acts of piracy.
Please treat this product carefully, read all warning labels before starting, and don't let kids participate in this part of the activity. If you must, try clear nail polish as an alternative. I prefer the silicon coating, because, when dried, it's heat resistant. So, if I want to solder the LEDs later, I won't have to worry them discoloring. The consistency is also just right for getting the coverage I want. But use whichever product is best and safest for your application!
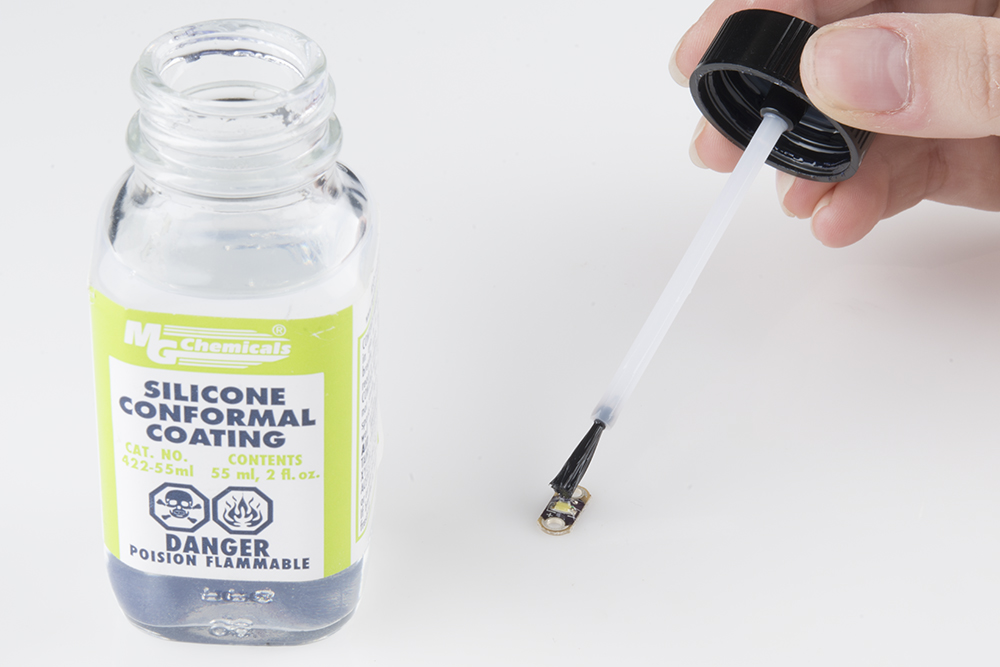
The conformal coating has a built-in brush, which makes it easy to apply. You don't want so much coating on the brush that it's going to drip everywhere and make a mess, but you DO want it to flow easily from the brush to the LED.
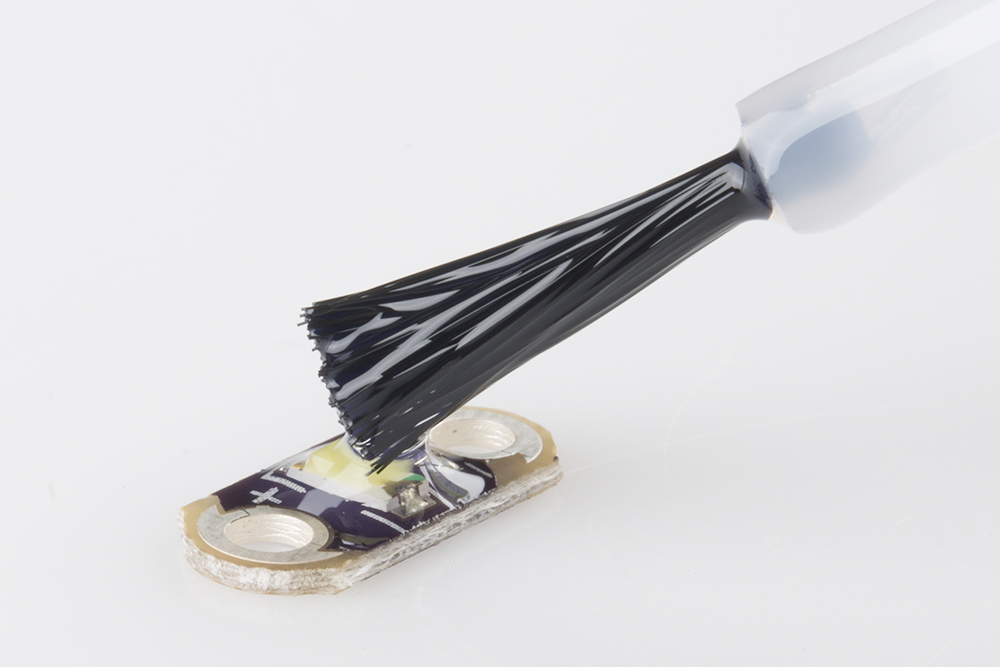
You should be leaving a nice blob of coating on top of the LED that covers both the LED and the surrounding area, but not the silver tabs on the sides. It might take a couple of tries to get this just right, but the surface tension of the coating is your friend here. Err on the side of caution, since you can always add more, but it's going to be a lot harder to take some away.
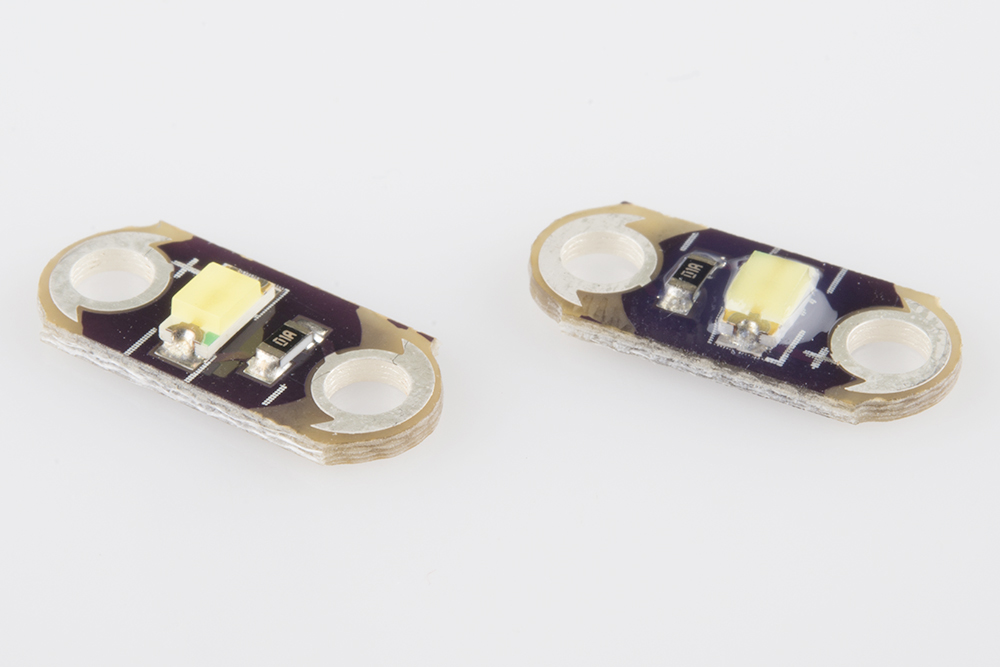
Here's a properly coated LED next to an uncoated one, so you can see the difference. Let these dry completely before continuing to the next step.