Digital Sandbox Arduino Companion
 jimblom
3. Dimming (the Hard Way)
Yikes! Those white LEDs are blindingly bright! Is there any way to dim them? (Unless one of your hobbies is staring into the sun, we recommend putting a piece of paper over the LEDs in this experiment...or wear sunglasses.)
Background Information
Remember that the Digital Sandbox is fast. It can flick an LED on and off millions of times per second. What if we blinked the LED super fast, but also make it so the length of time the LED is off is more than the length of time it's on? This is called pulse-width modulation (PWM), a tool with a variety of applications, including dimming the LEDs.
In this experiment we'll explore PWM the hard way, by coding it in manually.
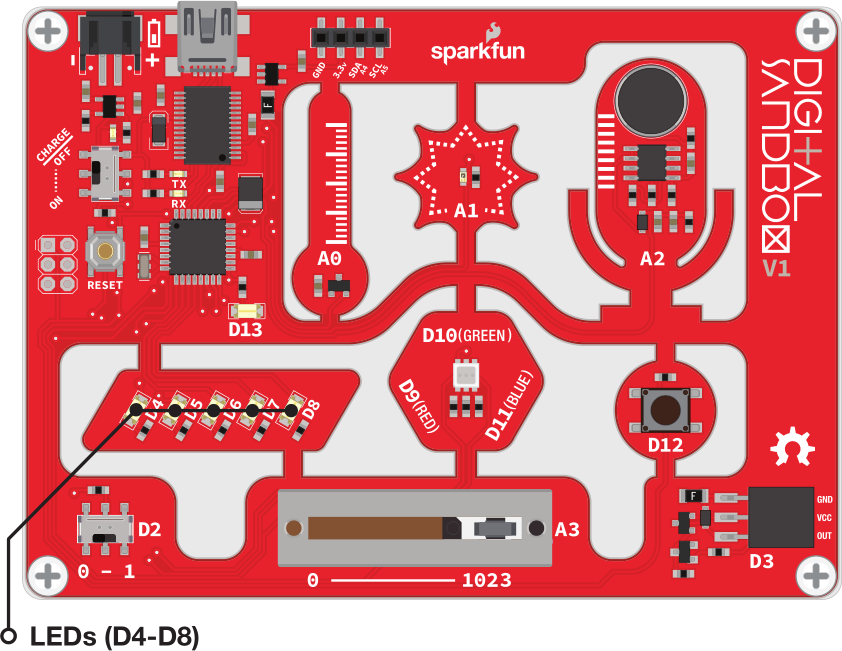
Active Parts
The Sketch and Experiment
Here's our sketch! Copy and paste into the Arduino IDE. Alternatively, open the Sandbox_3_Dimming_Hard.ino sketch. Upload away! Check out the comments for a line-by-line overview of what's going on.
language:c
    // Sandbox 03: Dimming (the Hard Way)

/* Yikes! Those white LEDs are blindingly bright! Is there any way to dim them?
   (Unless one of your hobbies is staring into the sun, we recommend putting a
   piece of paper over the LEDs in this experiment...or wear sunglasses.)

   This experiment explores the concept of pulse-width modulation (PWM). PWM
   is used to dim LEDs, vary motor speeds, and control all sorts of other
   components.

   In this experiment, we code in PWM the hard way -- manually.
*/

// In setup() we need to set our LED pins to OUTPUTs.
void setup()
{
    pinMode(5, OUTPUT); // Set pin 5 as an OUTPUT
    pinMode(6, OUTPUT); // Set pin 6 as an OUTPUT
}

// We run through loop() really fast! For 10% of the time the D5 LED is on
// and D6 is off. For the other 90% of the time, D5 is off and D6 is on.
void loop()
{
    // The 10%
    digitalWrite(5, HIGH);  // Turn D5 LED on
    digitalWrite(6, LOW);   // Turn D6 LED off
    delay(1);               // Wait 1ms

    // The 90%
    digitalWrite(5, LOW);   // Turn D5 LED off
    digitalWrite(6, HIGH);  // Turn D6 LED on
    delay(9);               // Wait 9ms
}
After uploading the sketch, keep an eye on the D5 and D6 LEDs. Do you notice a difference in their intensity? Which one is brighter?
Our sketch runs through the loop really fast -- it takes about 10ms to get through the whole thing, so it's running about 100 times per second. Nine times out of ten, the LED on pin 5 is off and the D6 LED is on. Because it's looping so fast you can't see any blinking, but you can sense a dimness in the D5 LED.
Your Turn!
- How long can you make the delays before you start noticing a blink?
- Try comparing both LEDs to a fully-on LED. Add
pinMode(4, OUTPUT)anddigitalWrite(4, HIGH)to thesetup(), so the D4 LED turns on. Can you tell a difference between D4, D5, and D6? - What happens if you add something else to the loop section, like your animation from experiment two?