Digital Sandbox Arduino Companion
 jimblom
Setup
If this is your first time using the Sandbox, we highly recommend checking out the parallel Digital Sandbox Guide for ArduBlock. That tutorial serves as a great introduction to programming -- it eases you into the programming world with a more simple, graphical language: ArduBlock. With ArduBlock you don't have to worry about misplacing semi-colons or making spelling mistakes, just drag and drop blocks to create your program.
If you're ready for the big show, though, follow along from here. On this page we'll get you set up with Arduino, from there it's on to the experiments.
Sandbox Setup & Driver Installation
If you haven't already, you'll need to install the driver for your Digital Sandbox. Begin by connecting the Digital Sandbox to your computer.
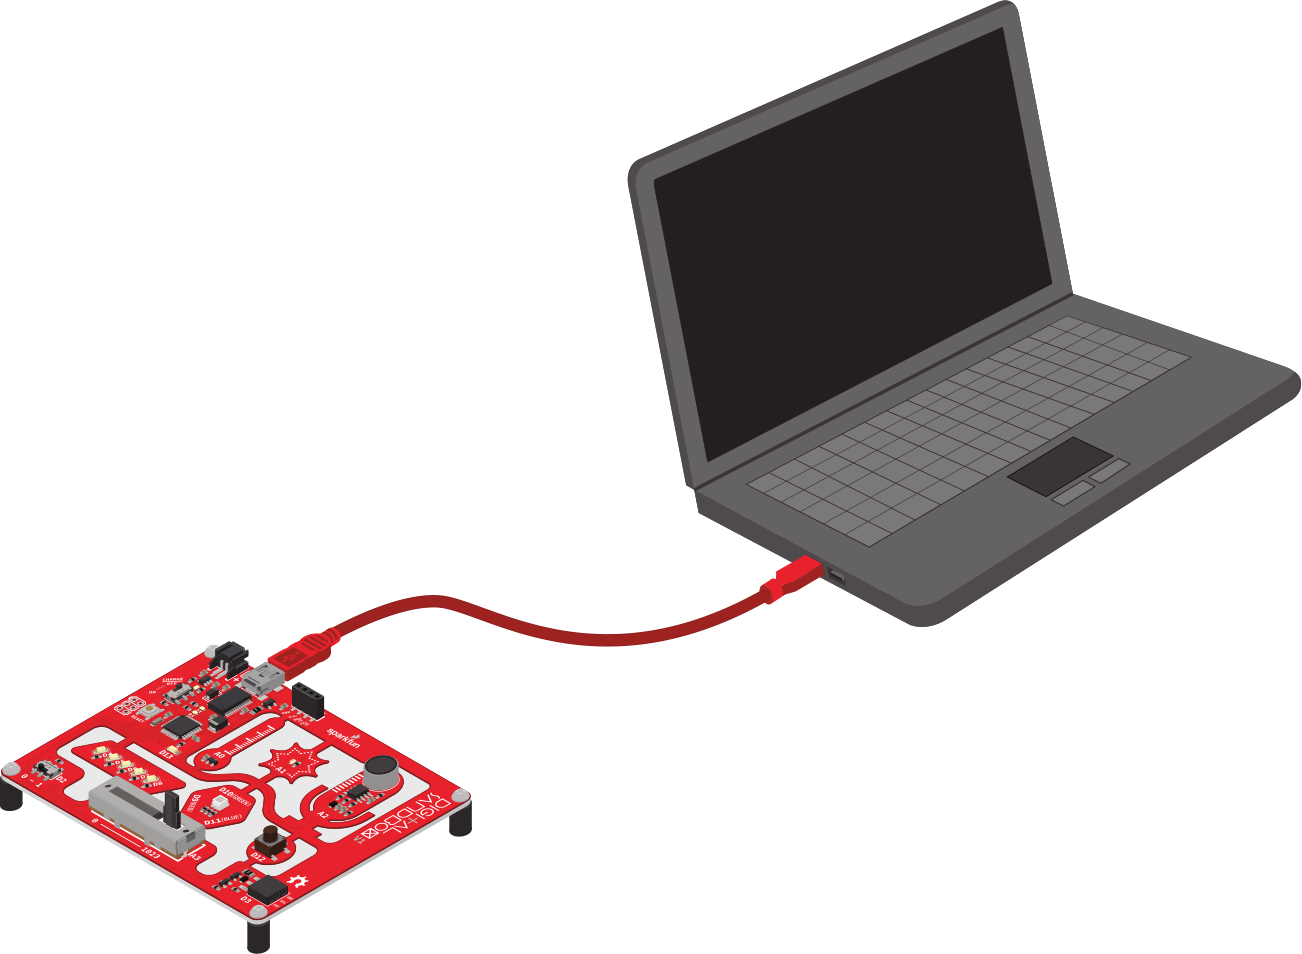
Once the board is connected, you will need to install drivers. Please go to www.sparkfun.com/ftdi for instructions specific to your operating system.
Arduino Setup
Note: This tutorial assumes you are using the latest version of the Arduino IDE on your desktop. If this is your first time using Arduino, please review our tutorial on installing the Arduino IDE.
If you have not previously installed an Arduino library, please check out our installation guide.After you've installed Arduino, when you get to the board selection step, set your Board type to Arduino Pro or Pro Mini 3.3V/8MHz.
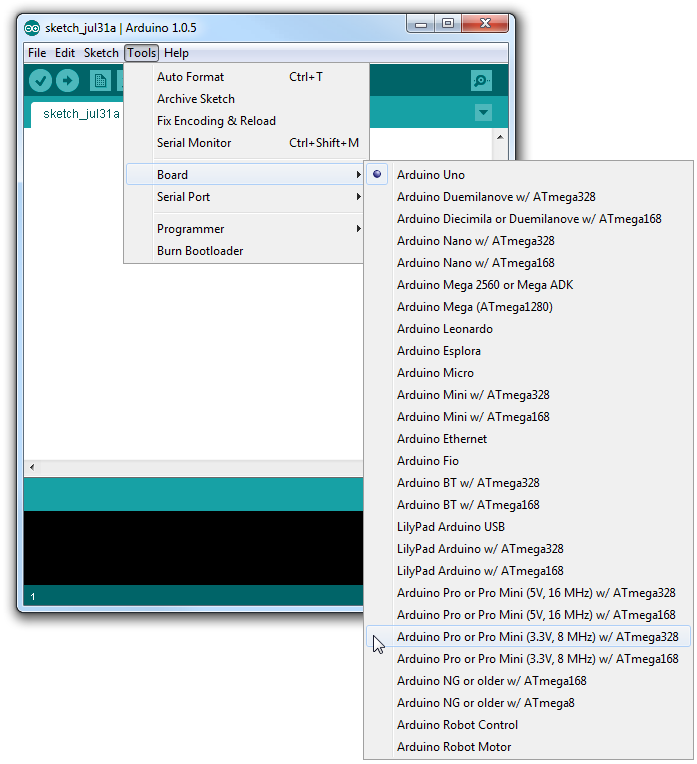
And don't forget to set your Serial Port as well, under the "Tools > Serial Port" menu.
In addition, you may want to download all of the example sketches ahead of time. We have created a ZIP folder with every experiment sketch in this tutorial.
Unzip it and store it somewhere memorable. You can also access the most up-to-date code in the GitHub repository.