Displaying Your Coordinates with a GPS Module
 Brandon J. Williams
 Hardware Overview
We’re using three large components, a 9V battery, and Qwiic cables. Let’s look into the bigger components first before we start.
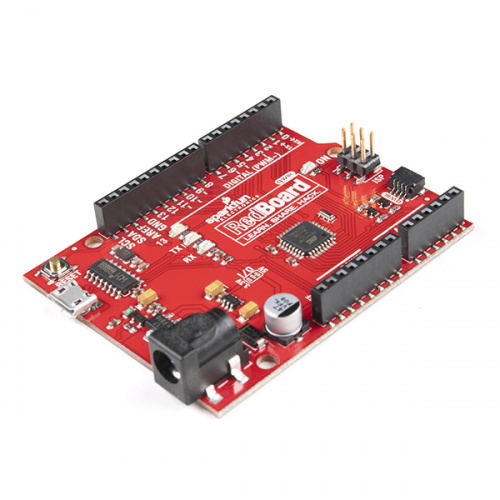
RedBoard Qwiic
First up, the brains of our project. This development board is an evolution on our classic RedBoard. No change to programming with Arduino, so software is still easy. However, this allows us to streamline Qwiic development without the need for a shield. If you have the classic RedBoard and still want to make this project, arm yourself and grab a shield!
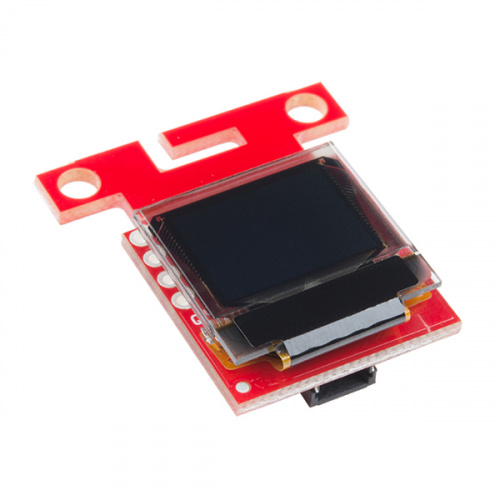
Qwiic Micro OLED
We will read our coordinates using a simple OLED screen. Our product page describes this component best: “This version of the Micro OLED Breakout is exactly the size of its non-Qwiic sibling, featuring a screen that is 64 pixels wide and 48 pixels tall and measuring 0.66" across.” So we have small but powerful screen and that’s perfect for our purposes.
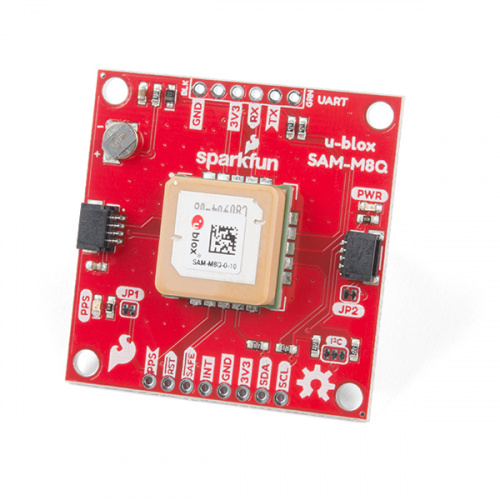
SAM-M8Q Chip Antenna GPS Breakout
Lastly, we will use a GPS module and we have one perfect for this occasion. This new GPS Breakout brings the ease, quality, and affordability from a great line of GPS modules from u-blox. The biggest feature is hot start and low lock time with a rechargeable coin cell battery. This means we have a powerful, inexpensive GPS that fits in a small space and will do all our talking with the satellites up above!