Efficient Arduino Programming with Arduino CLI and Visual Studio Code
 jimblom
VS Code for Arduino Library Development
If your familiar with VS Code you'll understand that its flexibility means the IDE can be used for just about any programming language out there. This section will help you set up VS Code to develop C, C++, or other source files within an Arduino library.
Opening an Arduino Library in VS Code
To follow along, you'll need an Arduino library installed on your machine. If you'd like to follow along really closely, download our BME280 Arduino Library, which is what we'll use an example.
Download the library into your Arduino Sketchbook's "libraries" folder. We recommend using git to download. This will especially show off VS Code's source-control capabilities. Check out our Using GitHub tutorial for help using git to download the library. Alternatively, you can us the "Clone or Download" > "Download ZIP" buttons in GitHub's web interface to download the library.
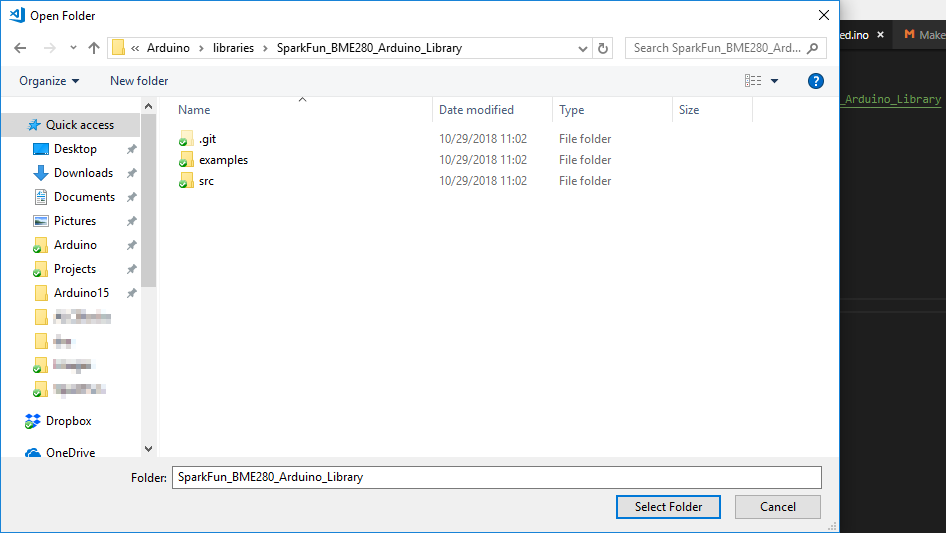
Open VS Code, then open your Arduino library folder by navigating to File > Open Folder.... (or tap CTRL+K then CTRL+O.)

Then select the Arduino library folder you'd like to open in the IDE. It should be the library's top-level directory, where "src" and "examples" directories are contained.
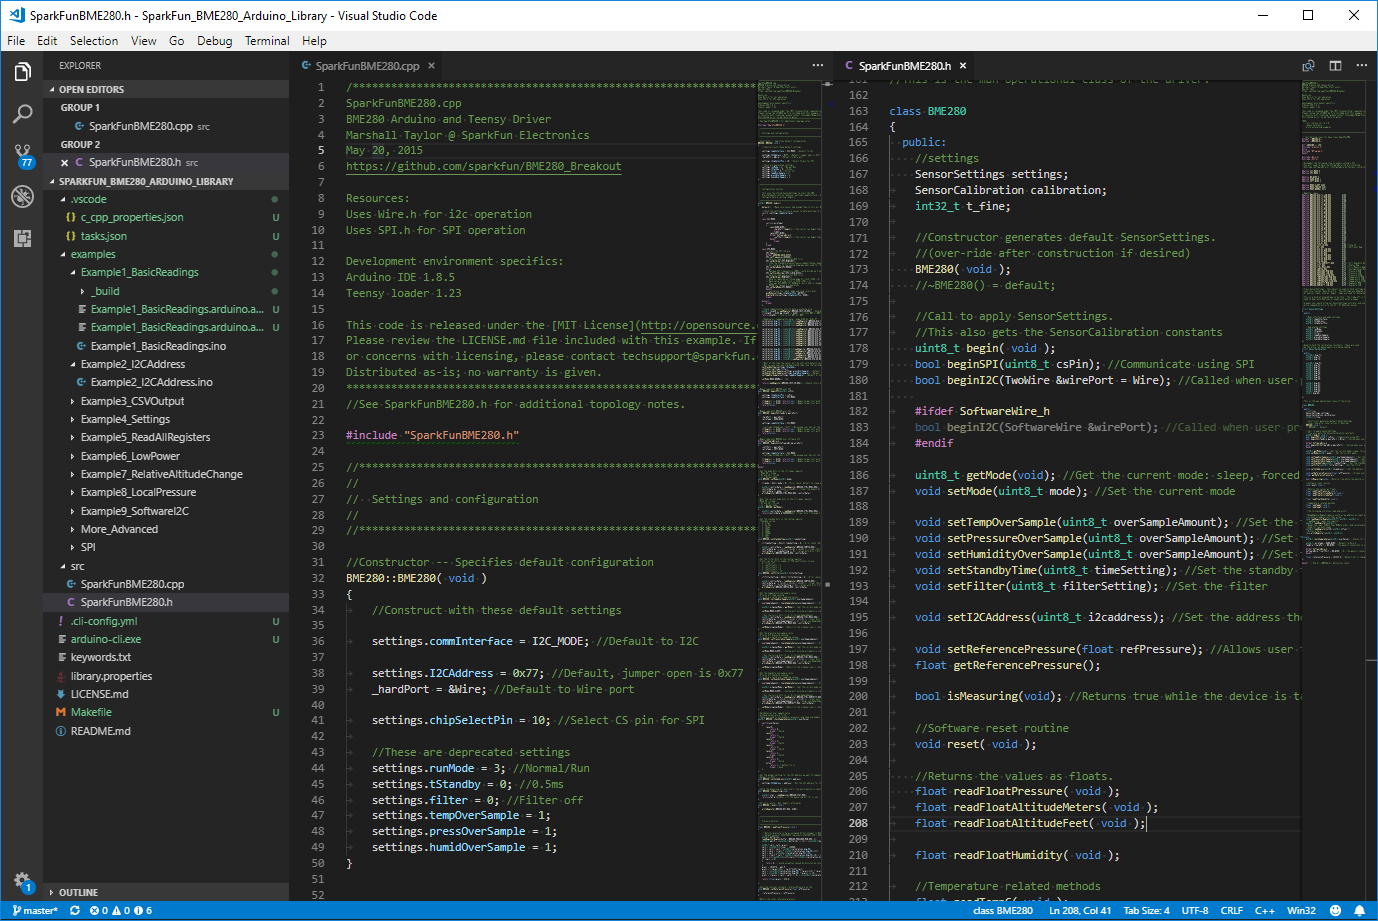
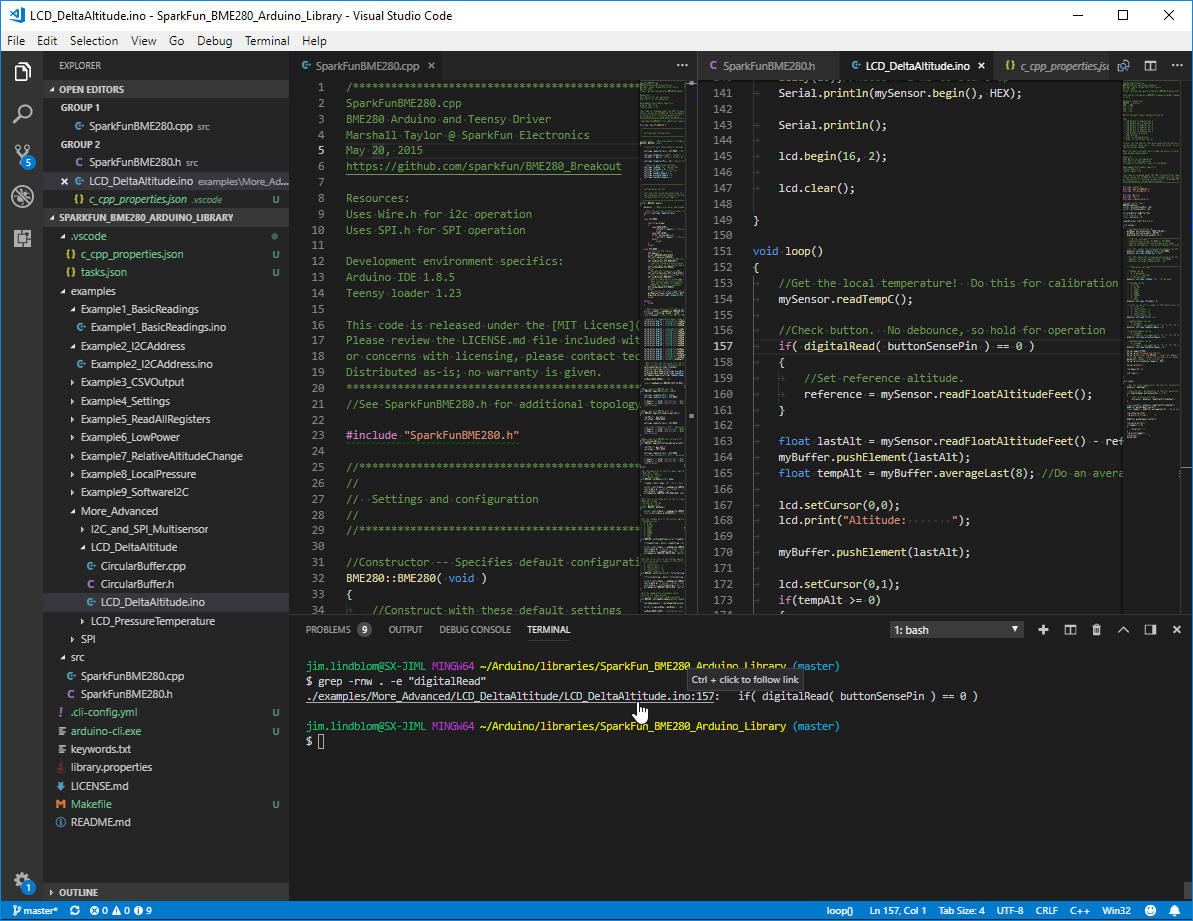
This will open a new VS Code window. Importantly, you should notice a file navigator on the left showing the standard Arduino library file structure ("examples", "src", "kewords.txt", etc.). You can click into the "src" folder and double-click the "cpp" and/or "h" files to open them up. You can also split your window. I like keeping my "h" file on the right and "cpp" file on the left. To move a file, simply drag its tab over to the other side of the window.
Modifying c_cpp_properties.json
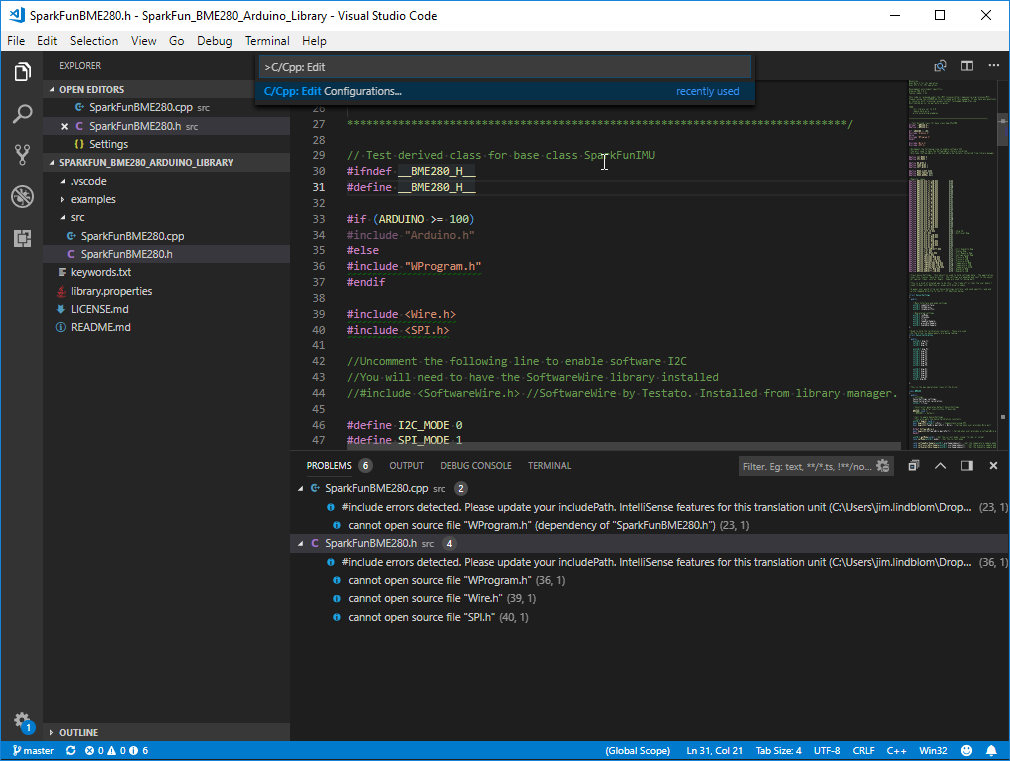
When you first open an Arduino library folder, if you peak at the "Problems" tab at the bottom of the window you'll be greeted with a handful of errors. Most of these will probably be due to the VS Code environment not knowing where your Arduino core files are installed. Locating these files will allow you to dig deep into the Arduino definitions to find out exactly how the String, Serial, digitalRead, etc. classes and functions are defined.
To set these locations press CTRL+SHIFT+P then type: "C/CPP: Edit Configurations" -- or at least begin typing that, then press enter when the correct setting is highlighted.
This will create a file named "c_cpp_properties.json", which will be stored in a ".vscode" folder. This file tells the VS Code IDE where to look for function references, definitions and more. If you tell it the location of your Arduino cores, libraries, and compiler, you should be able to back-track through using the IDE's Go to Definitions feature.
This is my c_cpp_properties.json file when using an Arduino Uno with standard libraries installed:
language:Javascript
{
    "configurations": [
        {
            "name": "Win32",
            "includePath": [
                "${workspaceFolder}/**",
                "C:/Program Files (x86)/Arduion/hardware/arduino/avr/cores/arduino",
                "C:/Program Files (x86)/Arduino/hardware/arduino/avr/libraries/EEPROM/src",
                "C:/Program Files (x86)/Arduino/hardware/arduino/avr/libraries/HID/src",
                "C:/Program Files (x86)/Arduino/hardware/arduino/avr/libraries/SoftwareSerial/src",
                "C:/Program Files (x86)/Arduino/hardware/arduino/avr/libraries/SPI/src",
                "C:/Program Files (x86)/Arduino/hardware/arduino/avr/libraries/Wire/src",
                "C:/Program Files (x86)/Arduino/hardware/arduino/avr/libraries/SPI/src"
            ],
            "defines": [
                "_DEBUG",
                "UNICODE",
                "_UNICODE",
                "F_CPU=16000000L",
                "ARDUINO=10805",
                "ARDUINO_AVR_UNO",
                "ARDUINO_ARCH_AVR"
            ],
            "compilerPath": "C:/Program Files (x86)/Arduino/hardware/tools/avr/bin/avr-gcc.exe",
            "cStandard": "c11",
            "cppStandard": "c++17",
            "intelliSenseMode": "clang-x64"
        }
    ],
    "version": 4
}
Feel free to copy the above into your properties file and save. Make sure you modify the directory locations if necessary. You may need to restart the IDE to get Intellisense working properly.
With that set, try navigating to a core or library Arduino function call. Right-click on it and say "Go to Definition".
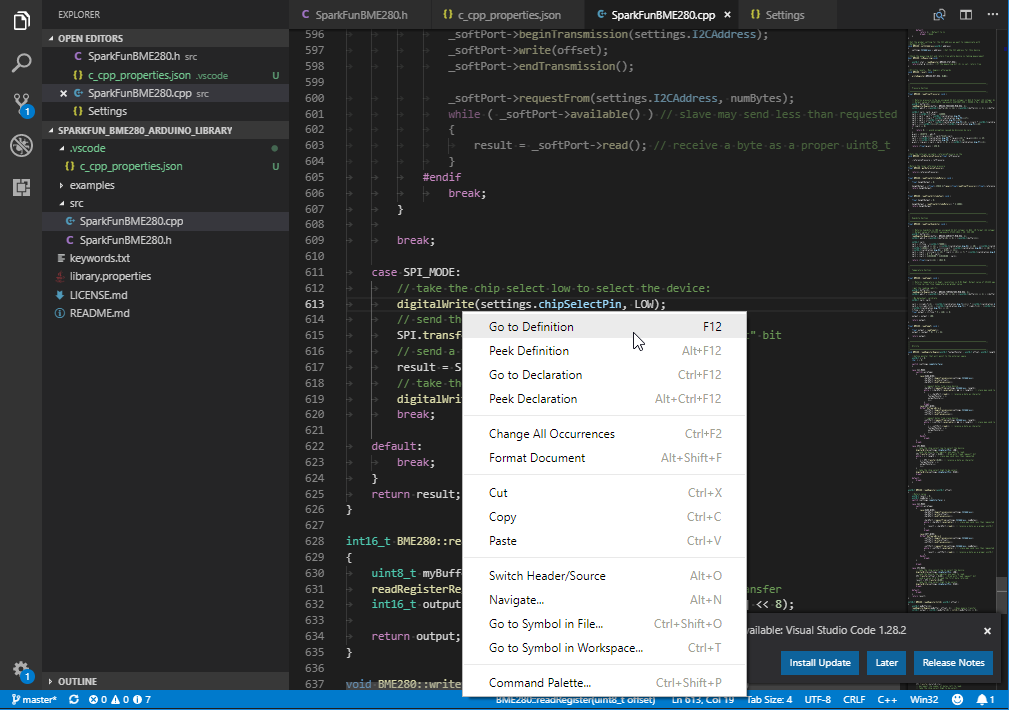
This is an incredibly powerful tool if you're looking to take advantage of everything the Arduino core/libraries have to offer as you develop Arduino libraries.
Opening the Terminal
One of the most powerful features of VS Code is it support for a variety of integrated terminals. Even if you're on Windows, you can use this terminal as a bash shell, Cygwin interface, or, of course, a Windows command-line prompt.
You can open the terminal by going to View > Terminal (or CTRL+`).
Defining Your Terminal
You can modify the terminal executable by going to the Settings window, then Features > Terminal >** External**. The executable here should match that of the terminal you want to use.
I often find myself switching between terminals, depending on my project. But my most common settings here are either:
- Windows CMD:
C:\Windows\System32\cmd.exe-- A lot of Windows specific executables still require the Windows CMD. This should be your default if you're using a Windows install of VS Code. - Git Bash:
C:\Program Files\Git\bin\bash.exe-- I love git's Windows install. Mostly because I love the Unix-ish bash it installs on my Windows machine. I can use this to "grep", "find", "rm", "cp", or perform all sorts of other Unix commands on my nominally Windows system.- Note this option does require you install Git for Windows.
For more information on using and modifying VS Code's integrated terminal check out their documentation.