ELasto-Nightlight
 Chelsea the Destroyer
Let's Build a Rabbit - Pt. 3
Now that you have survived that part, let's celebrate by connecting the other end of our hand-stripped circuit tape to our ELastoLite panel!
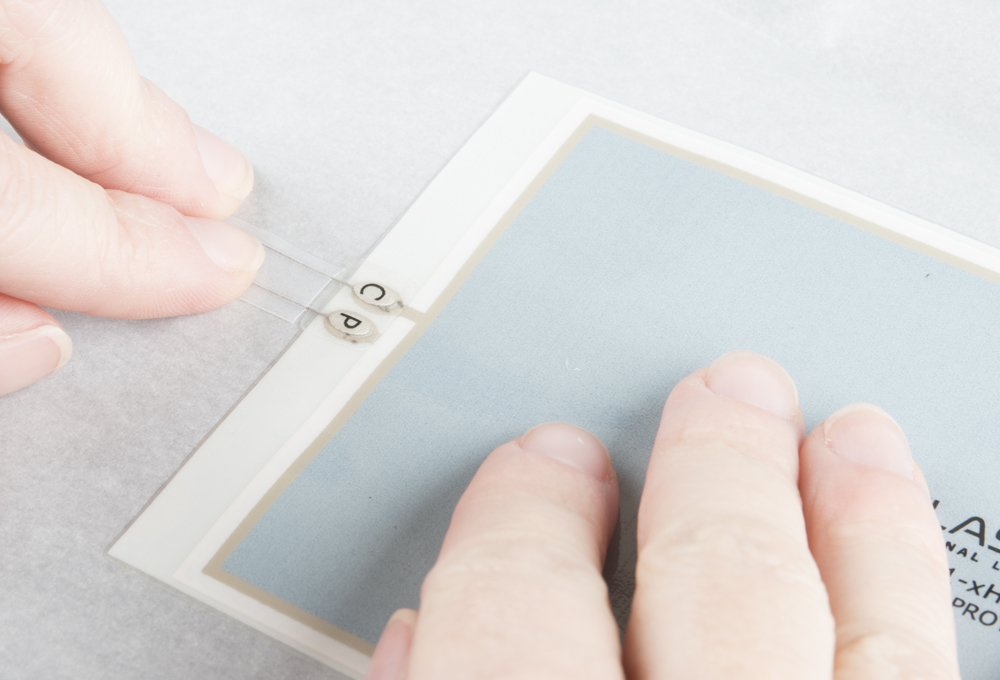
Peel your lamp off its backing, and find one of the CP sticker sets (it comes with three, we will use two, or if you are me we will use them all for triage). With the writing side of the lamp up, put the unattached end of the circuit tape onto the contact ovals, sandwich the CP (Contact Point, I assume? I am not an engineer, I went to school for words) stickers letter side up over them, and use only the tip of the iron to glue them together (Another mistake I made - my iron touched the actual ELastoLite panel and melted a little strip off. But like I said, it still works somehow, so ALL HAIL SCIENCE).

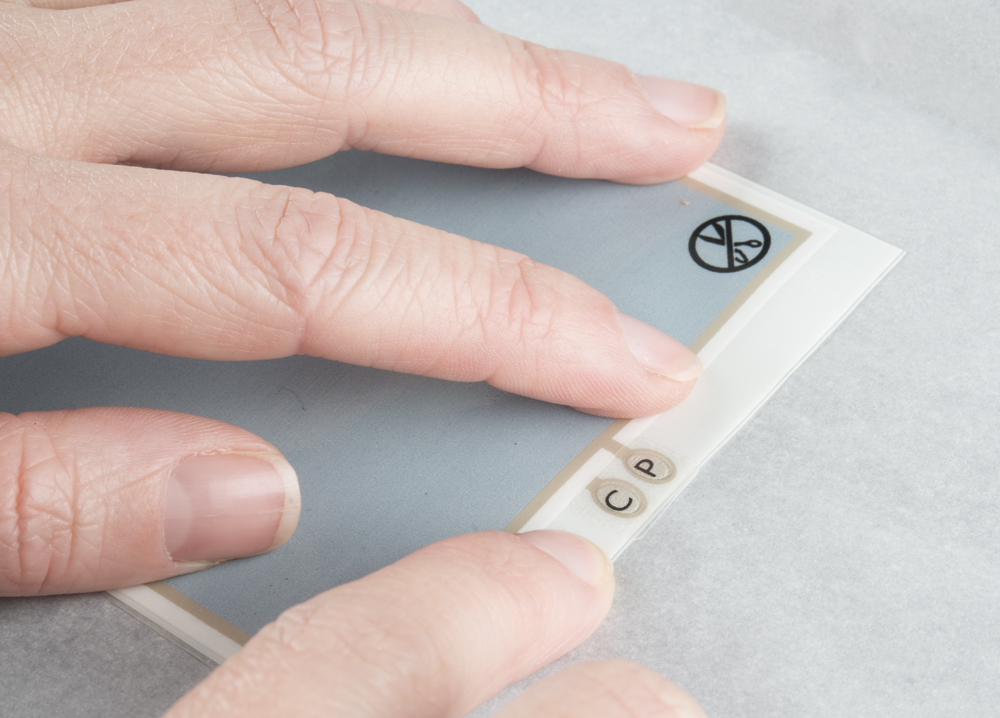
Last (last!!), iron one of the other CP sticker sets over the open contact ovals on the other side of the panel, partially because we are tidy, but also mostly so we don't have a live, open connection just hanging around waiting to turn us into Electro.
CIRCUITRY COMPLETE. We are the champions! Now for the moment of truth, go in a darkened room and push that inverter button.
The first button push will make the light flash, the second button push will make it flash at an alarming, seizure-inducing rate, and the third button push will be a normal sustained light, which is best for sleeping situations.