ESP32 Thing Plus Hookup Guide
 jimblom,
  Alex the Giant
Arduino Example: ESP32 BLE
Both the board manager install and the ESP32 arduino core install come with Bluetooth examples that range from acting as a simple BLE device to functioning as either a Bluetooth server or client. Here we will briefly go over the BLE_write example that can be found in Files > Examples > ESP32 BLE Arduino. This example allows you to write messages on your phone that can then be read in a serial monitor on your computer.
This example works with a BLE scanner on your phone. A good, basic app is the BLE Scanner for iPhone or Android. Make sure to install the app to follow along with this example.
Compile and upload the following code, or if you wish, open the BLE_write example from the Files > Examples > ESP32 BLE Arduino menu. Make sure you have ESP32 Dev Module as your board and the correct port has been selected.
language:c
/*
Based on Neil Kolban example for IDF: https://github.com/nkolban/esp32-snippets/blob/master/cpp_utils/tests/BLE%20Tests/SampleWrite.cpp
Ported to Arduino ESP32 by Evandro Copercini
*/
#include <BLEDevice.h>
#include <BLEUtils.h>
#include <BLEServer.h>
// See the following for generating UUIDs:
// https://www.uuidgenerator.net/
#define SERVICE_UUID "4fafc201-1fb5-459e-8fcc-c5c9c331914b"
#define CHARACTERISTIC_UUID "beb5483e-36e1-4688-b7f5-ea07361b26a8"
class MyCallbacks: public BLECharacteristicCallbacks {
void onWrite(BLECharacteristic *pCharacteristic) {
std::string value = pCharacteristic->getValue();
if (value.length() > 0) {
Serial.println("*********");
Serial.print("New value: ");
for (int i = 0; i < value.length(); i++)
Serial.print(value[i]);
Serial.println();
Serial.println("*********");
}
}
};
void setup() {
Serial.begin(115200);
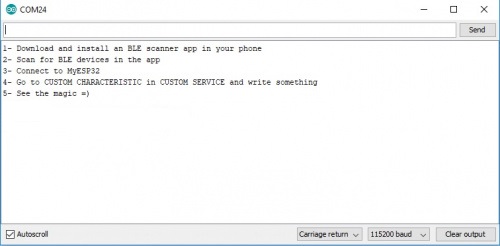
Serial.println("1- Download and install an BLE scanner app in your phone");
Serial.println("2- Scan for BLE devices in the app");
Serial.println("3- Connect to MyESP32");
Serial.println("4- Go to CUSTOM CHARACTERISTIC in CUSTOM SERVICE and write something");
Serial.println("5- See the magic =)");
BLEDevice::init("MyESP32");
BLEServer *pServer = BLEDevice::createServer();
BLEService *pService = pServer->createService(SERVICE_UUID);
BLECharacteristic *pCharacteristic = pService->createCharacteristic(
CHARACTERISTIC_UUID,
BLECharacteristic::PROPERTY_READ |
BLECharacteristic::PROPERTY_WRITE
);
pCharacteristic->setCallbacks(new MyCallbacks());
pCharacteristic->setValue("Hello World");
pService->start();
BLEAdvertising *pAdvertising = pServer->getAdvertising();
pAdvertising->start();
}
void loop() {
// put your main code here, to run repeatedly:
delay(2000);
}
Once you have uploaded your code, open a Serial Monitor set at 115200 baud so you can see the message that we will write.
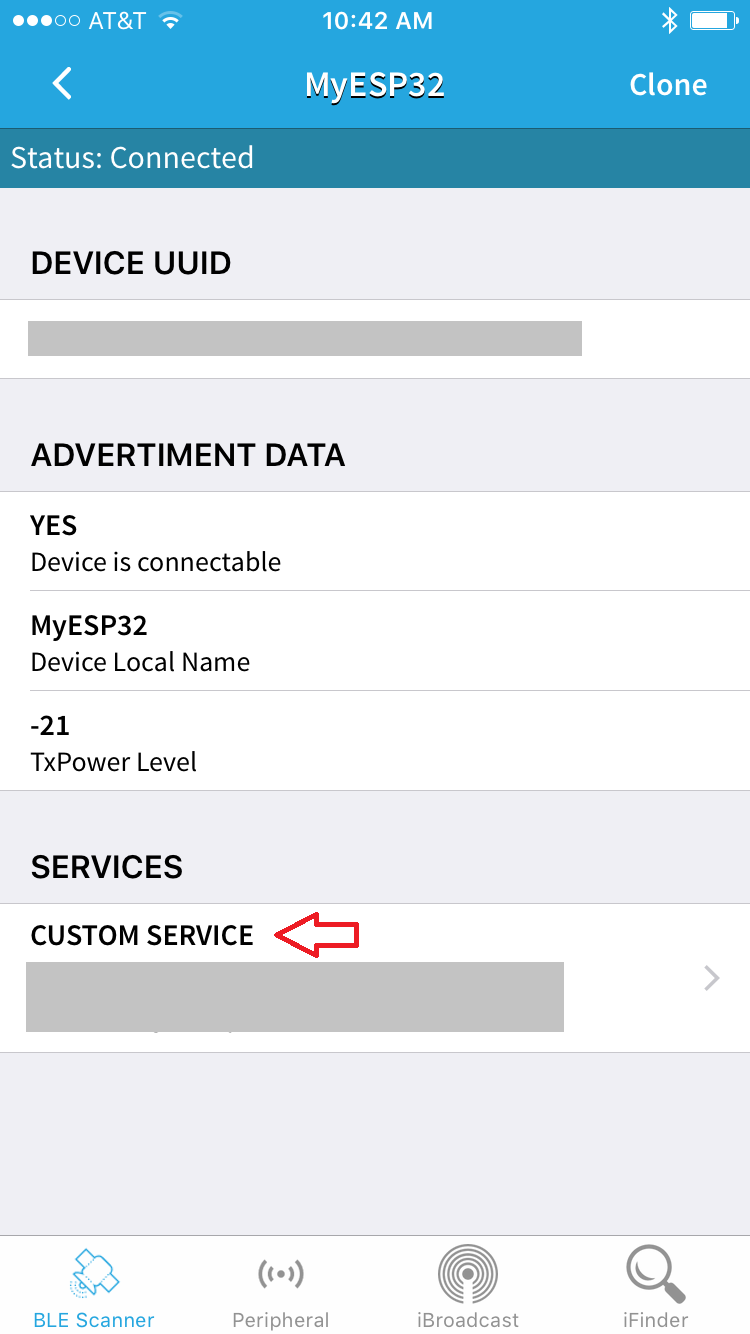
Then open your BLE Scanner app on your phone. You will see multiple options; scroll through these and connect to MyESP32.

Now we need to drill down to the communication capability we want. Once you are connected to MyESP32, you will be taken to the following page. Select CUSTOM SERVICE.
The next page will show you communications and options for doing so. Select Write,Read.
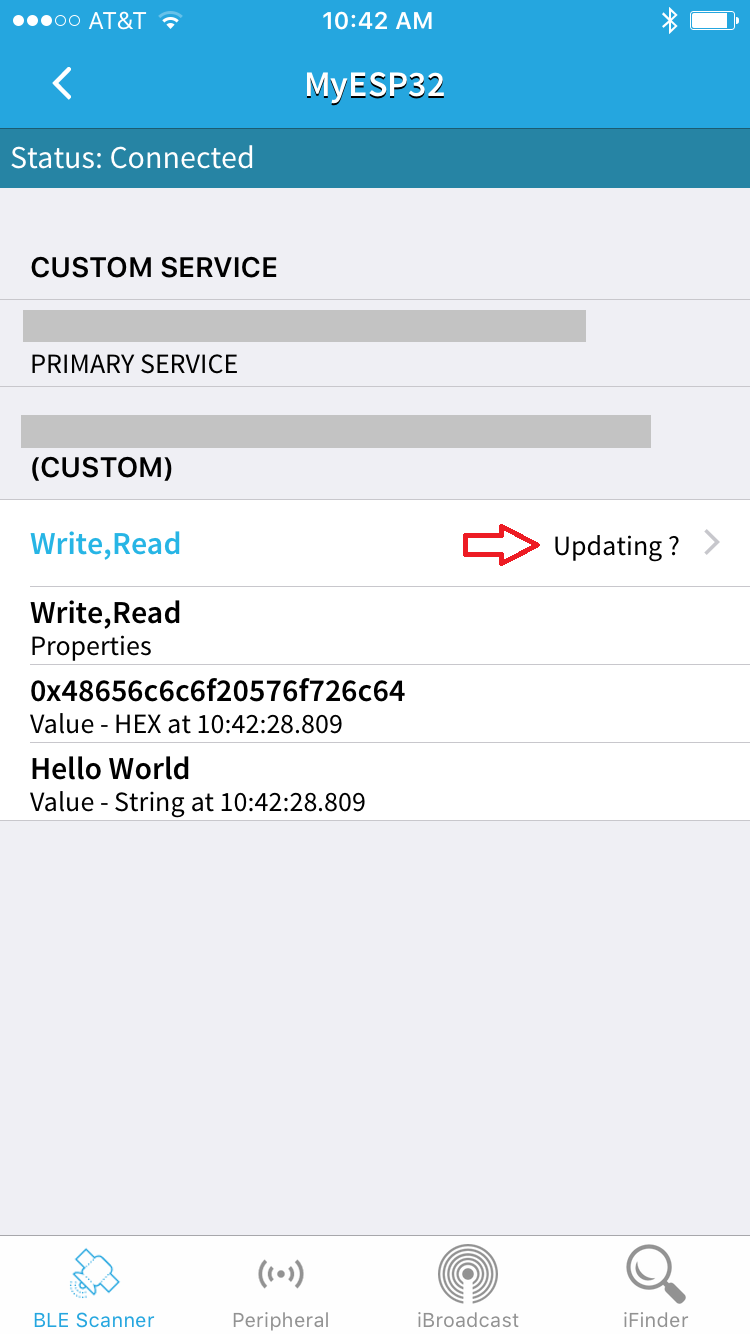
Finally, we can choose the option that allows us to write a message. Select Write Value.

Now we can write our message. Make sure you choose Text, write yourself a message, and click the Write button.
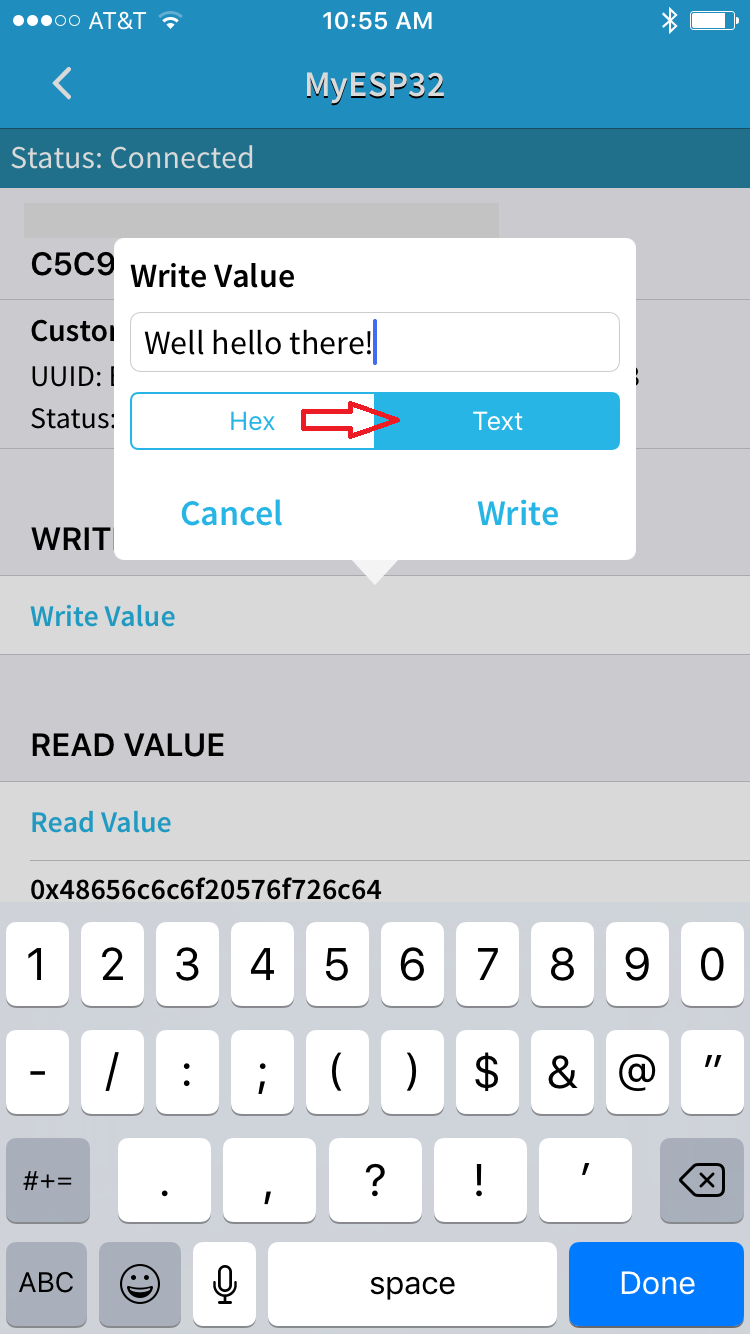
So now what? Go have a look at your serial monitor. You should see "New value:" with your message.

This is just a quick walk through of one of the provided examples. We recommend looking through the rest of the provided samples and playing with the code to see what may work for your application. For more information on Bluetooth technology and how it works, check out our Bluetooth Basics Tutorial.