ESP8266 Thing Development Board Hookup Guide
 jimblom
Example Sketch: Blink with Blynk
Example 4: Blinky with the Blynk App
The previous example is great for showing the nuts-and-bolts behind using HTTP to toggle outputs or read inputs. But if you're looking for a much simpler solution, we recommend checking out Blynk.
Blynk is a smartphone application that allows you to easily create "apps" that interact with Internet-connected hardware. It works with a wide variety of hardware platforms, including the Photon, Raspberry Pi, Arduino/Ethernet Shield, and, of course, the ESP8266. Here's a quick how-to on Blynk:
Get the App and Arduino Library
The Blynk app is available for both iOS and Android devices. Click one of the buttons below to get started downloading the app:
After downloading the app, create an account and log in. Welcome to Blynk!
You'll also need to install the Blynk Arduino Library, which helps generate the firmware running on your ESP8266. Download the latest release from Blynk's GitHub repo, and follow along with the directions there to install the required libraries.
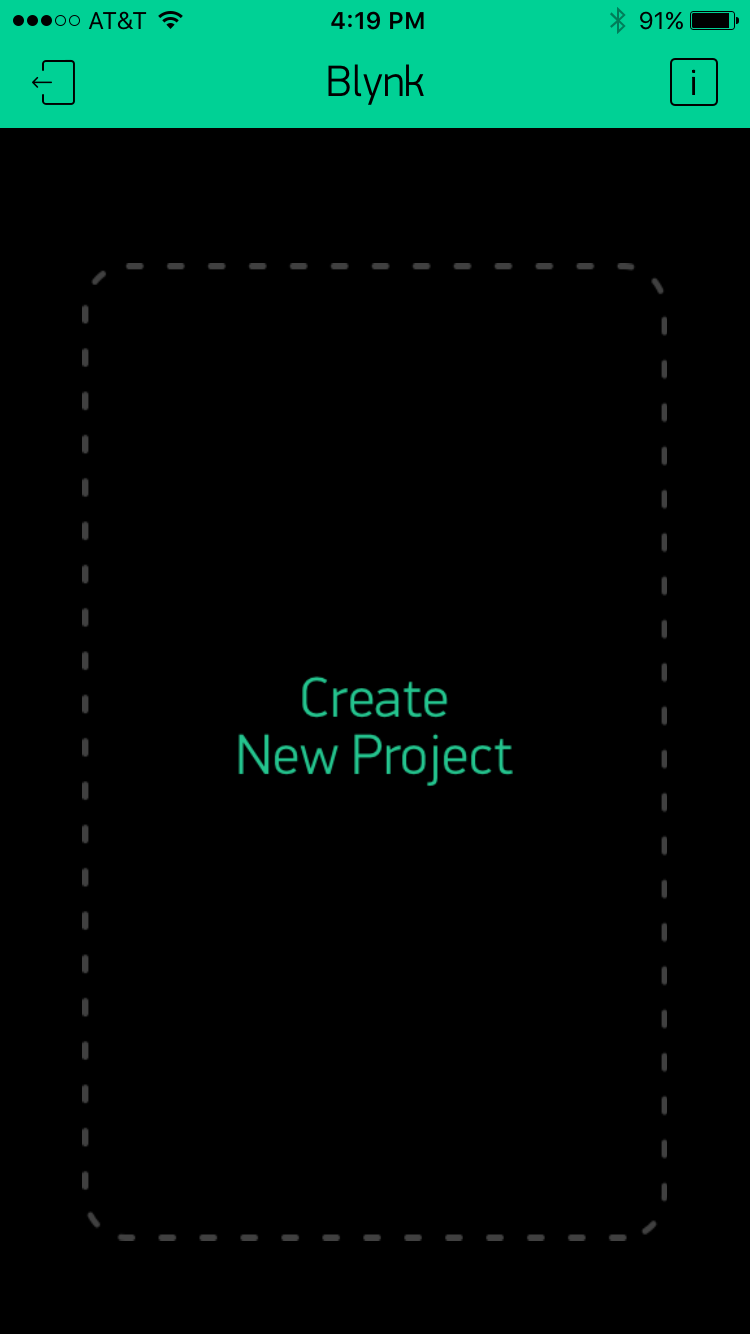
Create a Blynk Project
Next, click the "Create New Project" in the app to create a new Blynk app. Give it any name you please, just make sure the "Hardware Model" is set to ESP8266.
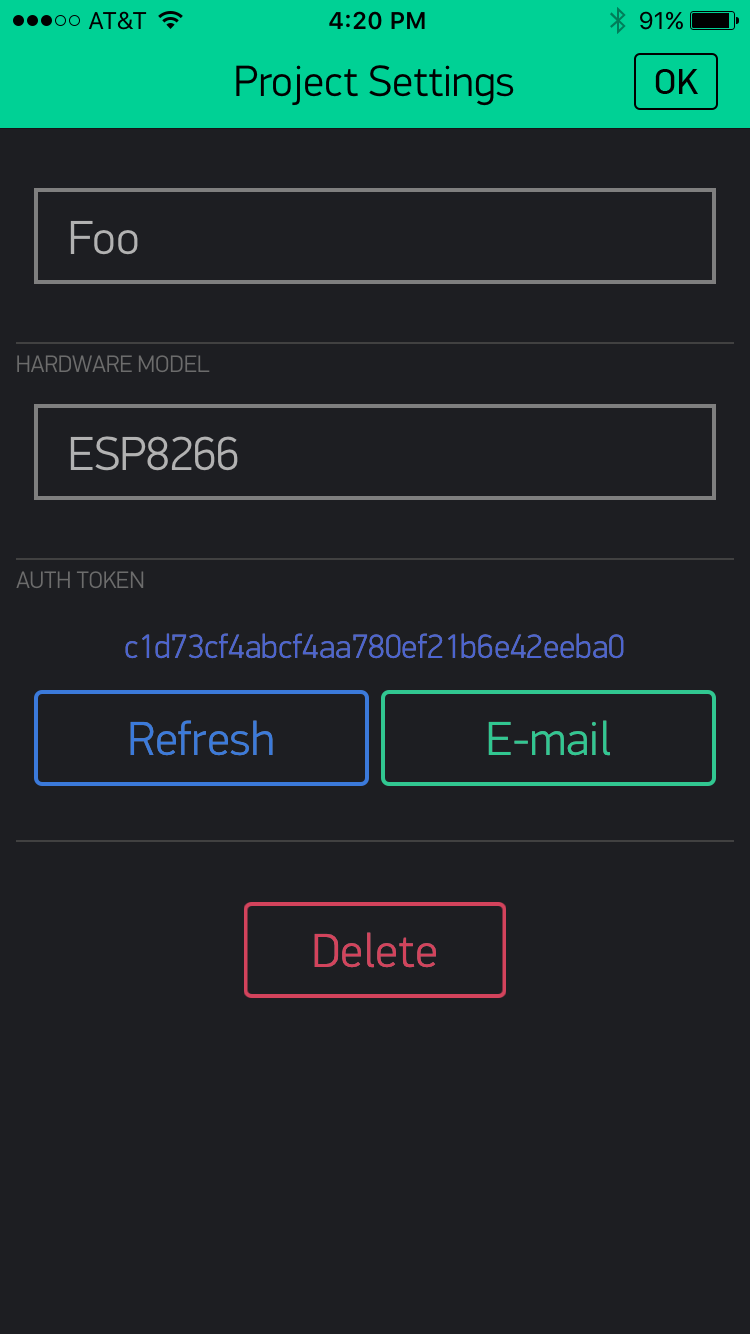
The Auth Token is very important -- you'll need to stick it into your ESP8266's firmware. For now, copy it down or use the "E-mail" button to send it to yourself.
Add Widgets to the Project
Then you'll be presented with a blank new project. To open the widget box, click in the project window to open.
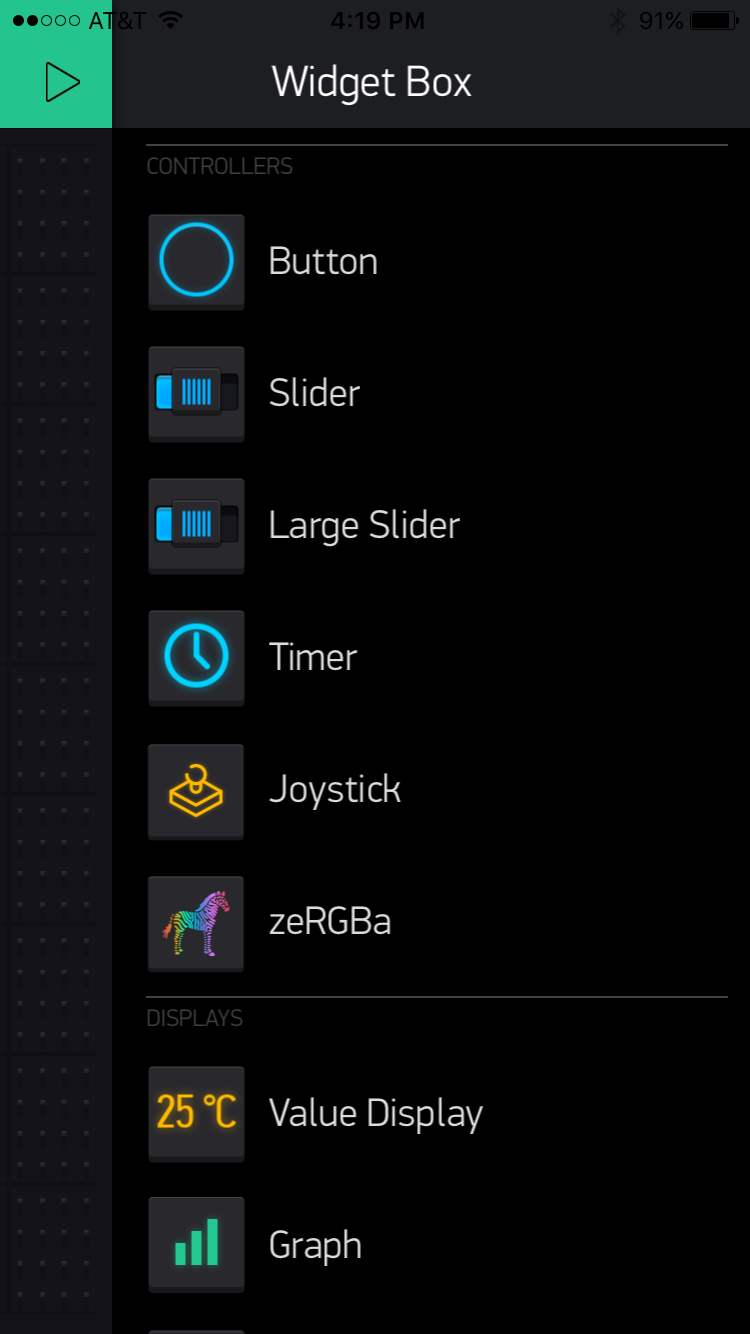
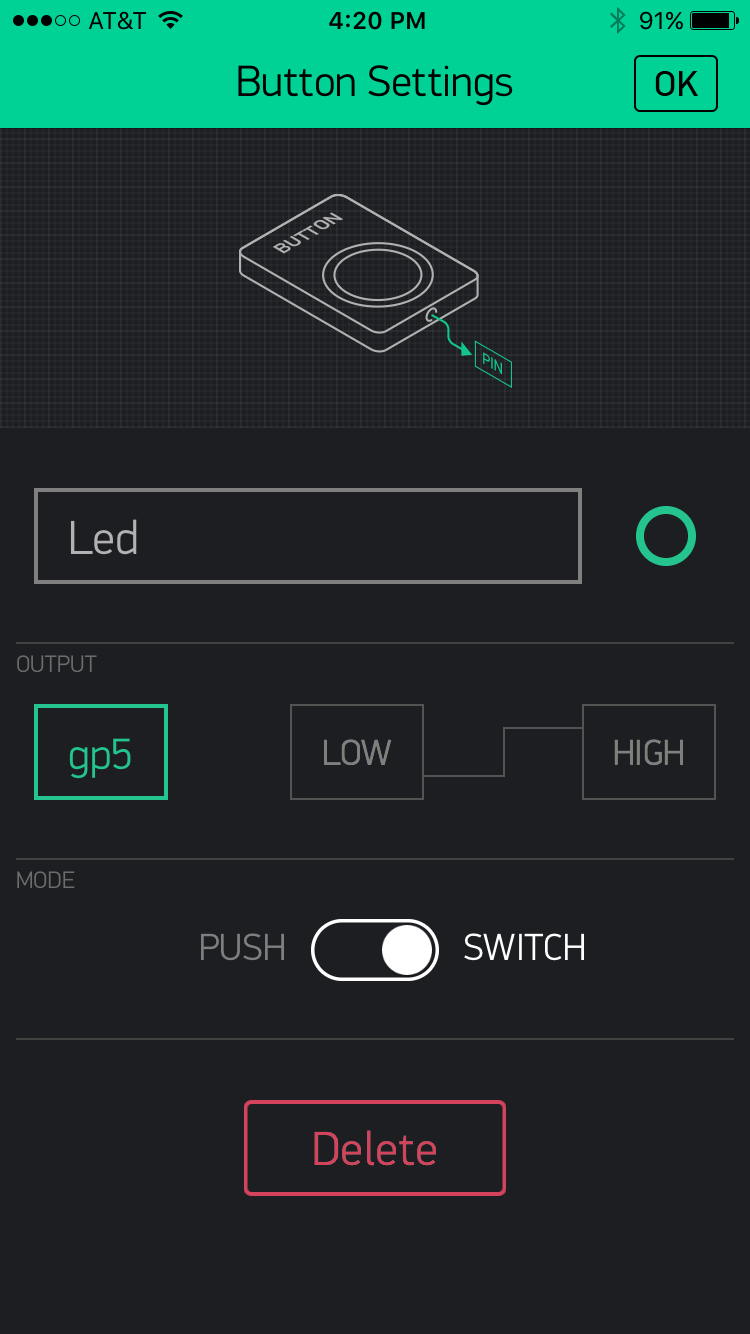
Add a Button, then click on it to change its settings. Buttons can toggle outputs on the ESP8266. Set the button's output to gp5, which is tied to an LED on the Thing Dev Board. You may also want to change the action to "Switch."
Upload the Blynk Firmware
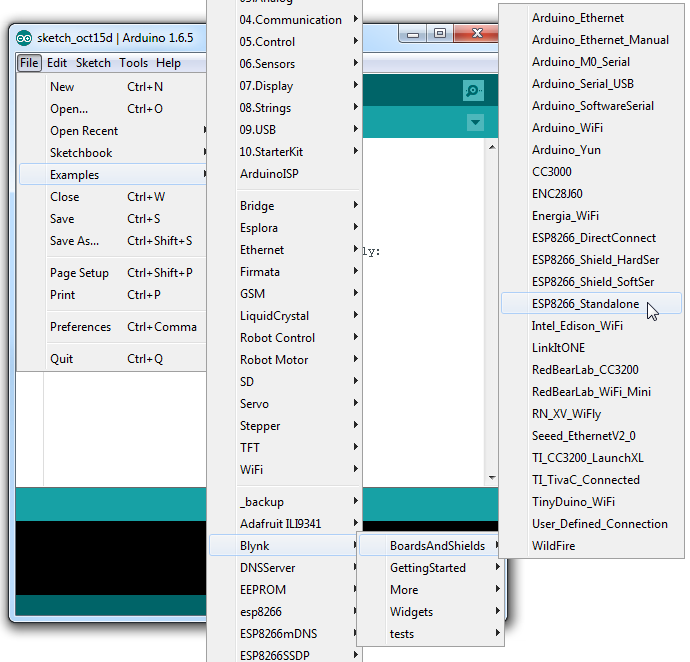
Now that your Blynk project is set up, open Arduino and navigate to the ESP8266_Standalone example in the File > Examples > Blynk > BoardsAndShields menu.
Before uploading, make sure to paste your authoriazation token into the auth[] variable. Also make sure to load your WiFi network settings into the Blynk.begin(auth, "ssid", "pass") function.
Then upload!
Run the Project
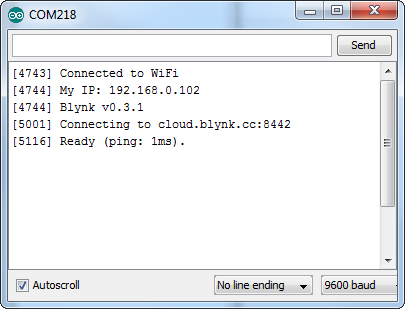
After the app has uploaded, open the serial monitor, setting the baud rate to 9600. Wait for the "Ready (ping: xms)." message.
Then click the "Run" button in the top right corner of the Blynk app. Press the button and watch the LED!
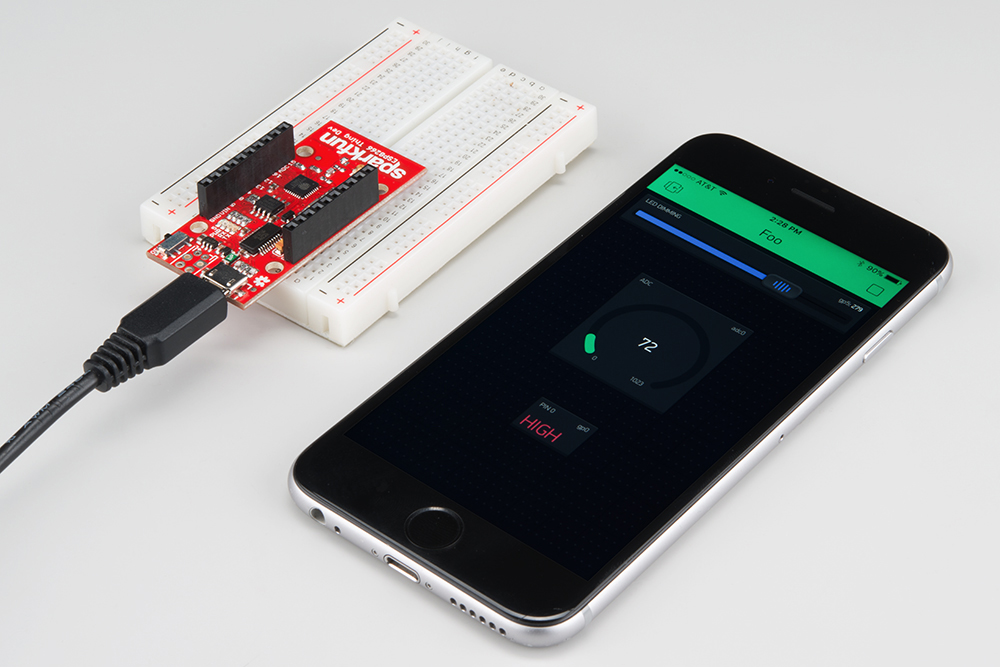
Then add more widgets to the project. They should immediately work on the ESP8266 without uploading any new firmware.
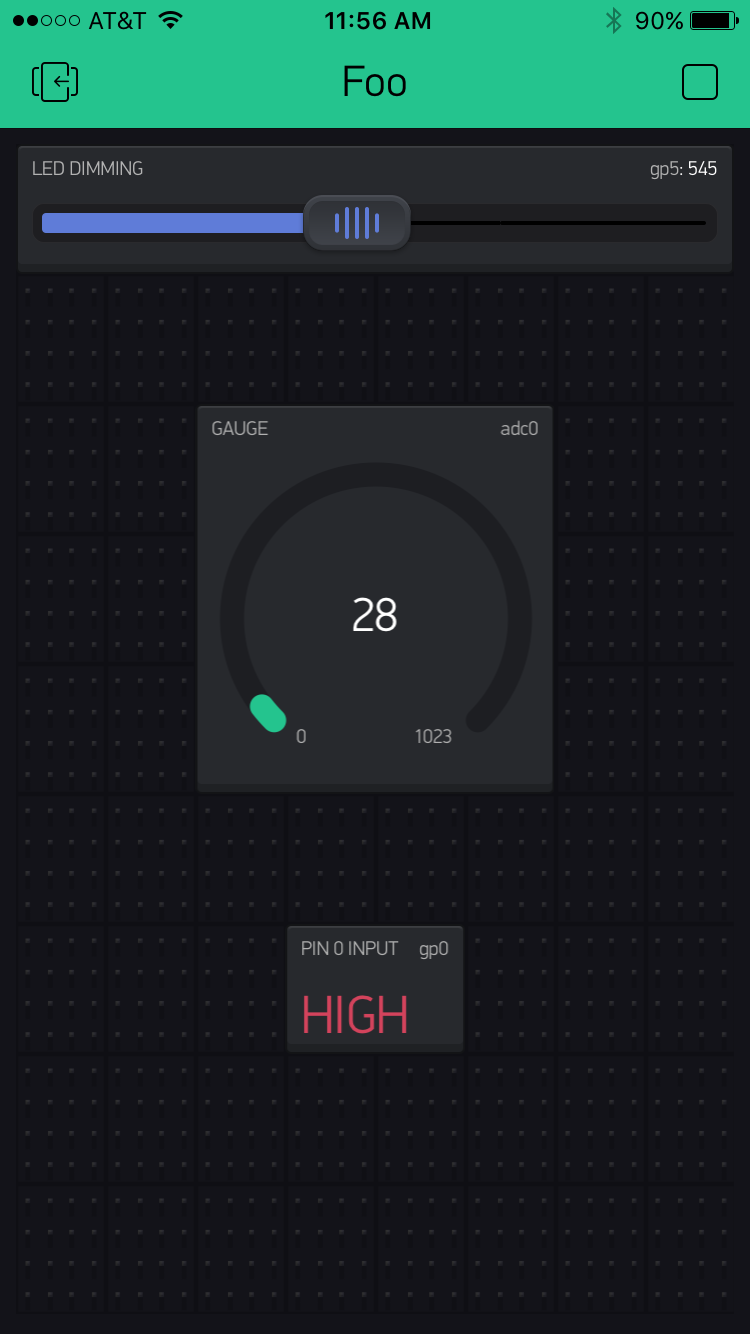
You can add analog output sliders, digital input monitors, and analog input gauges.