Experiment Guide for the Johnny-Five Inventor's Kit
 rwaldron
 reconbot
 D___Run___
 lyzadanger
 Shawn Hymel
About the Tessel 2
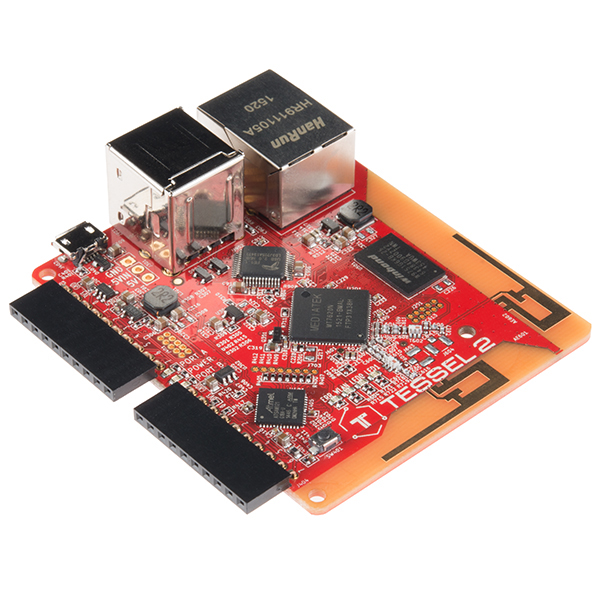
The Tessel 2 is an open-source development board. It runs JavaScript and supports npm, which means scripts to control it can be built with Node.js. It's a platform for experimenting, tinkering, prototyping and producing embedded hardware, perfect for the Internet of Things.
OK, So What's a Development Board?
Development boards are platforms for prototyping and building embedded systems. At the heart of (most) development boards is a microcontroller, which combines a processor and memory with IO capabilities. Microcontrollers like the one on the Tessel 2 provide a collection of GPIO (general-purpose IO) pins for connecting input and output devices to. The pins on the microcontroller itself—a chip—are small, too small for human fingers to work with easily (plus you'd need to solder things to them). Development boards instead connect these GPIO pins to pin sockets that are easy to plug things into.
Other common features of boards play a supporting role: connections for programming and communicating with the board, status lights and reset buttons, power connections.
More powerful boards like the Tessel 2 and the well-known Raspberry Pi are sometimes also called single-board computers (SBCs).
Tessel 2's Features
The Tessel is a mighty little board. Some of Tessel 2's specifications include:
- 2 USB ports (you can connect cameras or flash storage, for example)
- 10/100 ethernet port
- 802.11 b/g/n WiFi
- 580MHz Mediatek router-on-a-chip (you can turn your Tessel 2 into an access point!)
- 48MHz SAMD21 coprocessor (for making IO zippy)
- 64MB DDR2 RAM, 32MB of flash (lots of space for your programs and stuff)
Working with Tessel 2
Tessel has a set of command-line interface (CLI) tools for setting up and working with the Tessel 2 board. You'll install these and do a one-time set-up provisioning of your Tessel.
You can write scripts for the Tessel 2 in any text editor, using JavaScript and including npm modules as you desire. A one-line terminal command deploys and executes your script on the Tessel.
Inputs and Outputs
There are two primary sets of pins on the Tessel 2: Port "A" and Port "B". Each port has 10 pins: two pins for power (3.3V and ground) and eight GPIO pins.
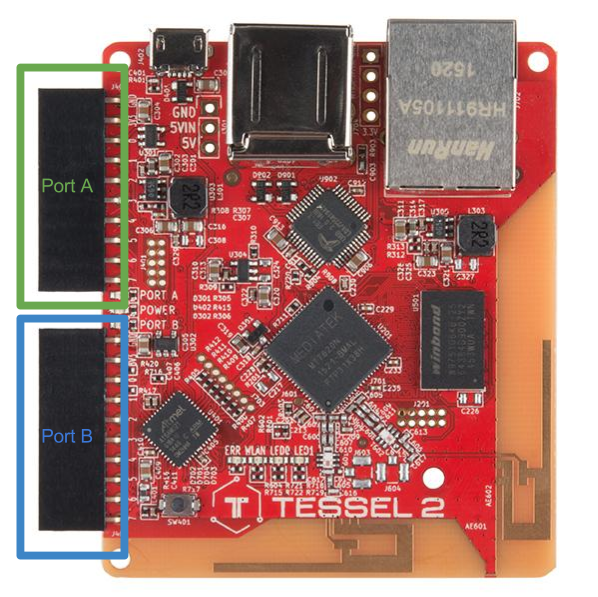
Some pins support different features. You can read details about every Tessel 2 pin, or just keep that info handy for reference later.
Powering the Board
There are multiple ways to power the Tessel 2. We'll start by using the included USB cable.
Over USB
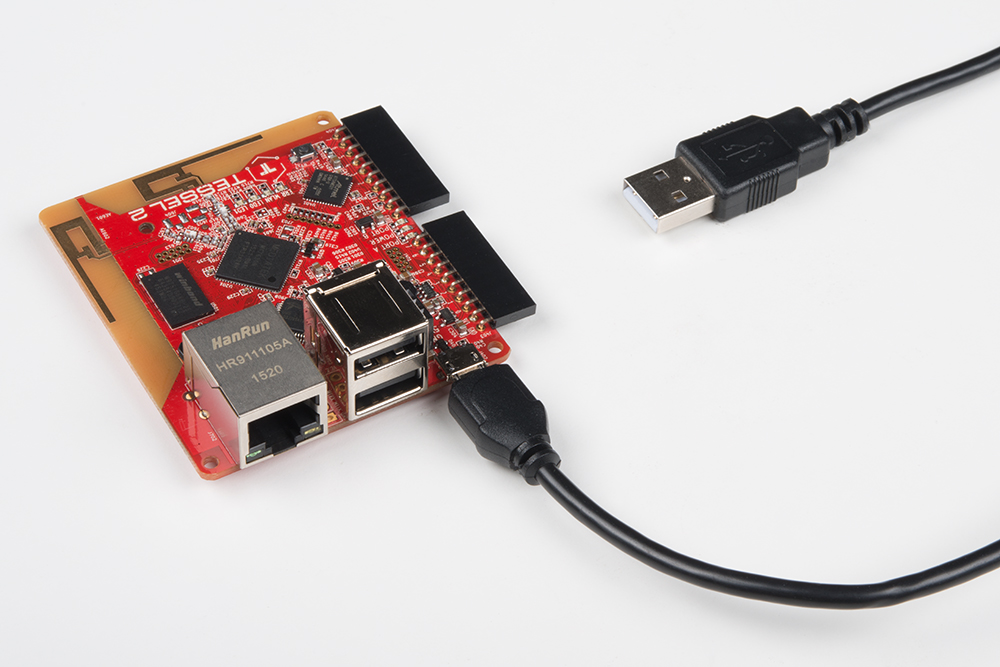
Connecting to the board directly with USB will allow you to easily modify any circuits and re-deploy code from the comfort of your desk, without having to retrieve your project. This is also handy when you don't have access to the local network (for deploying code over WiFi).
USB Wall Charger
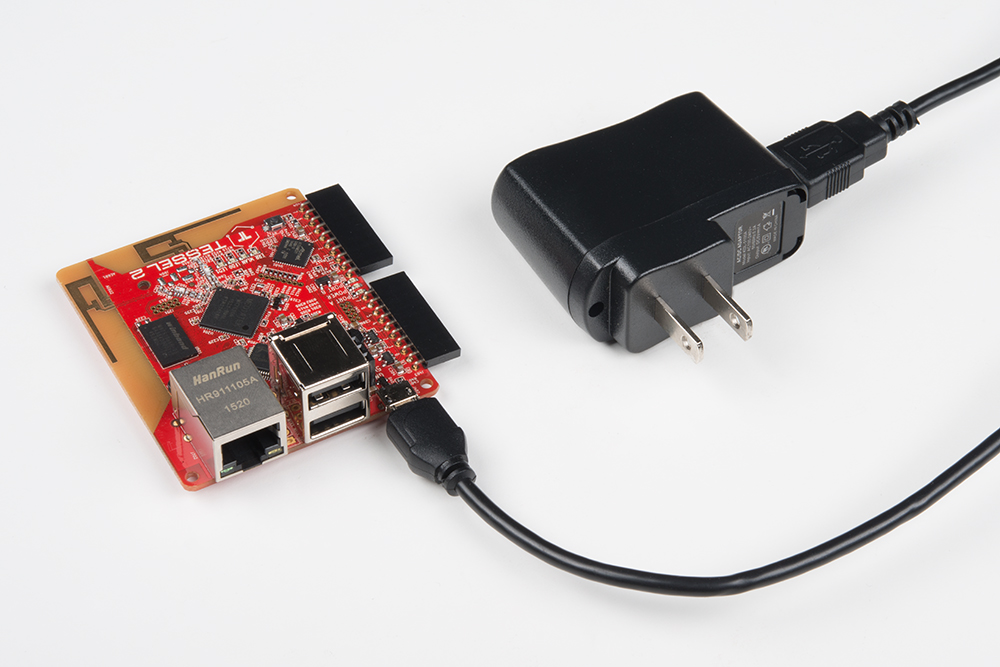
Once you have completely set up and provisioned your Tessel 2, you can deploy code through your local WiFi network. At some point you'll itch to make your Tessel free of wires and tethering, but it still needs power. We supplied a 5V USB charger in the J5IK so you can place your project in a semi-remote location around your home or office and deploy code from anywhere on your local network.
USB Battery Pack
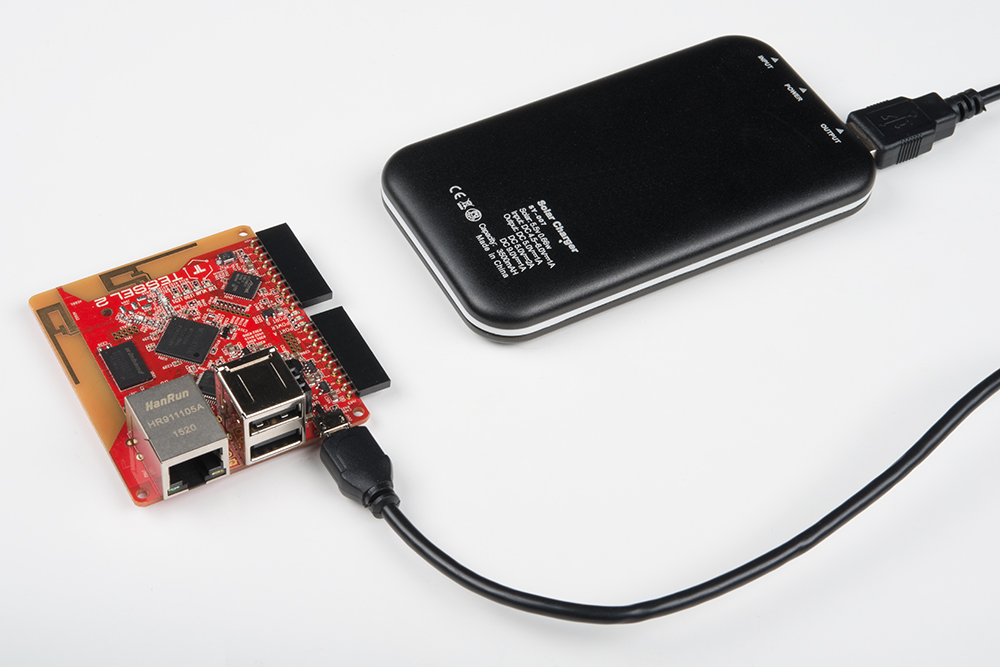
USB Battery packs are becoming quite popular as swag and giveaways at events. We collect them like candy because they allow us to power projects with minimal consideration to power management circuitry. If you have one of these handy, just use the included USB cable to plug the Tessel 2 into your battery and away you go! That's it, simple as pie.