Experiment Guide for the Johnny-Five Inventor's Kit
 rwaldron
 reconbot
 D___Run___
 lyzadanger
 Shawn Hymel
Hardware Installation and Setup
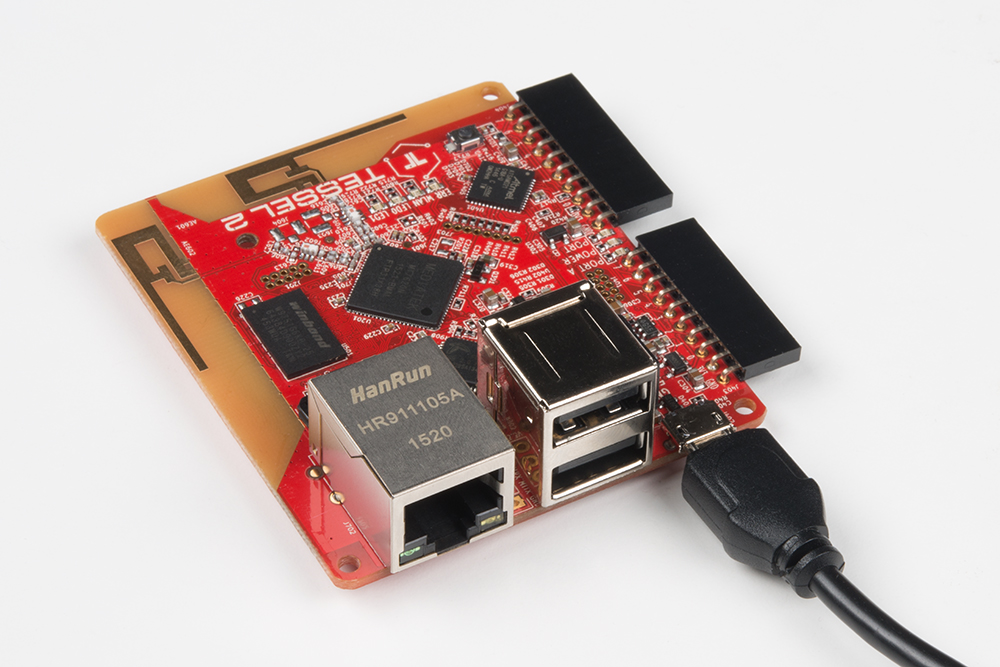
It's time to get your Tessel 2 set up. The steps we'll walk through now include:
- Installing the
t2-clisoftware tool - Connecting the Tessel 2 with a USB cable
- Finding, renaming and provisioning the Tessel
- Updating the Tessel's firmware
Installing the Command-Line Tool
- If you are making a global installation on a Linux computer, be sure to add sudo in front of your npm installation command!
- Some Linux distributions require a few more library installs for `t2-cli` to work! Please install the libraries with the following command: apt-get install libusb-1.0-0-dev libudev-dev. You can find further documentation here.
You interact with the Tessel 2 using a command-line interface (CLI) tool called t2-cli. This tool can be installed using npm (Node.js' package manager, which gets installed automatically with Node.js).
Type the following into your terminal:
npm install t2-cli -g
The -g piece of that command (a flag) is important—this will tell npm to install the package globally, not just in the current project or directory.
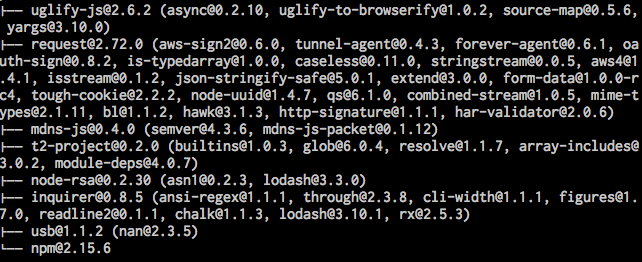
The installation will take a few moments, and you will see a bunch of stuff scroll by that looks sort of like this:
Troubleshooting
Note: If you see any warnings or errors when trying to install t2-cli, the first thing to check is your Node.js version. To do this, type the following command in your terminal:
node -v
You're aiming for the LTS (long-term support) version of Node.js, which at time of writing is v4.4.5. Learn more about how to upgrade and manage node versions with nvm.
Setting up your Tessel!
Now, time to get your hands dirty and get things up and running! Connect your Tessel 2 to your computer and give it about 30 seconds to boot up.
Once your Tessel 2 has booted (the blue LED will be steady instead of blinking), type the following command into your terminal:
t2 list
The t2-cli tool will look for connected Tessels. Tessels can be connected by USB or over WiFi, but for now, it should spot your single, USB-connected Tessel. You'll see something like this:

Success! You can now communicate with your Tessel 2!
Naming Your Tessel 2
Giving your Tessel 2 a name is not required to use it, but it's fun and friendly. To name your Tessel 2 use the following command:
t2 rename [name]
For example we renamed our Tessel 2 "Bishop" by typing following.
t2 rename bishop
The t2-cli tool will respond with the following output:

Double-check it!
t2 list

Connecting Your Tessel 2 to the Internet
If you've ever configured and connected other embedded systems to the Internet, the simplicity of this should make you grin.
You'll need to be connected to your local WiFi network first. To connect your Tessel to a WiFi network, type the following command into your terminal:
t2 wifi -n [SSID] -p [password]
Replace [SSID] with the name of your wireless network (careful! It's case-sensitive) and [password], well, I be you can figure that out!
You'll see some output that looks something like the following:
INFO Looking for your Tessel...
INFO Connected to bishop.
INFO Wifi Enabled.
INFO Wifi Connected. SSID: your-network-ssid, password: your-network-password, security: psk2
That's it! Simple as pie!
You can do a bunch of other stuff with your Tessel and network connectivity. Tessel's website has in-depth documentation on WiFi connection options.
Troubleshooting
Note: Like Kindles and some Androids, Tessel 2's don't play nice with 5GHz WiFi networks.
Provision Your Tessel 2
Your Tessel exists, has a name, and is connected to your WiFi network. The next step is to provision the Tessel. That creates a secure, trusted connection between your computer and the Tessel, whether it's connected by wire or over the air (WiFi). You'll need to do this before you can deploy code to the Tessel.
Type the following command in your terminal:
t2 provision
You'll see something like:
INFO Looking for your Tessel...
INFO Connected to bishop.
INFO Creating public and private keys for Tessel authentication...
INFO SSH Keys written.
INFO Authenticating Tessel with public key...
INFO Tessel authenticated with public key.
Verify it worked:
t2 list
You'll see your Tessel twice! That's because it's connected via USB and WiFi.
INFO Searching for nearby Tessels...
USB bishop
LAN bishop
Great! We have one last setup step.
Update Your Tessel 2
The Tessel community is constantly improving the software and firmware for the Tessel 2. It's likely that in the time between your Tessel 2's manufacture and now, the firmware has been updated. To update your Tessel, type the following command in your terminal:
t2 update
The update process can last some time, so I would recommend a snack break or checking up on some news feeds while this happens. When the update is finished you will get the command prompt back, and you are all ready to go with your Tessel 2!