Galileo Unread Email Counter
This Tutorial is Retired!
This tutorial covers concepts or technologies that are no longer current. It's still here for you to read and enjoy, but may not be as useful as our newest tutorials.
 jimblom
Taming the Python
Before you upload any Arduino code, or even turn the Galileo on, let's set up the Python unread-email-checker script. This script does most of the heavy lifting, like connecting to an IMAP4 server, authenticating with our login/password, and checking your email.
Configuring the Script
The Python unread-email-checking script is below. Five magical lines of Python is all it takes to check our email:
Click here to download (right-click > Save As...) the script, or copy/paste the above into a file precisely named pyMailCheck.py. Then open it with a plaintext editor (Notepad, TextEdit, etc.).
You'll have to do a bit of editing to customize this script for yourself. It's set up to grab an email count from a Gmail account. If you're using another email service, you'll need to change at least the address of the IMAP4 server on line 5. Depending on your mail server, you may also need to change the port (993 is very standard, though).
Also, on line 6, you'll need to change the login and password values to match your account.
Storing the Script
After following along with the Galileo Getting Started Guide, you should have your Galileo set up with the "bigger" Linux image. This adds Python support, along with WiFi drivers and a list of other fun utilities. We'll store this Python script on that SD card as well.
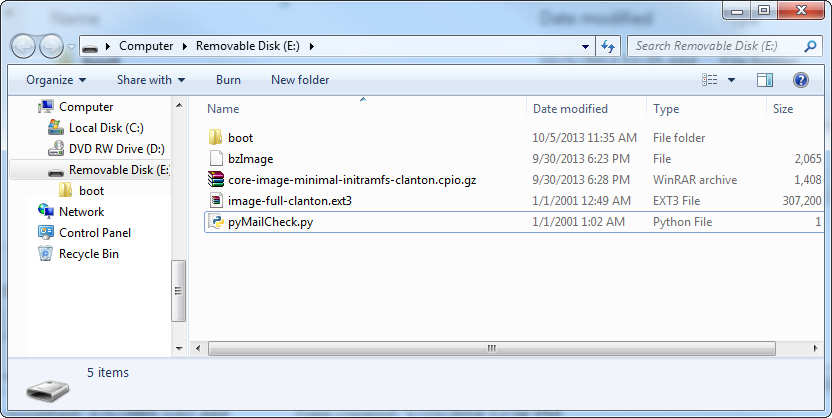
Copy the pyMailCheck.py file that you've edited, and paste it to the top level of your SD card, along with the boot directory, bzImage and other couple of files on the card.
With that, you can remove the SD card from your computer and put it back into your Galileo. Onto the next step -- the Arduino sketch!