Getting Started with 3D Printing Using Tinkercad
 Shawn Hymel,
  Feldi
Feldi Using the Slicer
A Slicer is a program that reads 3D models (for example, saved in an .stl or .obj file format) and translates them to the individual layers needed by the 3D printer. The program then generates machine code (often in g-code format) that can be read by the printer.
To start, download the Cura LulzBot Edition software:
Run the downloader, and follow any necessary steps to install it on your system.
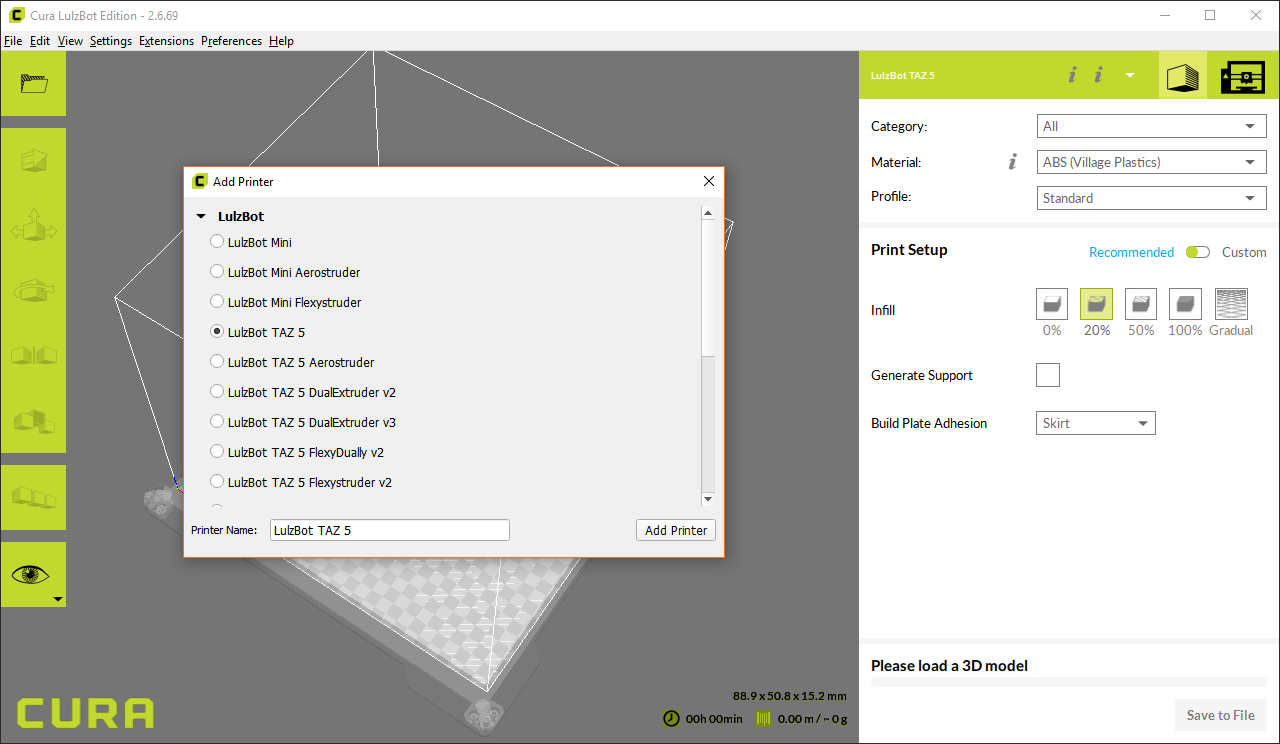
When the program first runs, it should ask you to select a 3D printer. If not, select Settings > Printer > Add Printer.... You should get a pop-up asking you to choose a printer. Select LulzBot TAZ 5 (or whichever LulzBot model you have), and click Add Printer.
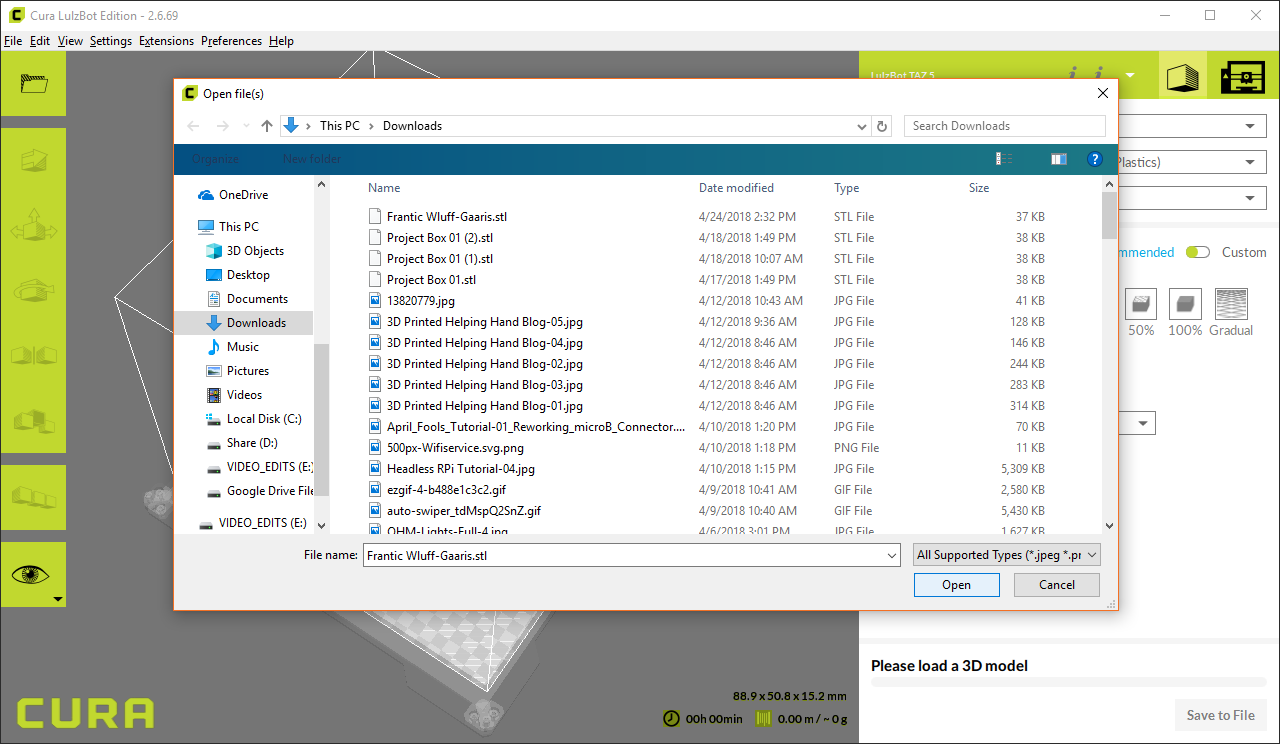
Select File > Open File(s)..., choose your exported .stl file (Frantic Wluff-Gaaris.stl for me), and click Open.
Your model should appear on the bed. Feel free to click and drag the model around to move it to a different location on the bed. This can be helpful if you want to print multiple things at once.
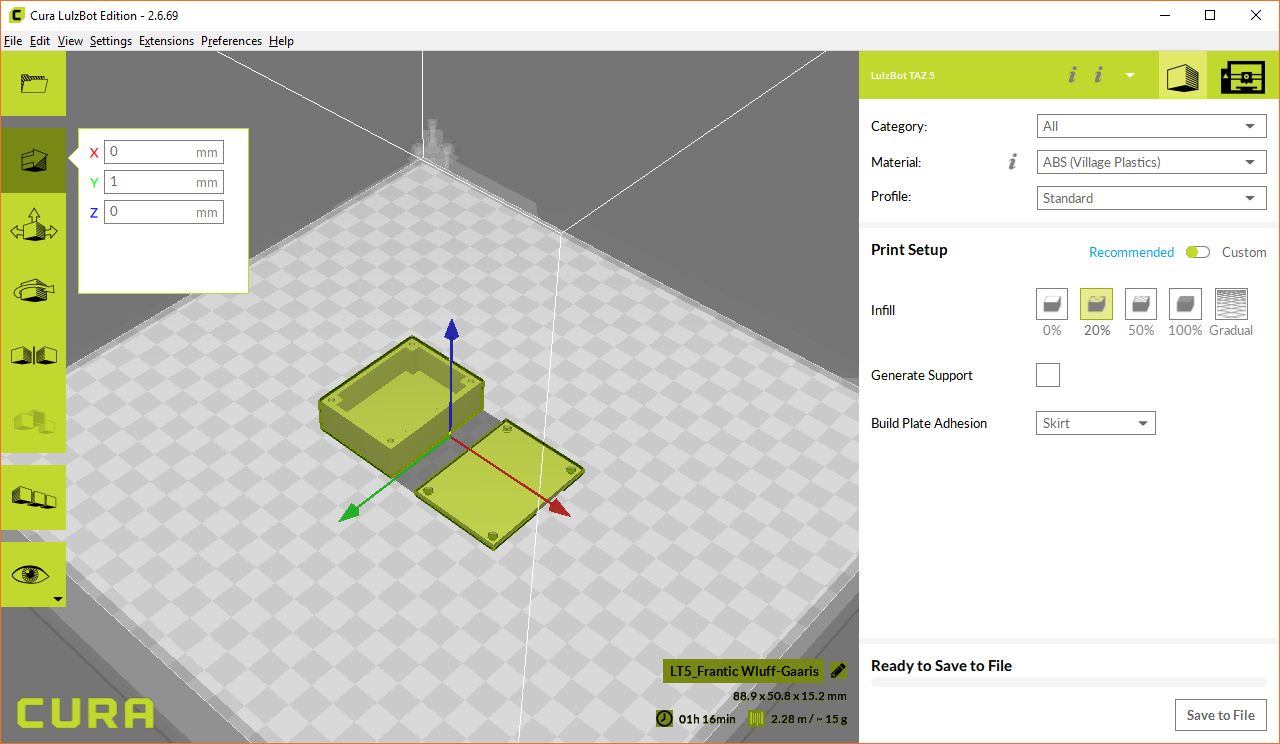
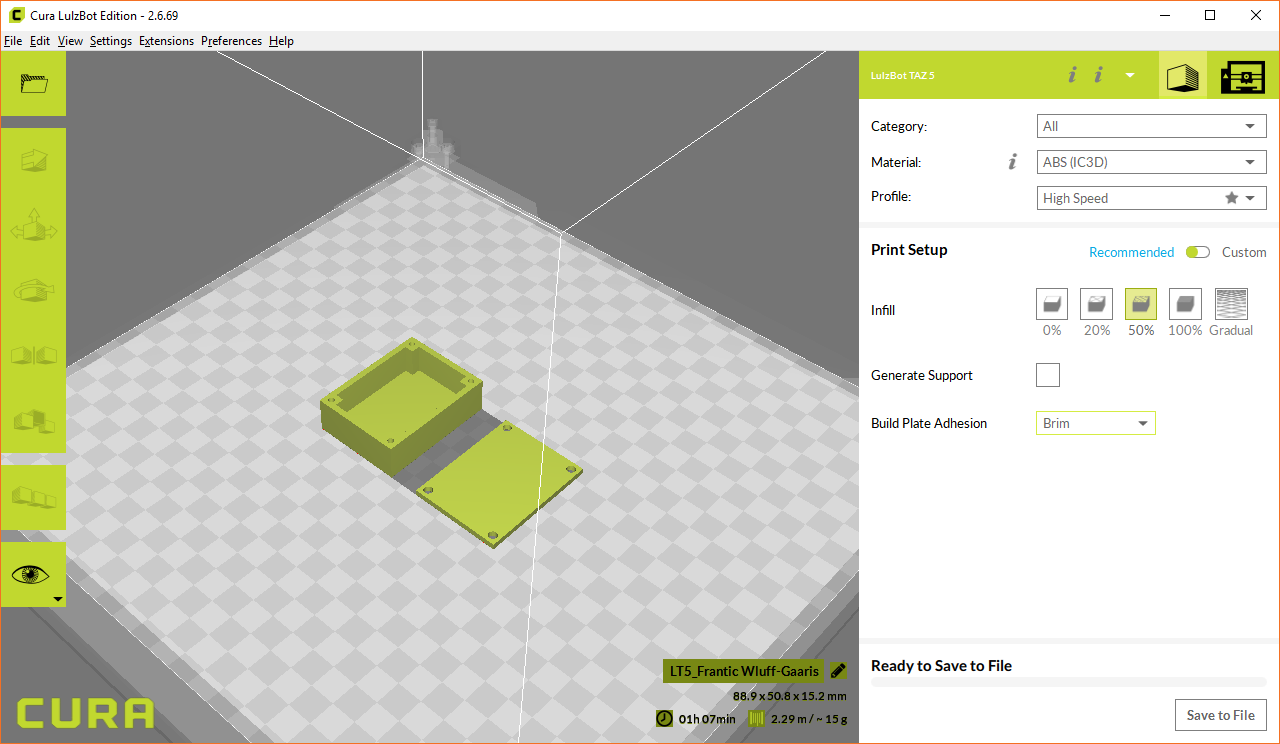
On the right side, leave Category as All. Click the drop-down menu for Material and select the type of material you are planning to use for your print. I plan to use ABS plastic manufactured by IC3D, so I'll select that.
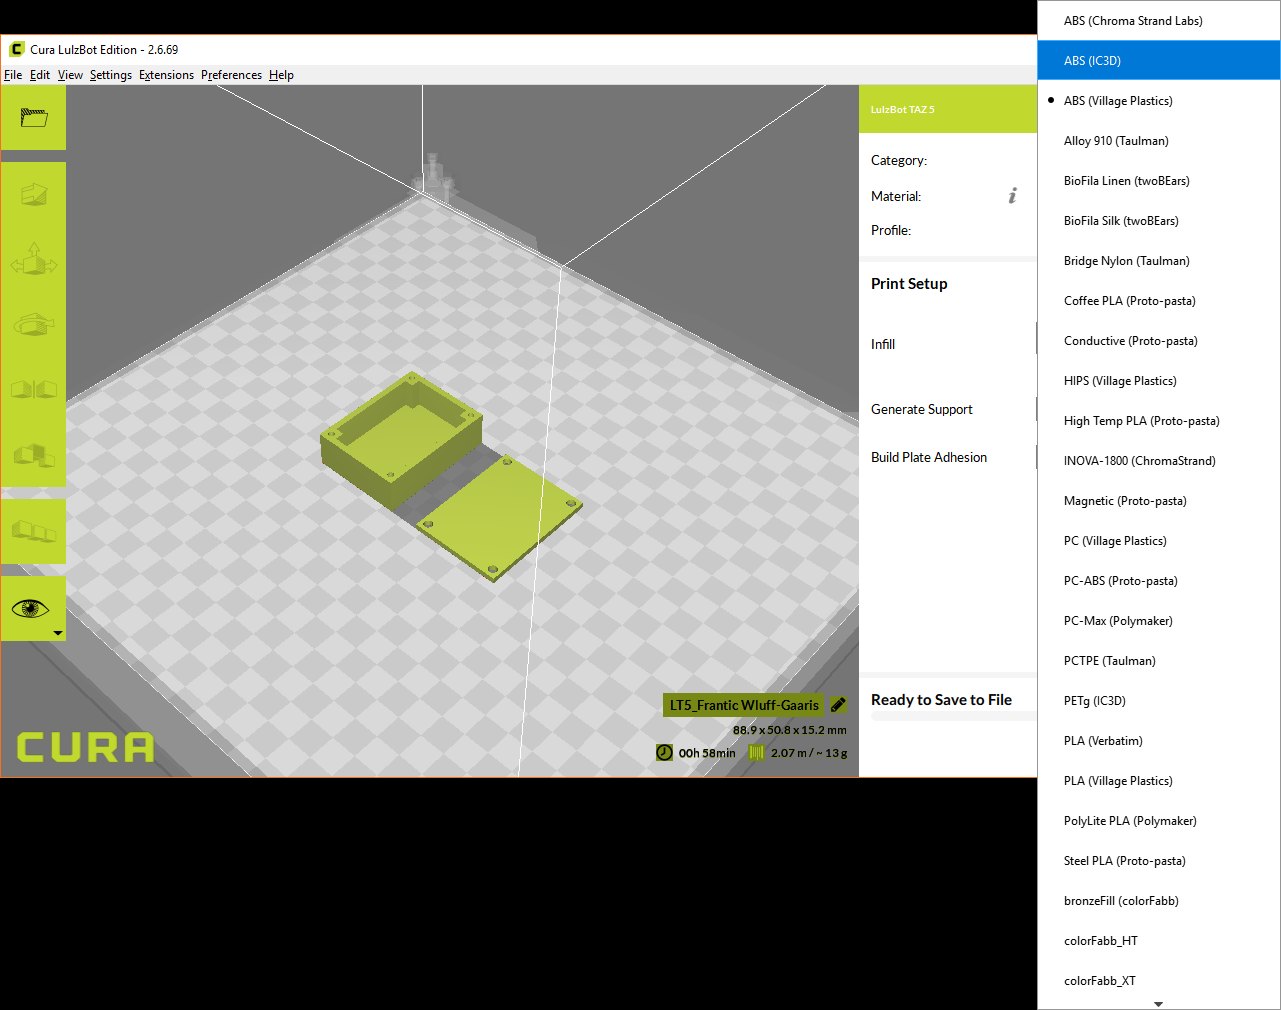
For Profile, you can leave it as High Speed, as our enclosure is really meant for functionality. You're welcome to add some aesthetics to the model and print it with Standard or High Quality, if you wish.
Because we are printing an object that is meant to accept tapping screws (e.g. the threads bite into the material), it's recommended that we print with at least 50% infill. Infill is the area inside the walls of the print (with 0%, our print would be hollow). So, select 50% for Infill.
We don't need support, so leave that unchecked. Support means that material will be added underneath the part to help support angles, overhands, and other pieces that are not flat on the bed.
You can leave Build Plate Adhesion as Skirt, but when printing with a large, flat area (like our box) and a high temperature material (like ABS), it's recommended that you select Brim. If you would like to learn more about skirts, brims, and rafts, check out this article.
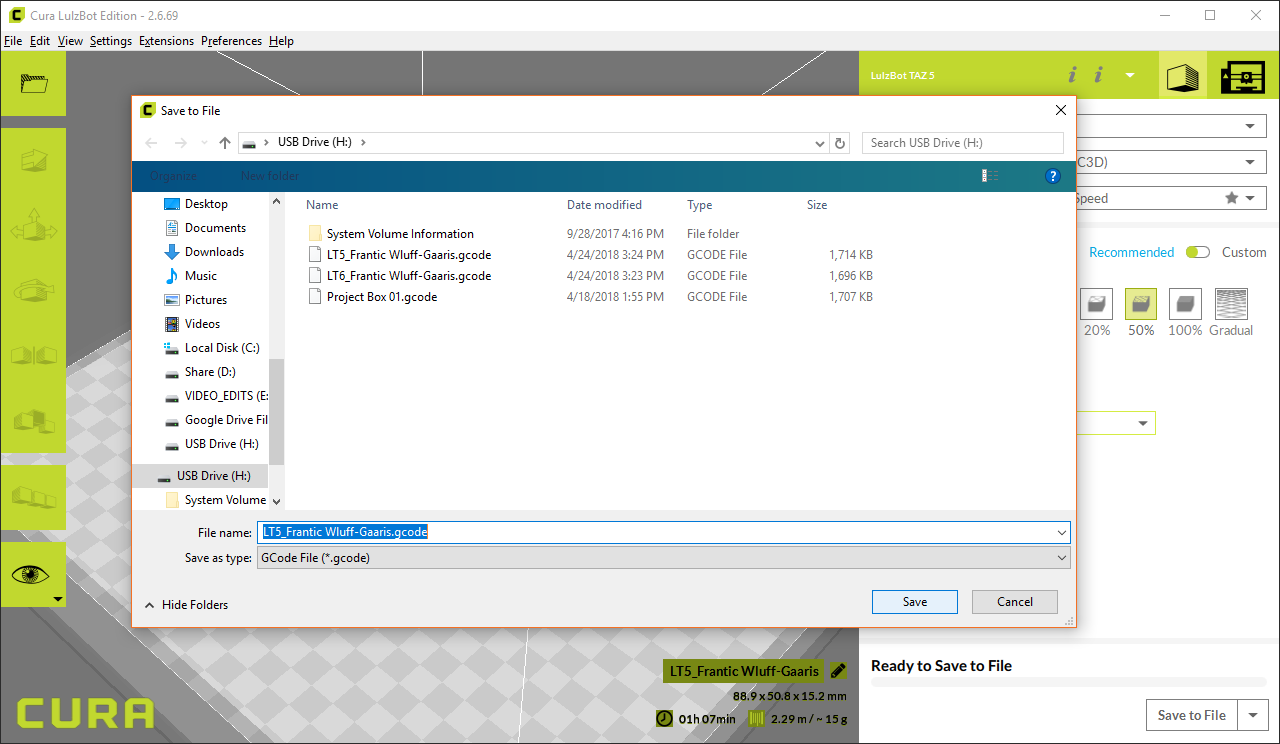
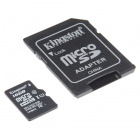
You can print to many printers directly from your computer (e.g. over USB). Without a dedicated computer attached to your 3D printer, you will need an SD card to store your machine code (at least for the LulzBot printers). For the TAZ 5, you need a full sized SD card (or a micro SD card with full sized adapter) and some way to read/write files to the SD card from your computer.
Plug the SD card into your computer, and it should enumerate as a drive. In Cura, click the Save to File button in the lower right corner. Navigate to your SD card and save the file. Remember the file name, as you'll need to select it on the printer!