Getting Started with MicroPython and the SparkFun Inventor's Kit for micro:bit
 LightningHawk
 Experiment 7: Reading the Temperature Sensor
Introduction
A temperature sensor is exactly what it sounds like --- a sensor used to measure ambient temperature. In this experiment you will read the raw 0--1023 value from the temperature sensor, calculate the actual temperature and then print it out over the LED array on your micro:bit.
Parts Needed
You will need the following parts:
- 1x Breadboard
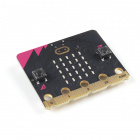
- 1x micro:bit
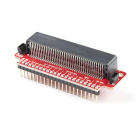
- 1x micro:bit Breakout with Headers
- 1x micro-b USB Cable
- 3x Jumper Wires
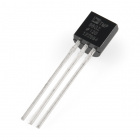
- 1x TMP36 Temperature Sensor
Didn't Get the SIK for micro:bit?
If you are conducting this experiment and didn't get the Inventor's Kit, we suggest using these parts:


Introducing the TMP36 Temperature Sensor
The TMP36 is a low-voltage precision centigrade temperature sensor. It provides a voltage output that is linearly proportional to the Celsius temperature. It also doesn’t require any external calibration to provide typical accuracies of ±1°C at +25°C and ±2°C over the −40°C to +125°C temperature range. The output voltage can easily convert to temperature using the scale factor of 10 mV/°C.
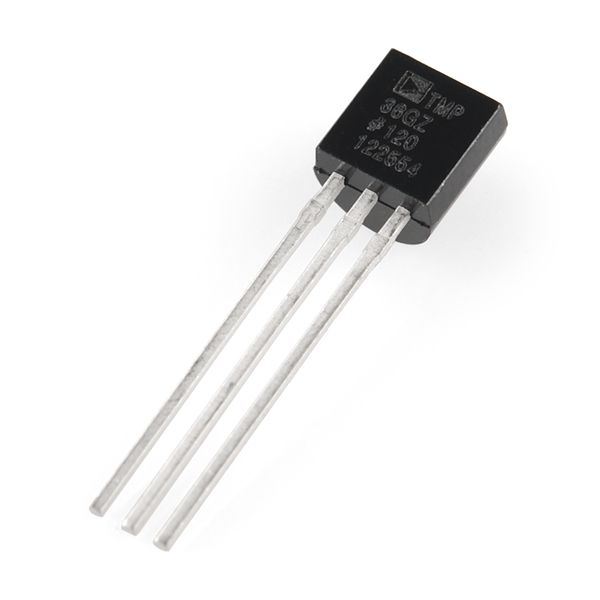
If you are looking at the flat face with text on it, the center pin is your signal pin, the left-hand pin is supply voltage (3.3V in this tutorial), and the right-hand pin connects to ground.
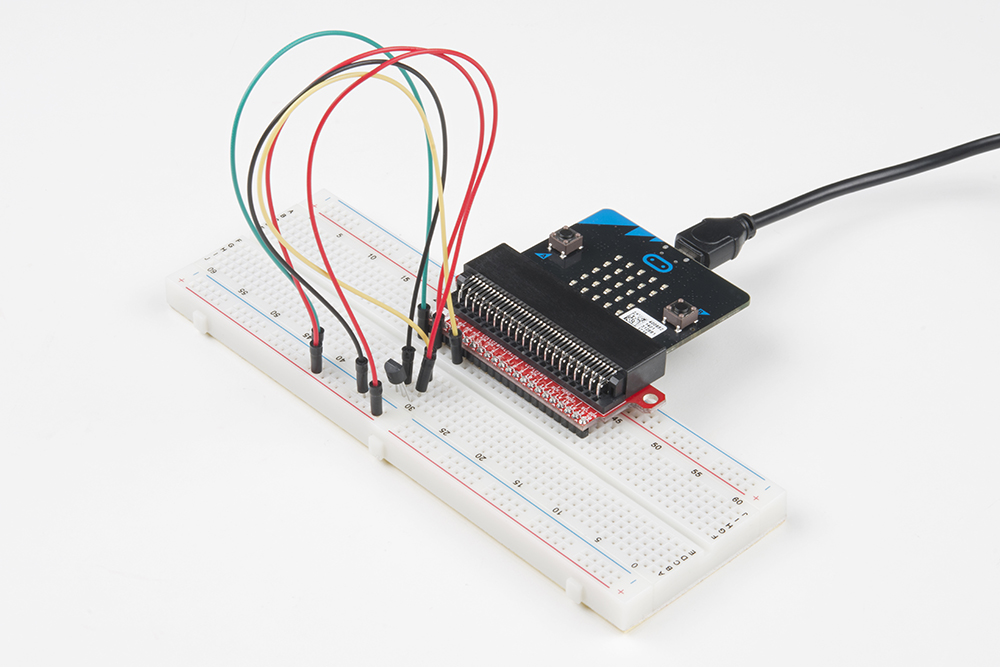
Hardware Hookup
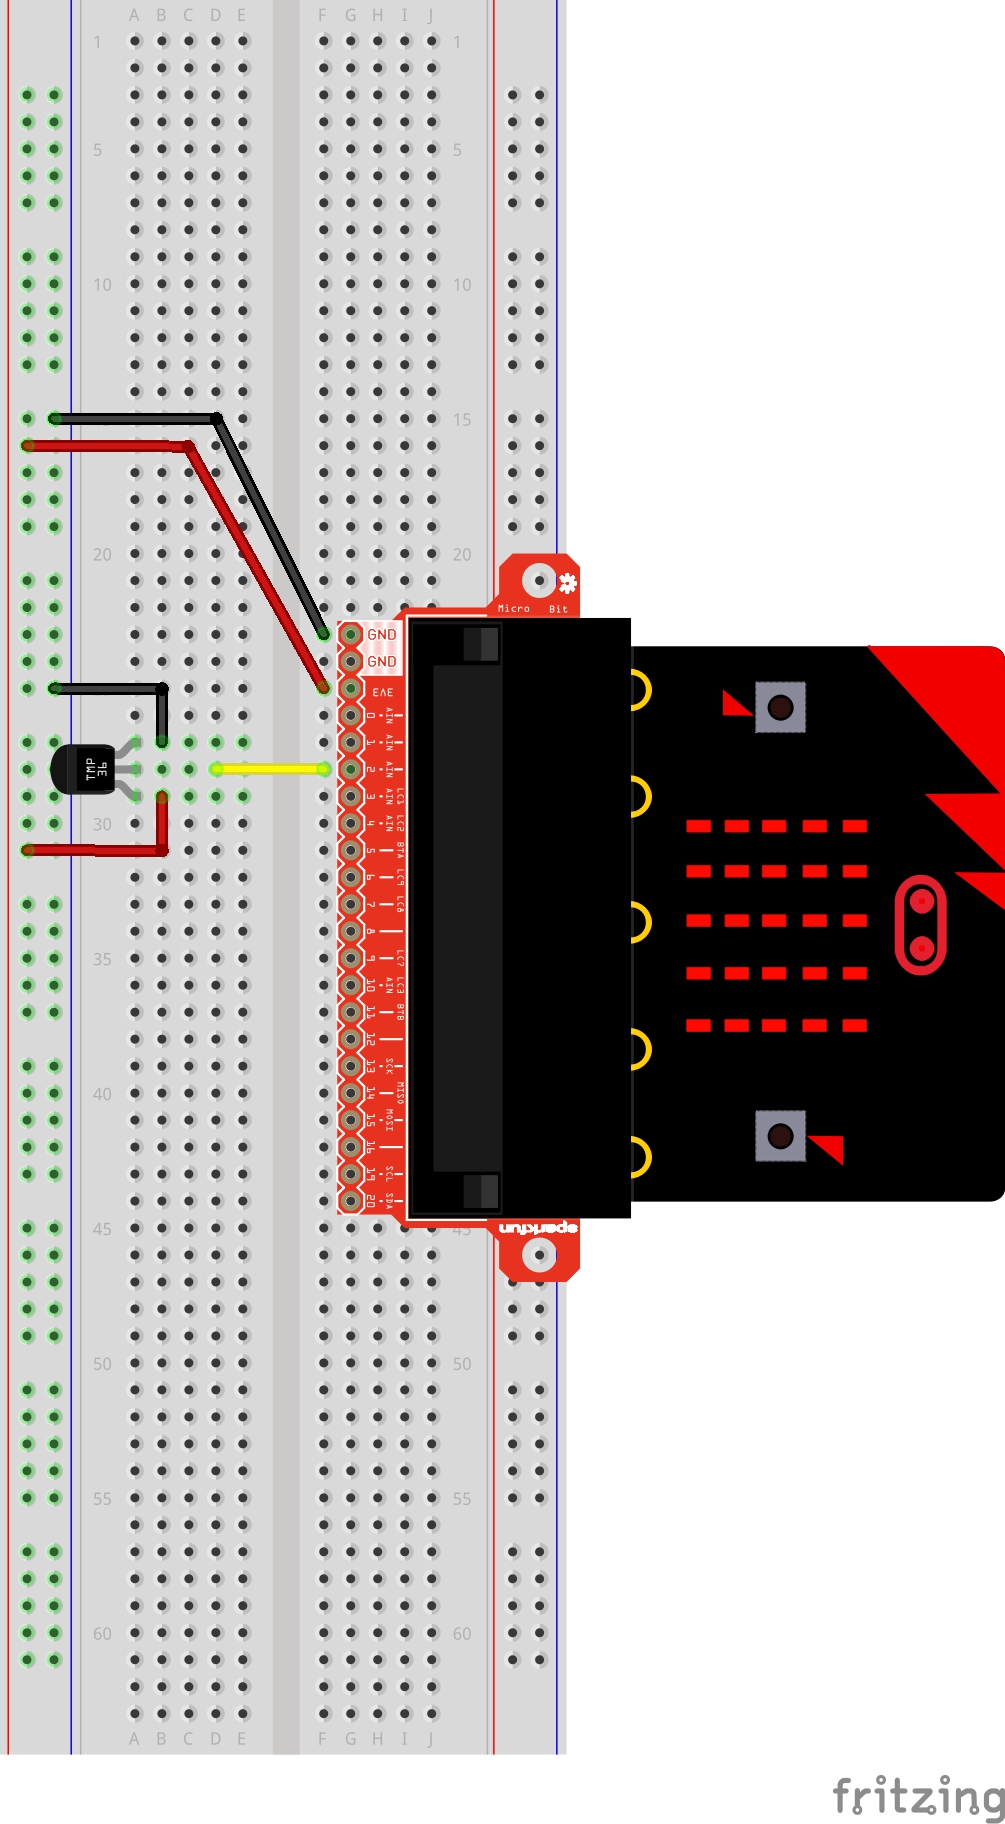
Ready to start hooking everything up? Check out the wiring diagram below to see how everything is connected.
| Polarized Components | Pay special attention to the component’s markings indicating how to place it on the breadboard. Polarized components can only be connected to a circuit in one direction. |
Please note: The temperature sensor can only be connected to a circuit in one direction. See below for the pin outs of the temperature sensor --- TMP36.
Wiring Diagram for the Experiment
Run Your Script
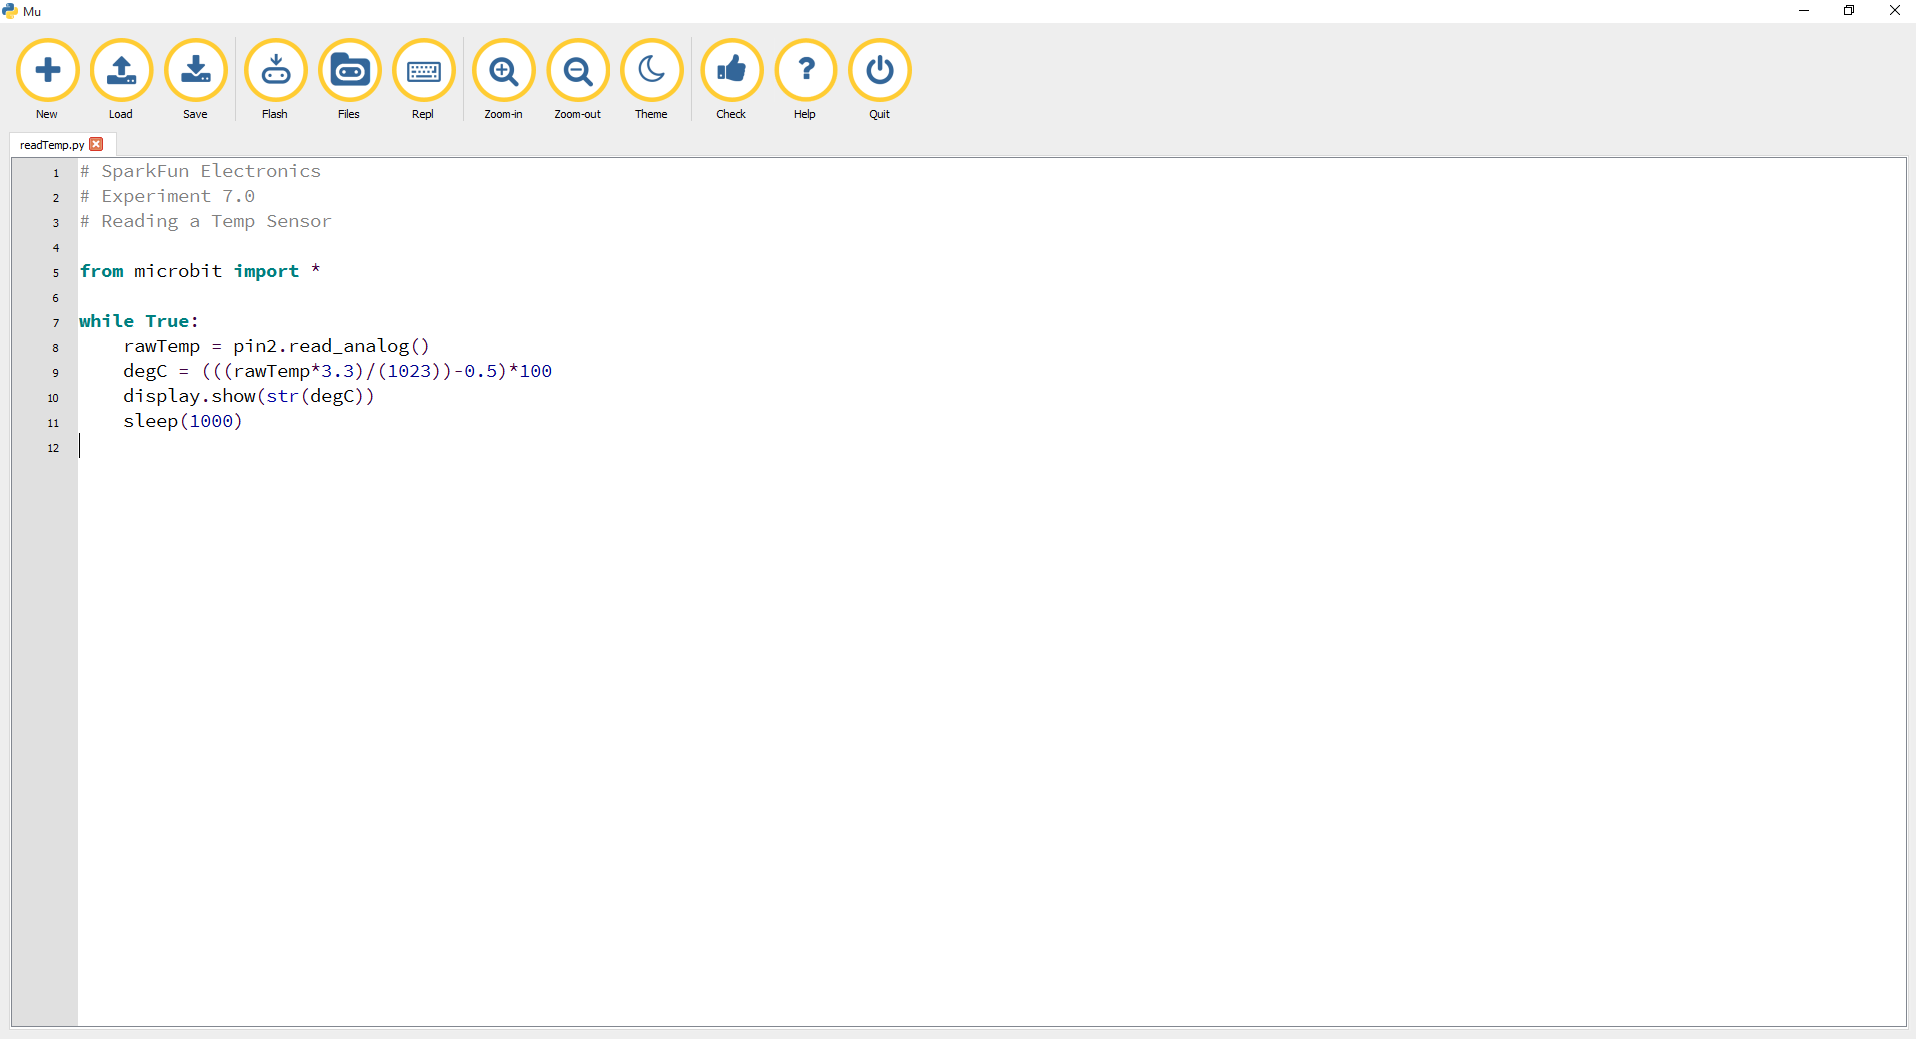
Let's read a temperature sensor. Type (or copy) the program into your Mu editor, or download all the programs from this GitHub Repository and open the Ex7_readTemp.py program. Save it, then click the Flash icon to program your micro:bit.
language:python
# SparkFun Electronics
# Experiment 7.0
# Reading a Temp Sensor

from microbit import *

while True:
    rawTemp = pin2.read_analog()
    degC = (((rawTemp*3.3)/(1023))-0.5)*100
    display.scroll(str(degC))
    sleep(1000)
Code to Note
str
We have already covered display.scroll() but we need to convert our number (temperature) to a string (type) before displaying it to the micro:bit 5x5 LED array. Type conversion in MicroPython is a snap with a simple str placed in front of the variable holding the temperature of type number.
What You Should See
When your micro:bit turns on, the temperature reading from the TMP36 temperature sensor will be displayed and scrolled across the LED array.
Troubleshooting
Temperature Value is Unchanging
Try pinching the sensor with your fingers to heat it up or pressing a bag of ice against it to cool it down.
Temperature Reads Random 5-Digit Number
If you see an output with "65525", "65533", "65527", etc. on the LEDs, the issue might be due to a loose (or possibly shorted) connection between the 3.3V pin and the TMP36's voltage input pin. The analog pin will probably start reading random values or there is a slight current draw to the temperature sensor from the micro:bit. Make sure that you check your connections by ensuring that there are no loose connections or pins touching where they should not. If you are using alligator clips, make sure that the connection is secure as well and that there are no shorts (try sliding the sheath around the alligator clips for more insulation).
Temperature Sensor is Really Hot!
You have wired it backward! Unplug your micro:bit immediately, let the sensor cool down and double check your wiring. If you catch it soon enough, your sensor may not have been damaged and may still work.