Getting Started with the Artemis Development Kit
 Liquid Soulder, Member #1571936
Hardware Assembly
USB Programming
Most users will utilize the USB connection for the drag-and-drop programming interface, serial communication, and debugging. Users only need to plug their Artemis DK into a computer using a USB-C cable.
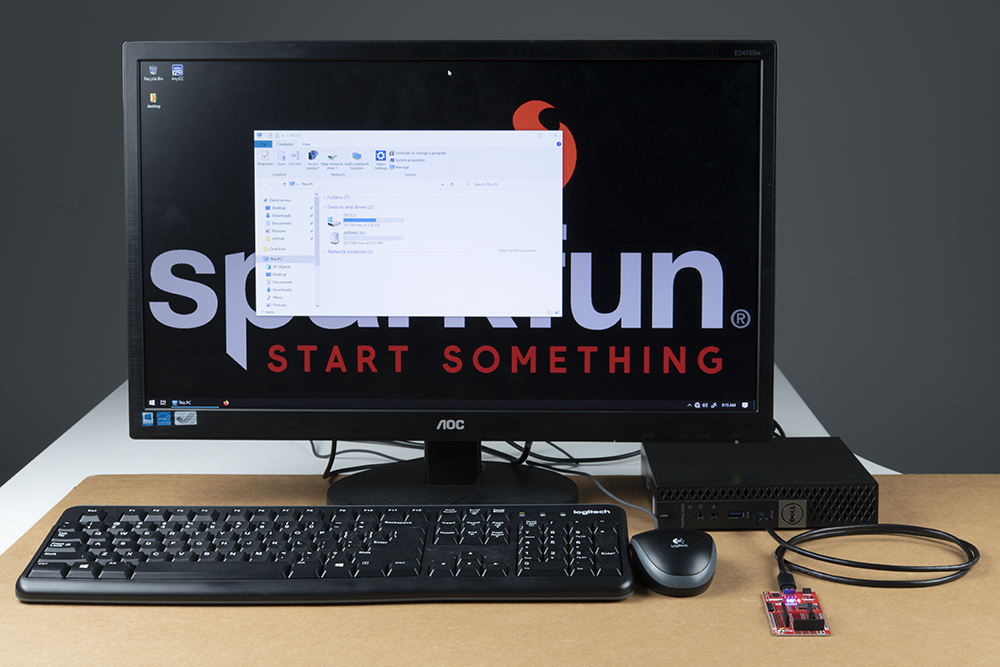
ARTEMIS, in the displayed window. (Click to enlarge) Camera
Attaching the Himax camera should be straight forward. However, steps and pictures are provided below as a reference for users. (*It should be noted that the proper technique for closing the camera connector, should be with two hands and with each finger on either side of the snap-in tab. Unfortunately, the process proved difficult to get a clean shot of and we had to improvise, as shown.)
- To attach the camera, carefully pop open the snap-in tab on the camera connector.
- Seat the camera's ribbon cable, fully into the camera connector, with the lens pointing towards the bottom of thet board.
- Close the snap-in tab from the sides, with both fingers.

The Himax camera attached to the Artemis Development Kit. (Click to enlarge)
Inserting the Himax camera into the camera connector. (Click to enlarge)
Qwiic Devices
The Qwiic system allows users to effortlessly prototype with a Qwiic compatible I2C device without soldering. Users can attach any Qwiic compatible sensor or board, with just a Qwiic cable. (*The example below, is for demonstration purposes and is not pertinent to the board functionality or this tutorial.)
