Getting Started with the Red Hat Co.Lab Robot
 D___Run___,
  Gina Likins
Build: Motor Assembly
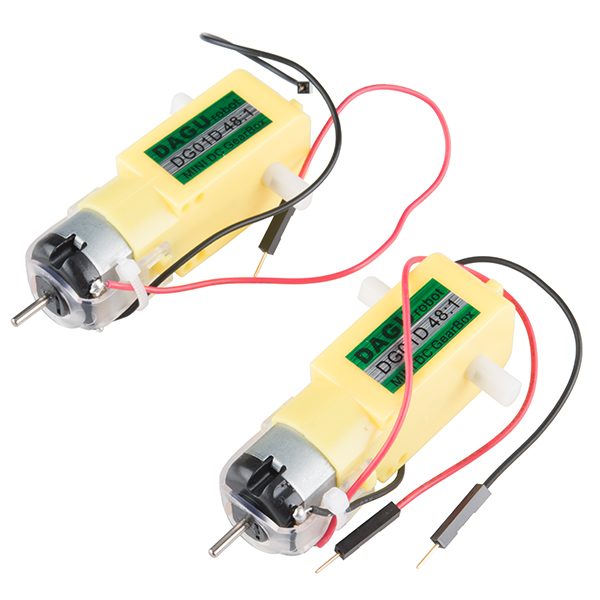
We will start at the base and work our way up in terms of our assembly strategy. What is the base of our robot? The motors and wheels!
Building up this part of the chassis is probably the most tricky part of the whole process. All of the parts were designed to be snapped together and save you from needing nuts, bolts, a screw driver and wrenches. What comes with that benefit is that sometimes is the need for patience on how things fit together and maybe a bit of gentle force.
We've figured out two ways to attach the motor mounts to the motors - we're showing you both of them; choose whichever works best for you.
Option A
Hold the wires near the middle of the Motor and carefully slide a Rear Motor Mount in from the side and over the two motor wires. Be careful not to snag the wires, the cable tie, or the clear plastic strap.
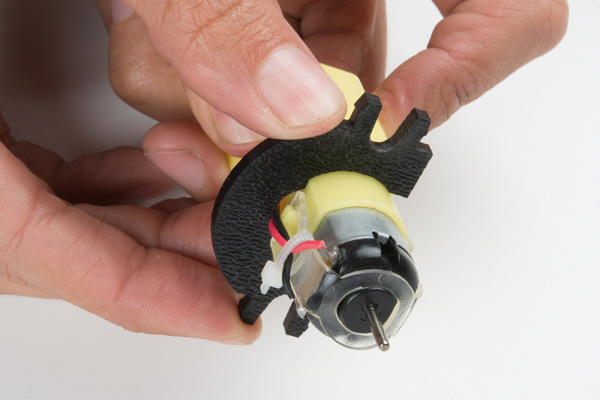
Holding the motor wires, gently twist the Rear Motor Mount counter clockwise so that it snaps in place on the motor and the wires are centered in the gap of the motor mount. Again, be sure not to snag the wires under the motor mount.
Option B (EASIER!)
Cut a short (~.75”) length of electrical tape and then cut it in half lengthwise. Hold the wires in place near the middle of the Motor, then take one of the two pieces of tape and place it over the two wires on the motor, as shown.
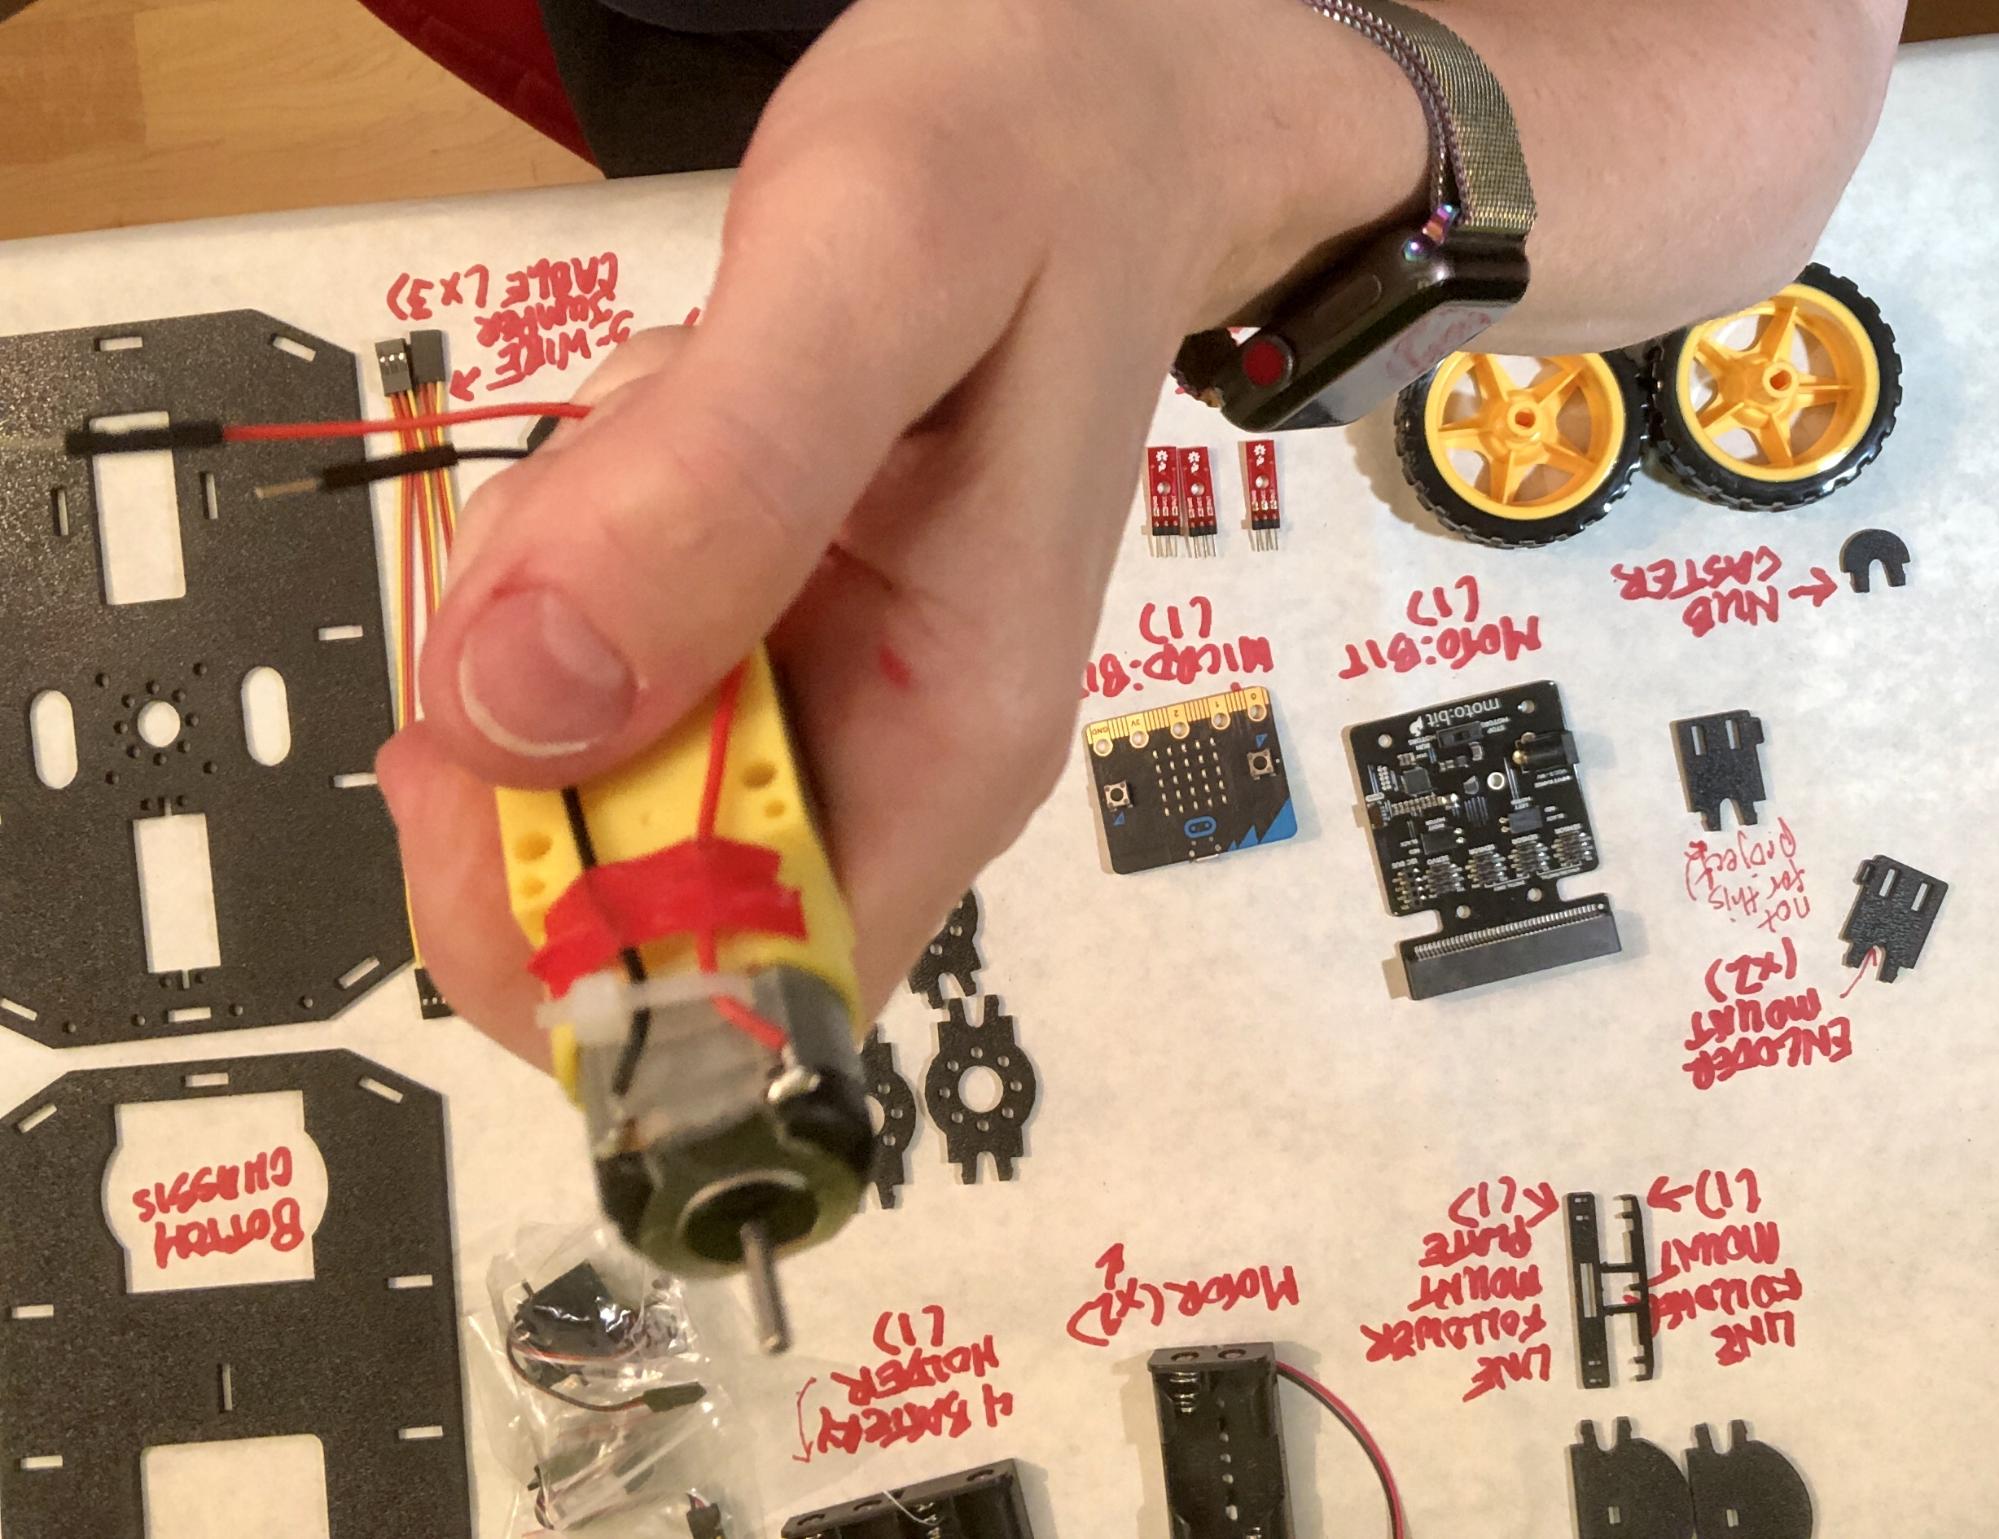
Use your channel lock pliers to hold the Rear Motor Mount in position directly in front of the rectangular part of the motor (as shown below) then use your pliers to help you apply pressure straight down on the Rear Motor Mount, like this:
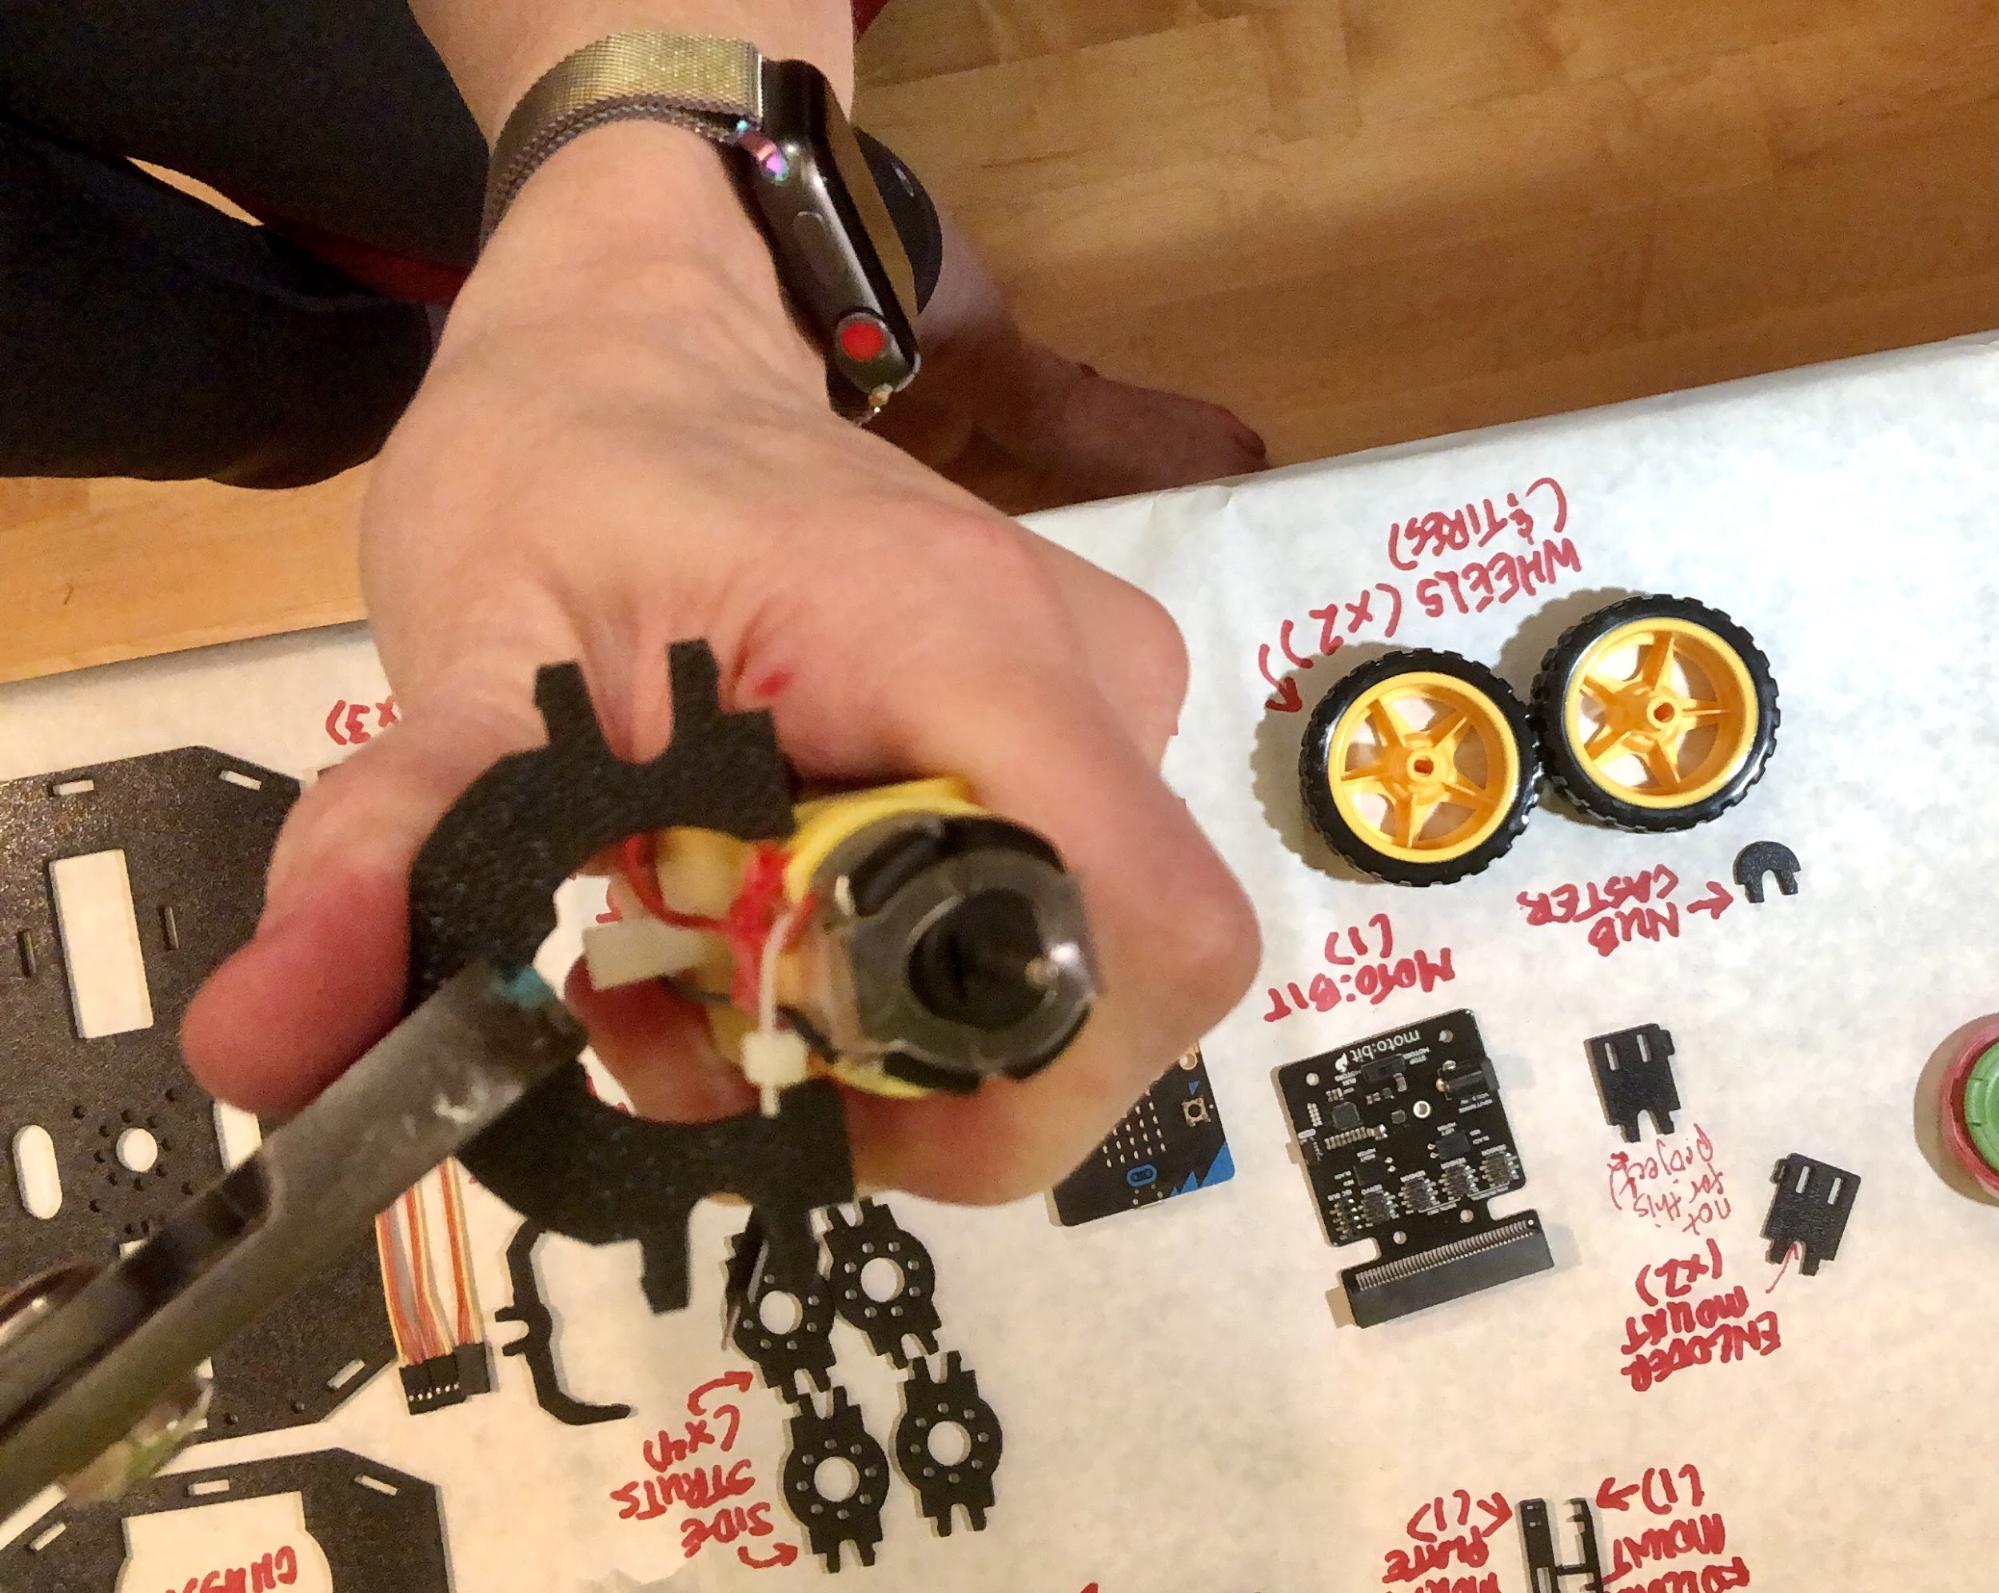
You have to use quite a bit of force, but the Rear Motor Mount should slip over the curve of the Motor to fit snugly, while the wires pass through the small u-shaped cut in the Rear Motor Mount. The electrical tape provides a bit of a barrier as you’re applying pressure, because the edges of the Rear Motor Mount could damage the wires if you were to slip.
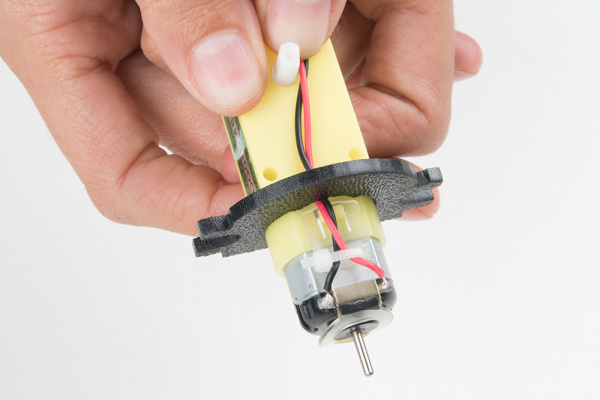
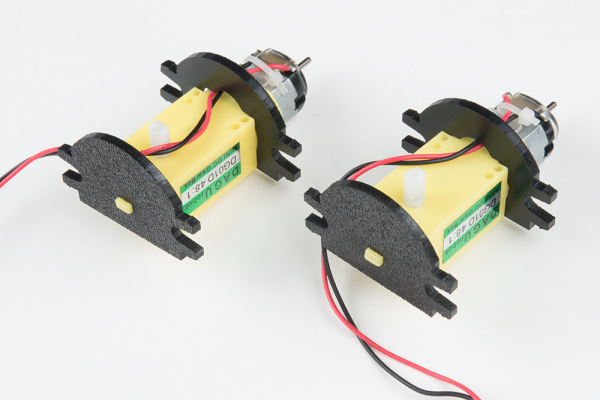
Using whichever method worked, repeat the process for the second motor, so they both look like this:
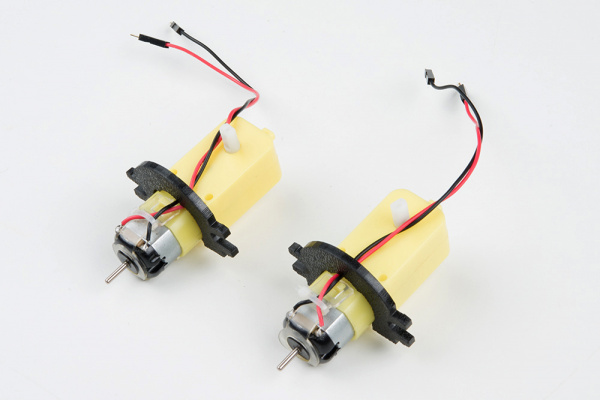
Slide a Front Motor Mount onto the protrusion on the end of one of your two Motors. Make sure the round parts of both the Front and Rear Motor Mounts are facing the same direction.
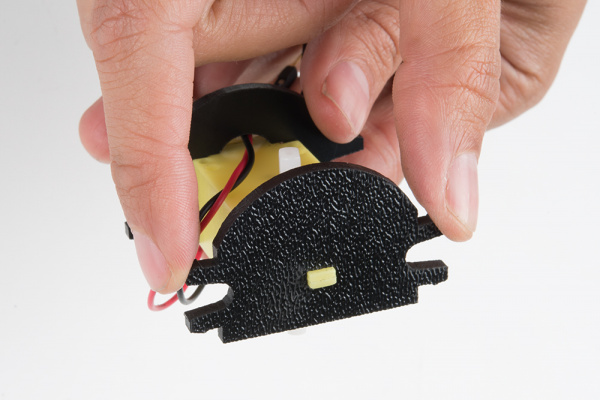
Repeat the process for the second motor. Congratulations! You have built two Motor Assemblies.
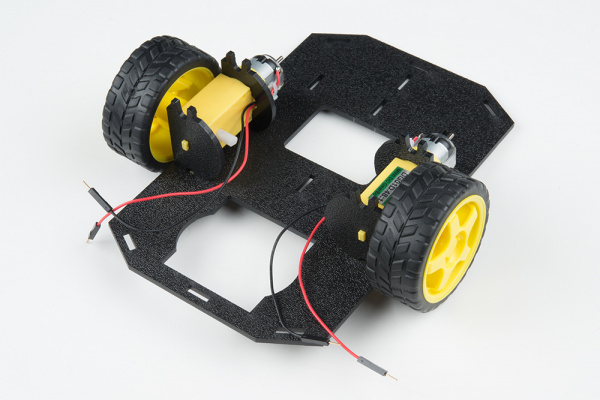
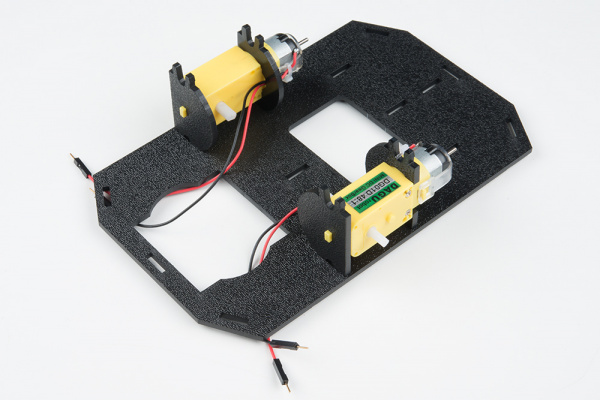
Attaching Motor Assemblies and Wheels to Chassis
Snap one of the Motor Assemblies into the left two horizontal slots of the Bottom Chassis. Make sure that the rounded edges of the motor mounts and the wires are facing toward the center of the chassis and the metal part of the Motor Assembly faces towards the front of the Bottom Chassis. Repeat for the other motor.
Look at one of the two white pegs (motor shafts) that stick out over the sides of your robot, and and notice that it has two flat edges. Slide one Wheel onto the Motor Shaft, making sure to line up the flat edges of the motor shaft with the flat edges of the wheel.
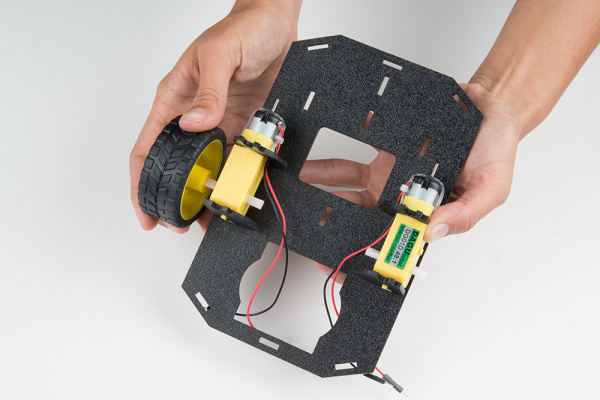
Repeat with the other wheel.