Getting Started with the SmartLED Shield for Teensy
 bboyho
Example: Animated GIFs
In this example, we will take advantage of the built-in microSD card on the Teensy 3.6 to display animated GIFs on a 32x32 panel with 1:16 scan rate.
Parts Needed
To follow this example, you would will need the following materials. You may not need everything though depending on what you have. Add it to your cart, read through the guide, and adjust the cart as necessary.If you haven't already, solder the headers on the Teensy 3.6. Then insert the development board into the SmartLED shield's socket.
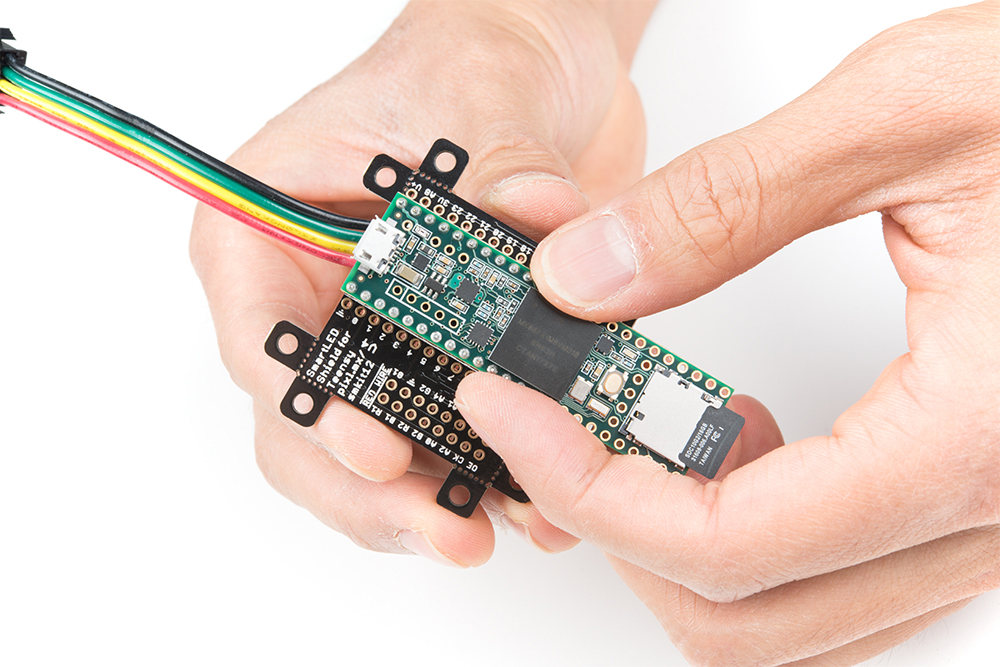
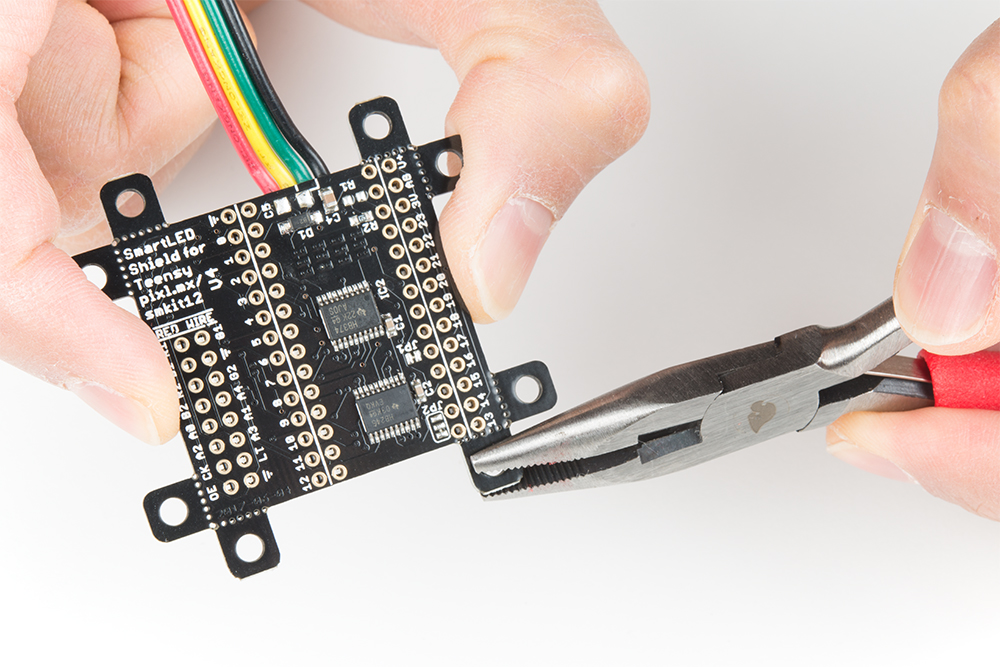
Right angle headers would be better for a low profile behind the RGB LED matrix panel. You can also solder wire to the connections depending on your setup.
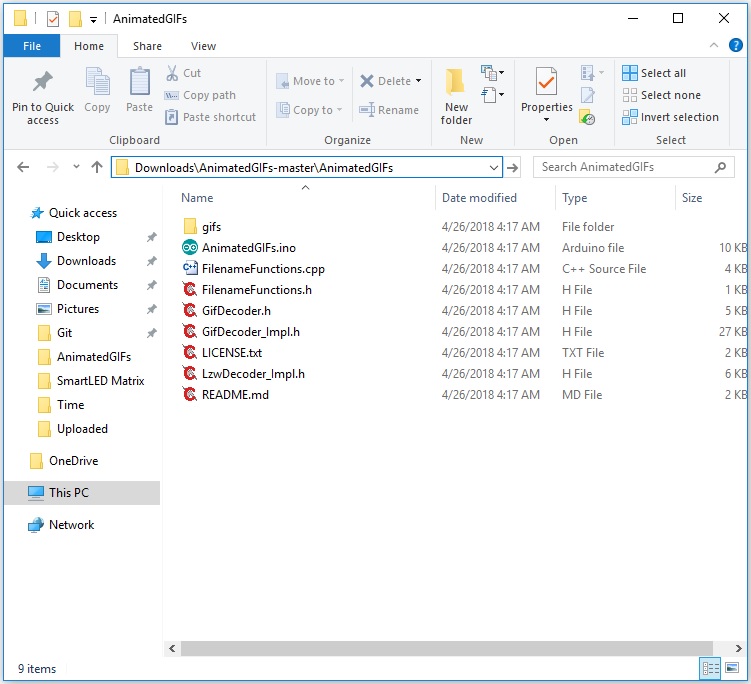
You may notice that there is a GitHub subtree called "AnimatedGIFs @ ..." that was pulled into the SmartMatrix library's examples folder. However, the folder may not have been included when installing the library via the Arduino Library Manager. If you do not see the folder from the Arduino IDE under File > Examples > SmartMatrix > Animated GIFs, you will need to download and unzip the files from this repository:
Once the folder is unzipped, make sure that the AnimatedGIFs.ino file and all associated files are under the same folder name called ".../AnimatedGIFs" as shown in the image below.
Modifying Code
Open the AnimatedGIFs.ino example. Since the defaults kMatrixWidth, kMatrixHeight, and kPanelType are already set for the 32x32 panel with 1:16 scan rate, we just need to:
- uncommenting the line for your hardware configuration
- in this case, we chose "
#include <MatrixHardware_Teensy3_ShieldV4.h>" for the Teensy 3 by removing the "//"
- in this case, we chose "
- uncomment line "
//#define SD_CS BUILTIN_SDCARD" by removing the "//" - comment next line "
#define SD_CS 15" by adding the "//"
Upload Code
Once the code has been adjusted, select correct board and COM port to upload to the Teensy 3.6.
Adding GIFs
The next step is to add the .../gifs folder into the microSD card. Remove power from the Teensy 3.6 if a microSD card was inserted in the socket. Connect to the memory card using a card adapter or microSD USB reader. Copy and paste the .../gifs folder into the root directory of the memory card.
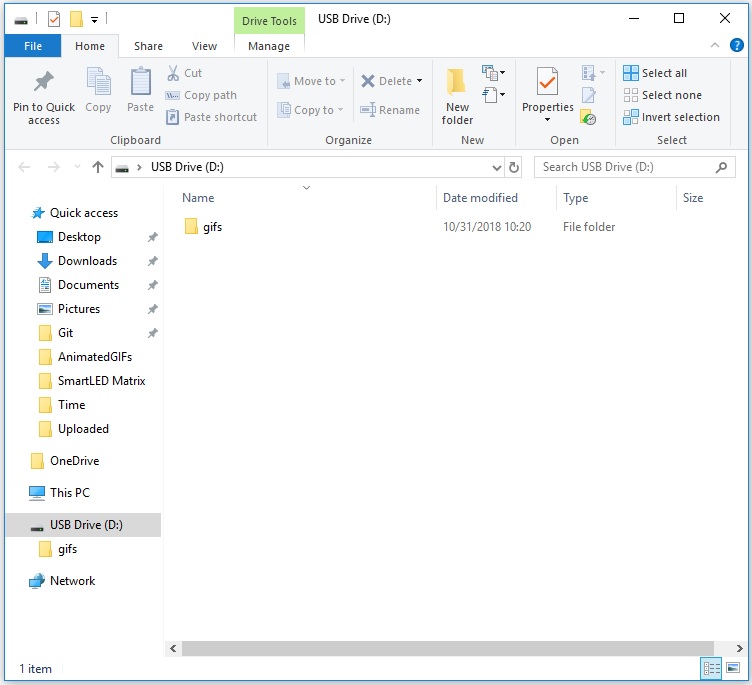
Safely remove the memory card from your computer by ejecting or unmounting the microSD card. After removing the memory card from the adapter or USB reader, insert it into the built-in microSD card socket on the Teensy.
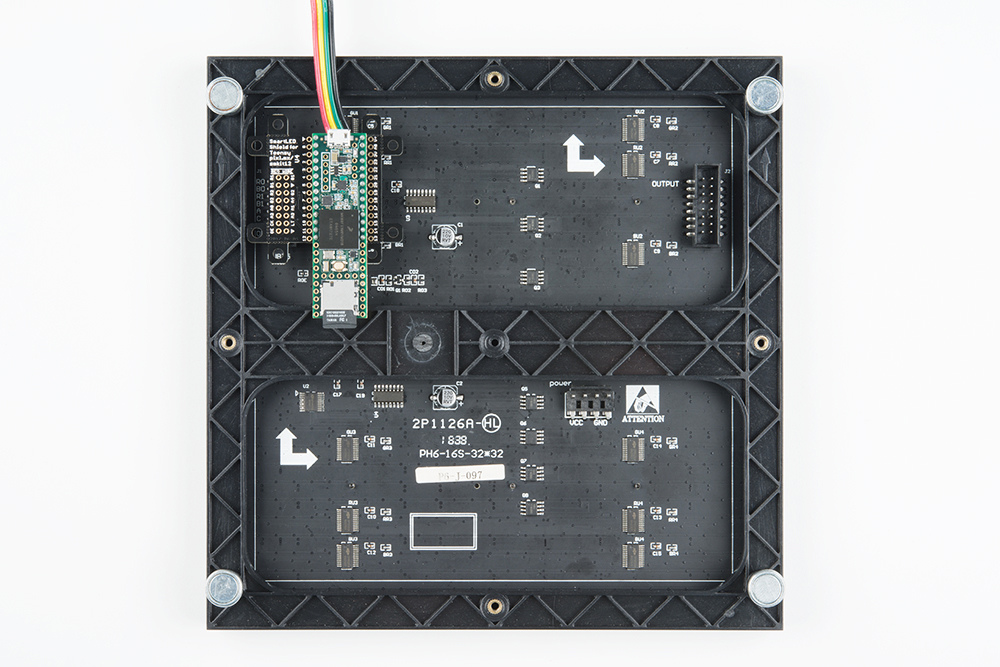
Stack the board on the panel's IDC connector.
If you have not already, add power to the panel. Then add power to the Teensy. The Teensy will begin displaying the GIFs that were included in the folder. Pretty neat!
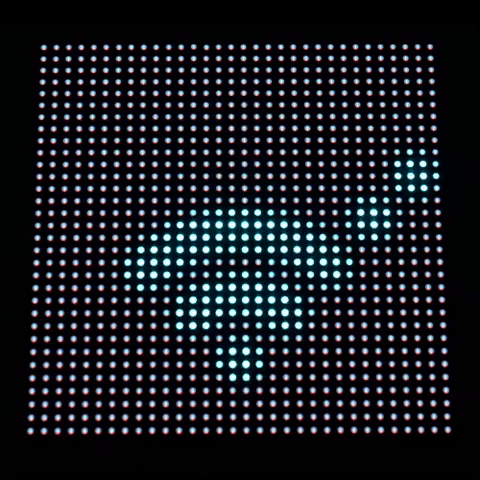
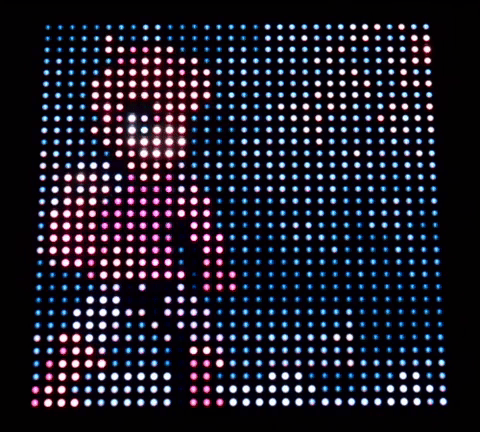
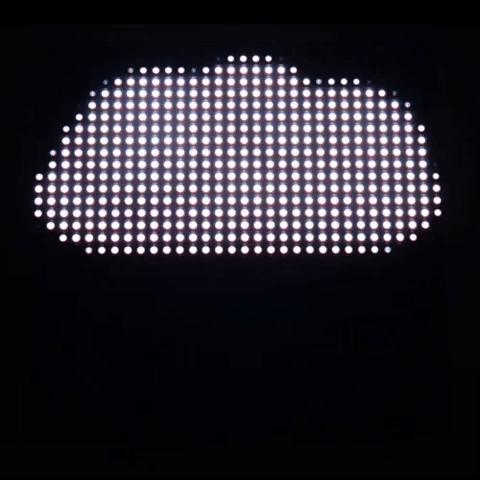
Diffusing the LEDs
The animations may be hard to view as you can see on the image on the left. To help diffuse the light, a translucent material placed in the front of the panel to blend the pixels. The image on the right used a piece of white paper to blend the individual pixels. For long term installations, try using frosted acrylic as used in the Aurora project.
 |
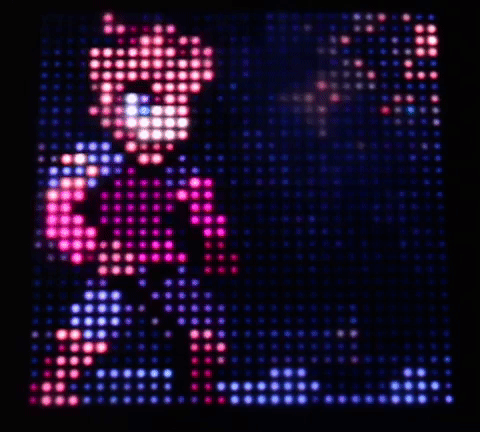 |
| Without Diffusion | Diffused Panel |
Adding MOAR GIFs
Looking for more GIFs? Try checking the GIFs provided in the Aurora project:
Simply copy any file with the *.gif extension and include it in the .../gifs folder as explained earlier. The 10x weather GIFs are neat animations if you want display the current weather on a panel for your next cloud connected IoT project!
You can also do a custom search for 32x32 GIFs on Google.