GPS Logger Shield Hookup Guide
 jimblom
 Introduction
The SparkFun GPS Logger Shield equips your Arduino with access to a GPS module, µSD memory card socket, and all of the other peripherals you'll need to turn your Arduino into a position-tracking, speed-monitoring, altitude-observing wonder logger.
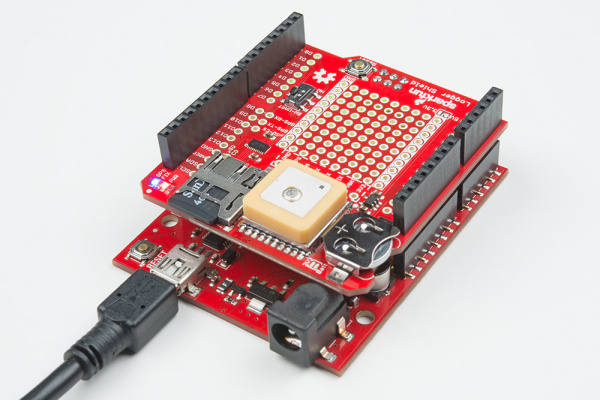
The shield is based around a GP3906-TLP GPS Module -- a 66-channel GPS receiver featuring a MediaTek MT3339 architecture and an up to 10Hz update rate. The GPS module will stream constant position updates over a simple serial UART, which you can then log to a µSD card and/or use for other position or time-tracking purposes.
Everything on the shield is highly configurable: A switch allows you to select the GPS module's UART interface between either hardware or software ports, the µSD card operates over a hardware SPI port, which should be compatible with most Arduino layouts, and extra prototyping space should allow you to add those last, few components you need to complete your project.
Covered In This Tutorial
This tutorial aims to document all things GPS Logger Shield related, including both the hardware and software required to get it up-and-running. It's split into the following sections:
- Hardware Overview -- An overview of the schematic, layout, and features of the SparkFun GPS Logger Shield.
- Hardware Setup -- Tip for assembling the GPS Logger Shield to best match your project needs.
- Example Arduino Sketches
- GPS Serial Passthrough -- A simple sketch you can use to verify functionality of your GPS Logger Shield, and get an idea of what kind of data the GP3906 GPS module produces.
- TinyGPS++ Serial Streaming -- Using the TinyGPS++ Arduino library to parse the GPS module's NMEA strings into latitude, longitude, altitude, speed, and more.
- µSD Card GPS Logging -- Finally, we'll plug the parsed GPS data into a CSV file and save it to a µSD card.
Suggested Materials
There are a few extra components you'll need to get the GPS Logger Shield fully up-and-running:
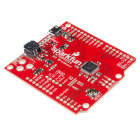
Most importantly, you'll need an Arduino or Arduino-compatible development board. The GPS's serial and µSD SPI ports should be compatible with almost all Arduino-sized development boards. That includes classics, like the Arduino Uno and SparkFun RedBoard, and newer models, like the Arduino Leonardo, Genuino 101, and SparkFun SAMD21 Dev Breakout.


Arduino Leonardo with Headers
DEV-11286
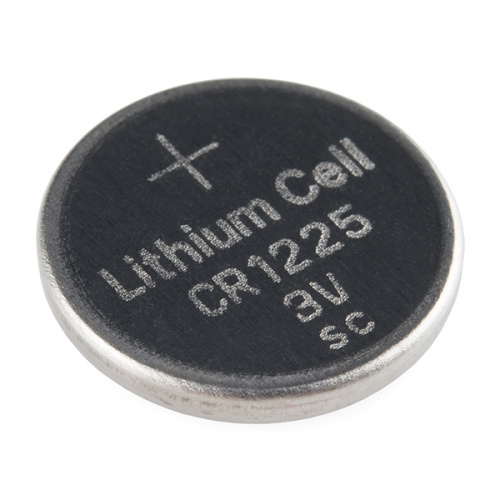
We also highly recommend a 12mm Coin Cell Battery, which fits into the GPS Shield's battery holder. The GP3906 GPS module requires some sort of voltage on its battery supply input. If you don't have a battery, make sure you read the VBAT section of the hardware overview carefully.
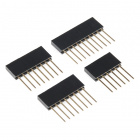
You'll also need to solder some headers into the shield, to create a solid mechanical and electrical connection between it and the Arduino. We recommend the Arduino R3 Stackable Header Pack, but a set of male headers may also suit your needs.


Finally, if you intend on logging the GPS data to a µSD card, you may want to grab a µSD Card and SD Adapter. The Arduino SD library should support most µSD cards formatted with FAT16 or FAT32 file systems.
Suggested Reading
This is a beginner-level tutorial -- and the GPS Logger Shield is a beginner-friendly product -- but there are a few concepts you should be comfortable with before continuing on. If any of these subjects sound unfamiliar, considering reading those tutorials before continuing on.
- GPS Basics -- This tutorial is a great primer on the wonders of GPS. Learn how we get find our position on the globe by listening to (at least) four satellites send a timestamp and aerial position.
- Serial Communication -- The GP3906 communicates via a simple, serial UART. This tutorial will familiarize you with serial-related concepts like RX, TX, and baud rate.
- How to Solder: Through-Hole Soldering -- If you've never soldered before, now's a great time to start, and this is a great tutorial to learn from.
- Installing an Arduino Library -- We'll use a pair of fantastic Arduino libraries to log GPS data to an SD card.