H2OhNo!
This Tutorial is Retired!
This tutorial covers concepts or technologies that are no longer current. It's still here for you to read and enjoy, but may not be as useful as our newest tutorials.
 Nate
Nate 
Reprogramming
H2OhNo! will work as a water alarm out of the box, but the real fun begins when you start to re-purpose the device!
H2OhNo is programmed using the Arduino IDE, but Arduino doesn't support the ATtiny series by default. To get Arduino to work with ATtiny microcontrollers you need to install a David Mellis' mod. Checkout the AVR Tiny Programmer tutorial for a full description of how to get the drivers and software setup.
Programming the ATtiny
Once you've got the Arduino IDE configured, we need to get our new code onto the ATtiny. The H2OhNo! development board was designed to be programmed with the Tiny AVR Programmer (originally designed by David Mellis - he's a wizard).
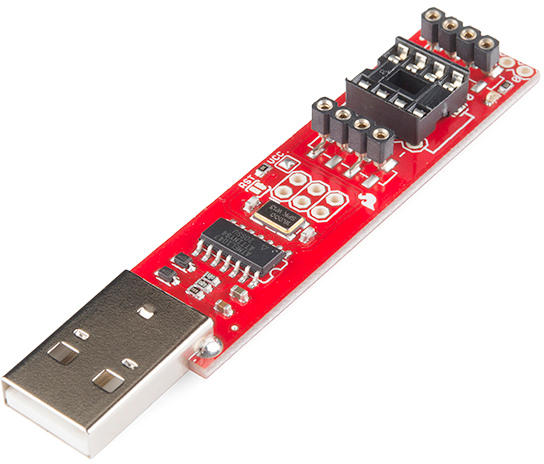
To load a new sketch onto the ATtiny, remove the 8-pin DIP from the H2OhNo!, and insert it into the DIP socket on the Tiny AVR Programmer. Plug the programmer into your computer's USB port. Select the ATtiny85 (internal 8MHz clock) from the Tools > Board menu, then hit upload. If you plan to use SoftwareSerial with your ATtiny, you will need to increase the internal clock to 8MHz by setting the fuse bits through the Burn Bootloader function. See Configuring the ATtiny to run at 8MHz on David's tutorial for more information.
Hardware Connections
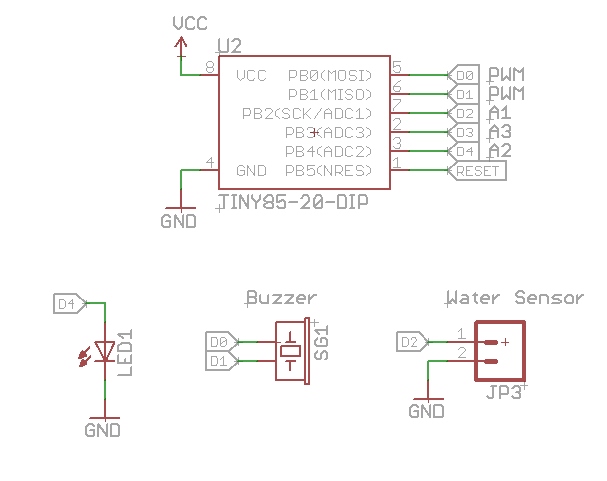
When loading new code you'll need to know where each pin is connected. This simplified schematic should help. You can also grab the schematic here. Be sure to checkout the H2OhNo! github repo for the open source hardware design files, as well as the example firmware.
Thank you David Mellis and Mark Sproul for building ATtiny support into the Arduino IDE!