How LEDs are Made
 Nate
Nate 
Molds and Testing
Back to the PTH LED process: Once the wire bond is in place and the adhesive is cured, the lead frame gets placed in the LED mold and gets epoxy resin pushed in around the lead frames.
These molds are what give the LEDs their shape. This was another ah-hah moment. I've seen many different shaped LEDs but always within some sort of dimension. You don't see many 5mm type LED leads with a star shaped head because:
- The mold has to release the head of the LED just like an injection mold. Any shape that has overhangs would be locked in the mold. What about a two part mold? That leads me to #2:
- The entire LED industry is built upon specialty cottage suppliers. This means there are suppliers that only do one thing: silicon manufacturing, lead manufacturing, mold manufacturing, etc. Almost no one owns the entire tool-chain, so YunSun has to pick from the available suppliers' options. While we were very excited to ask YunSun to create a super-custom, awesome LED for us, it would be next to impossible; we'd have to convince not just them but about 5 different suppliers to provide oddly sized lead frames, a mold size that is custom, adjust the machines to accommodate lead spacing that may be incompatible, and then create new test jigs and operating procedures. Not impossible, but far more difficult than I had assumed.
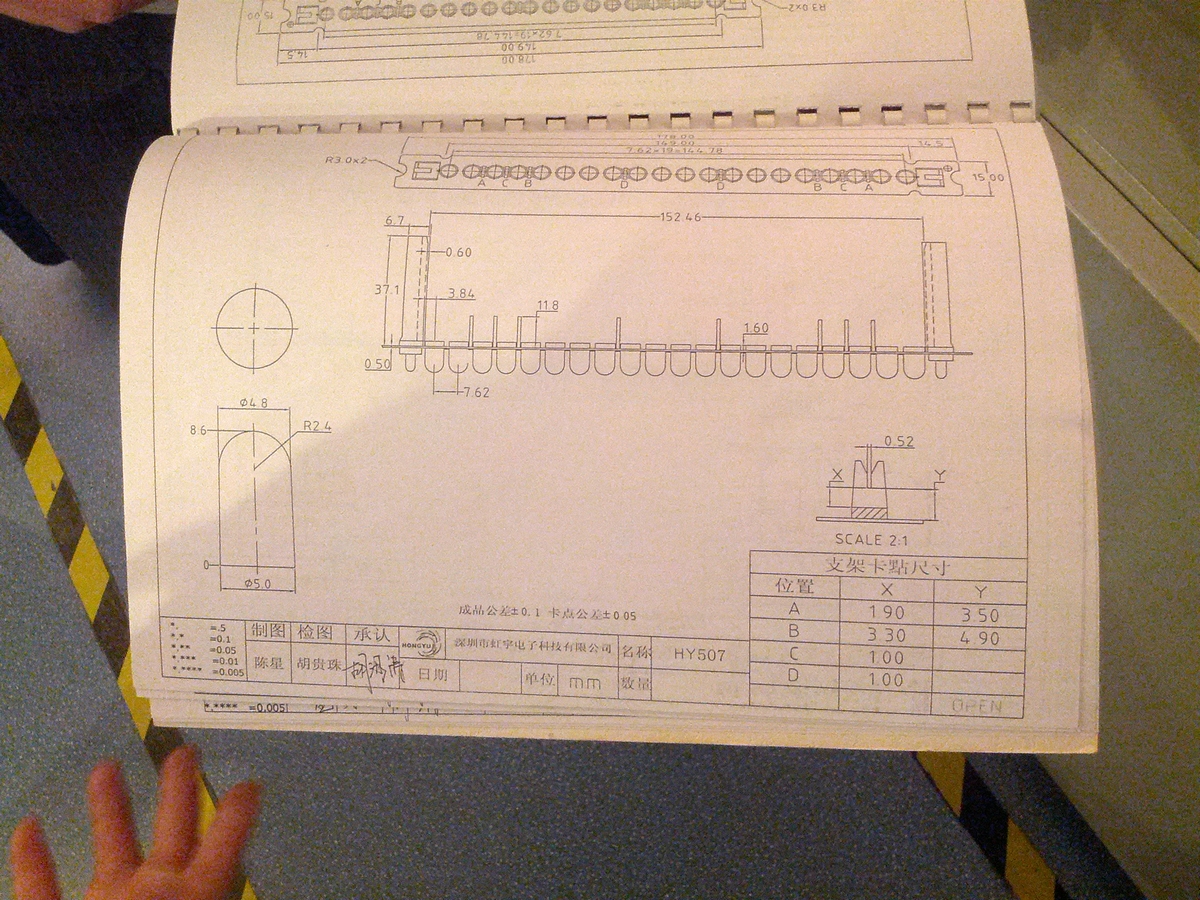
This is one of the mold suppliers' catalog containing a multitude of different shapes and sizes. Again, custom shapes are not impossible, but, if it's not in the catalog, it will be much more difficult to obtain.
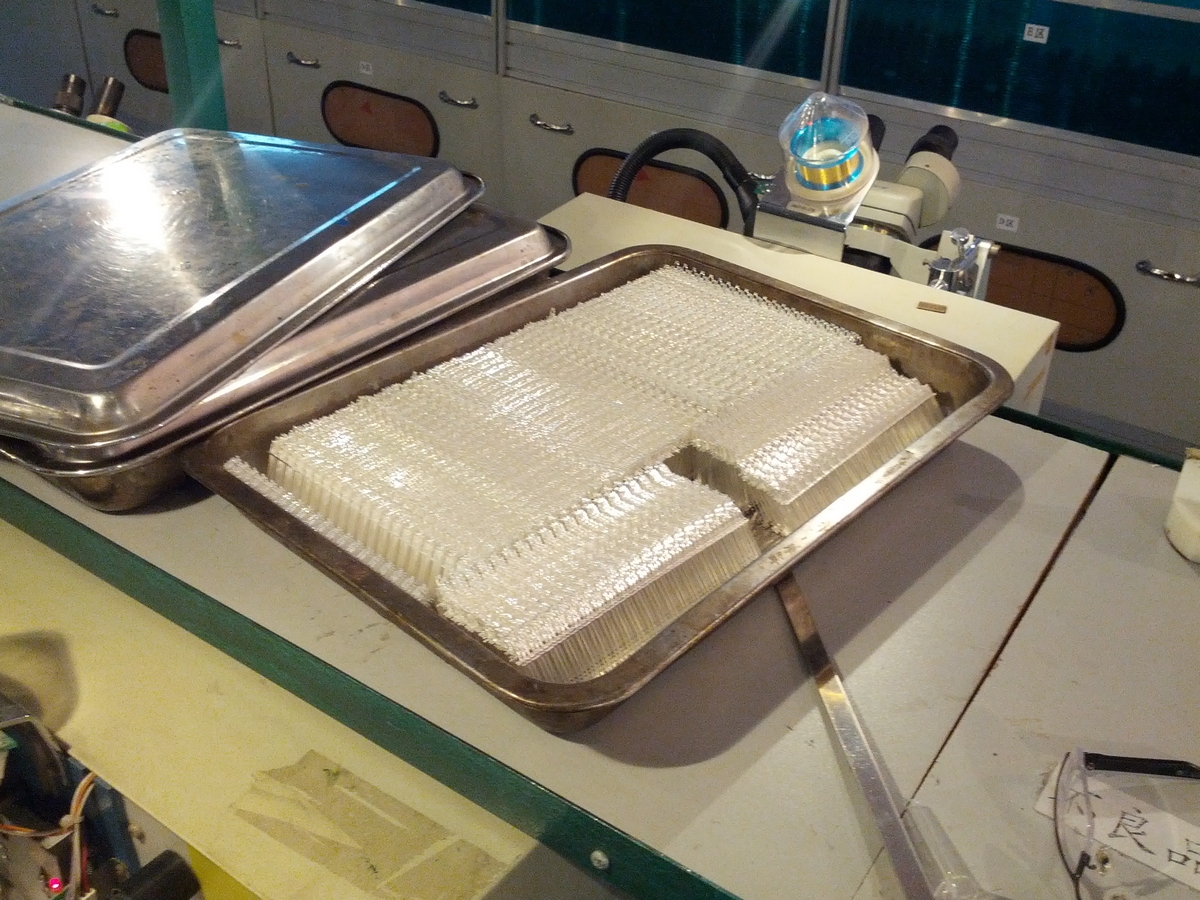
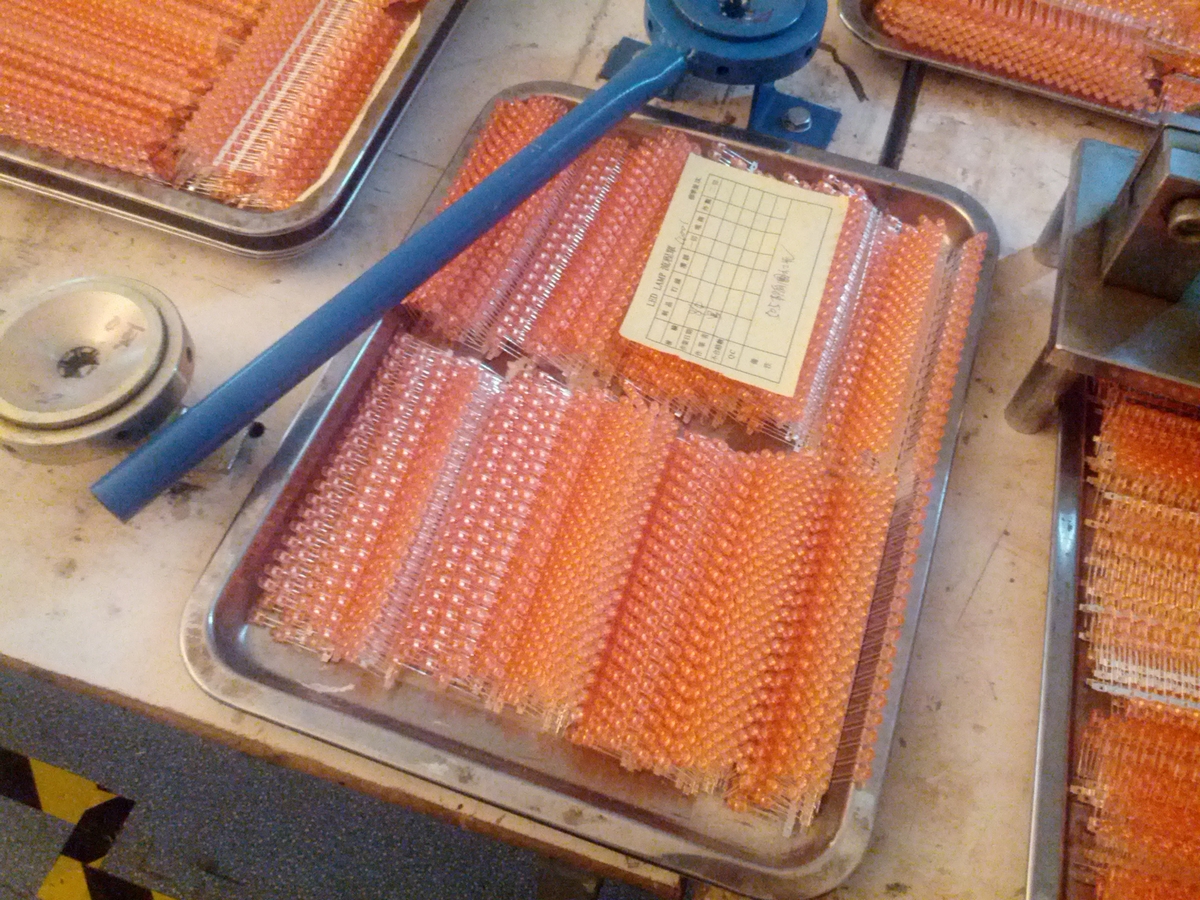
Once the epoxy has been injected, we were told the LEDs are baked for 45 minutes. At this point the LEDs can be released from the molds. They are then baked for another 8 to 12 hours to fully cure the epoxy. Once the LEDs are cured they are grouped in large batches shown above.
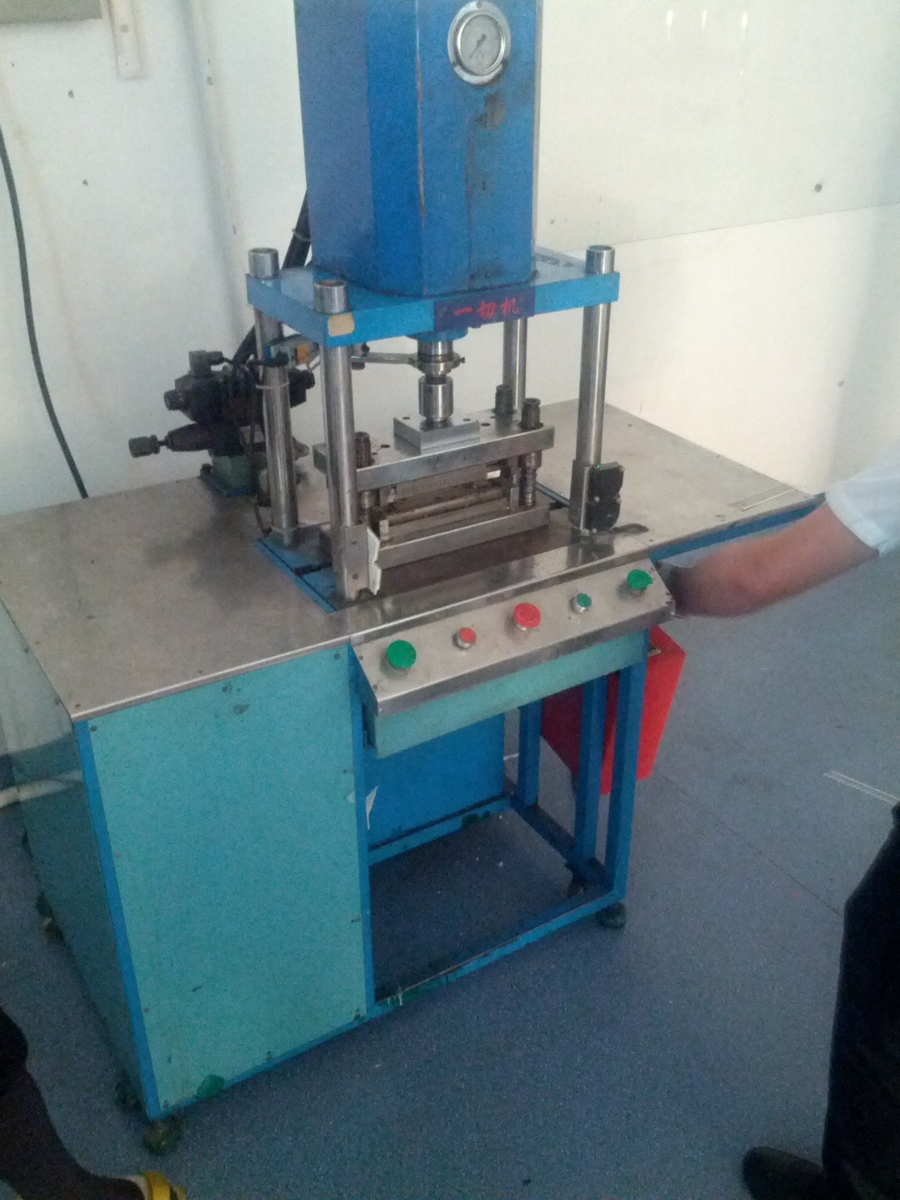
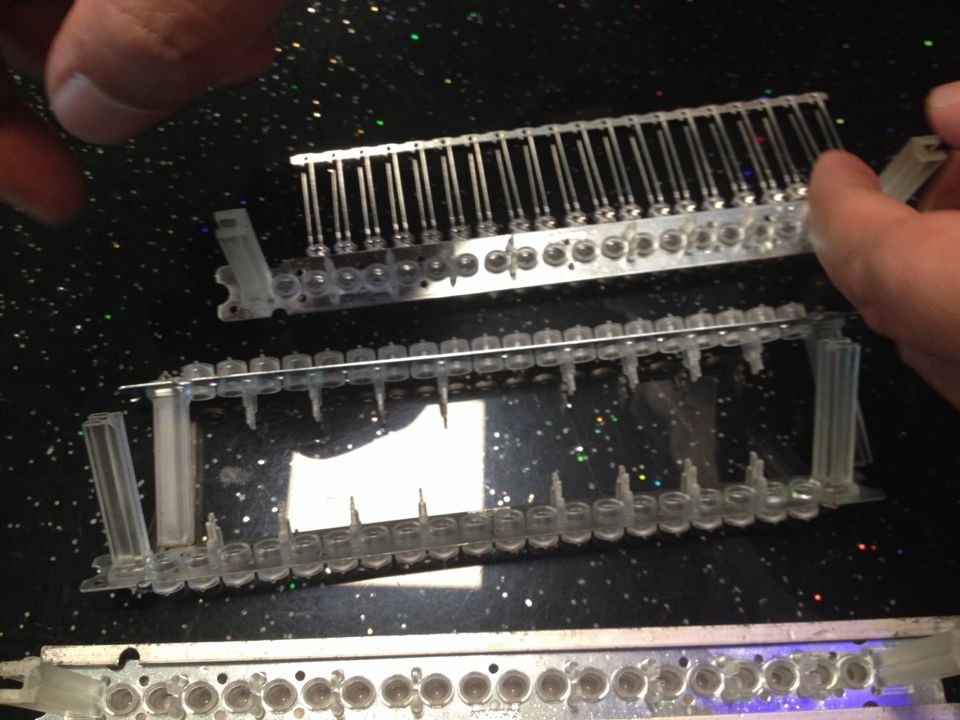
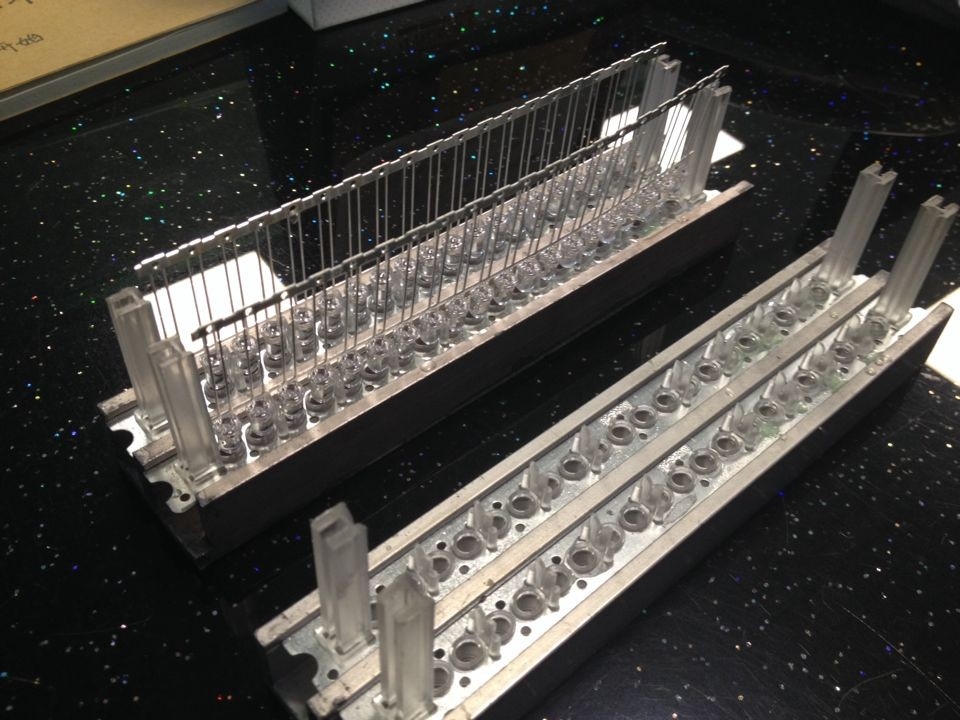
For support during the manufacturing process, the lead frames have bits of metal connecting the anode and cathodes together. Before testing, the above machine cuts the excess metal away so that the cathode is isolated and all the anodes are bussed together. Why is one pin shorter than the other on an LED? Mostly to ease manufacturing automation and testing. Why did they pick the cathode to be shorter? Probably because it's easier to control the low side (cathode) during testing.
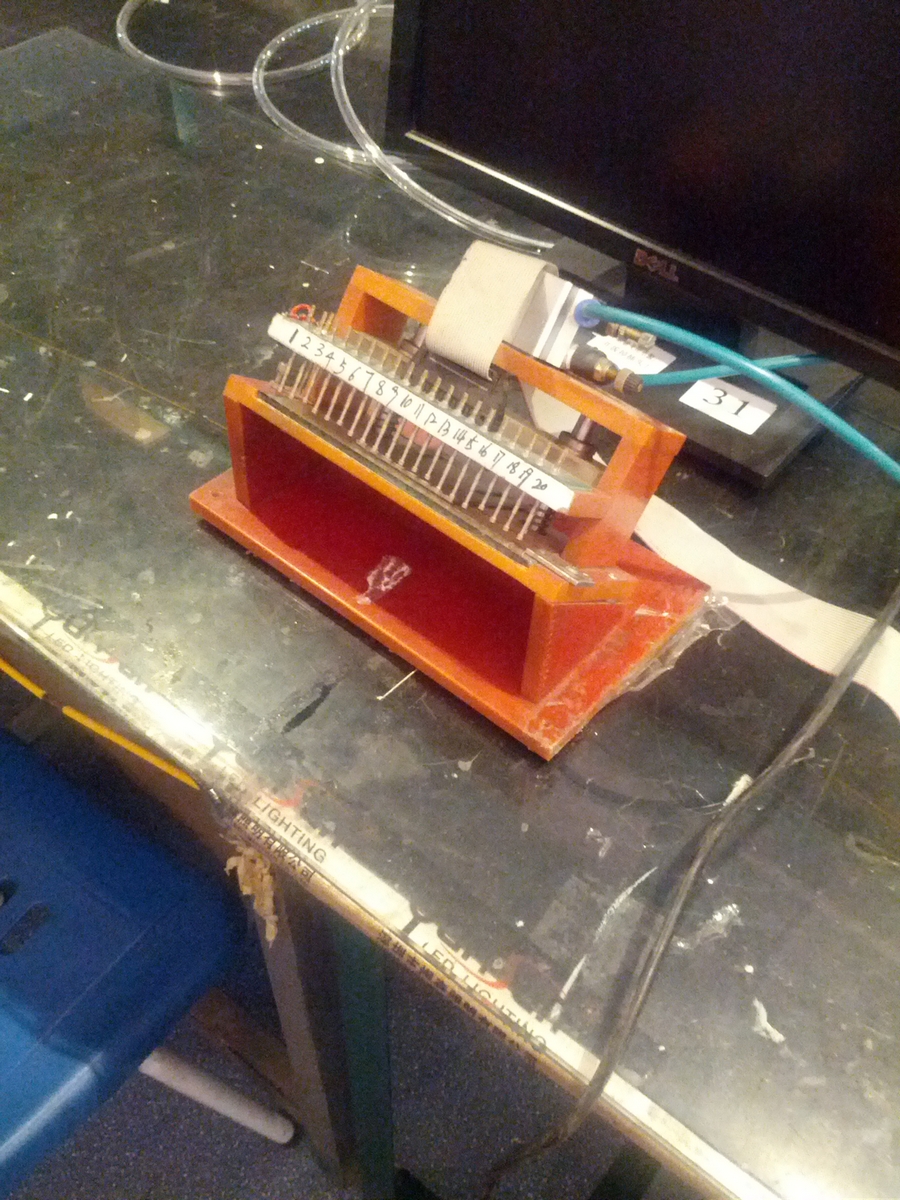
The next step is to test and verify each LED is using the appropriate amount of current. Too little (there is a disconnect) or too much (there is a short) and the LED is removed. Using a series of pogo pins this machine quickly tests each individual LED and displays the output on the computer. This is extremely similar to the pogo pin test jigs we design to test SparkFun products.
Once the LEDs pass QC, they go through another cutting step to separate the anodes from the lead frame.
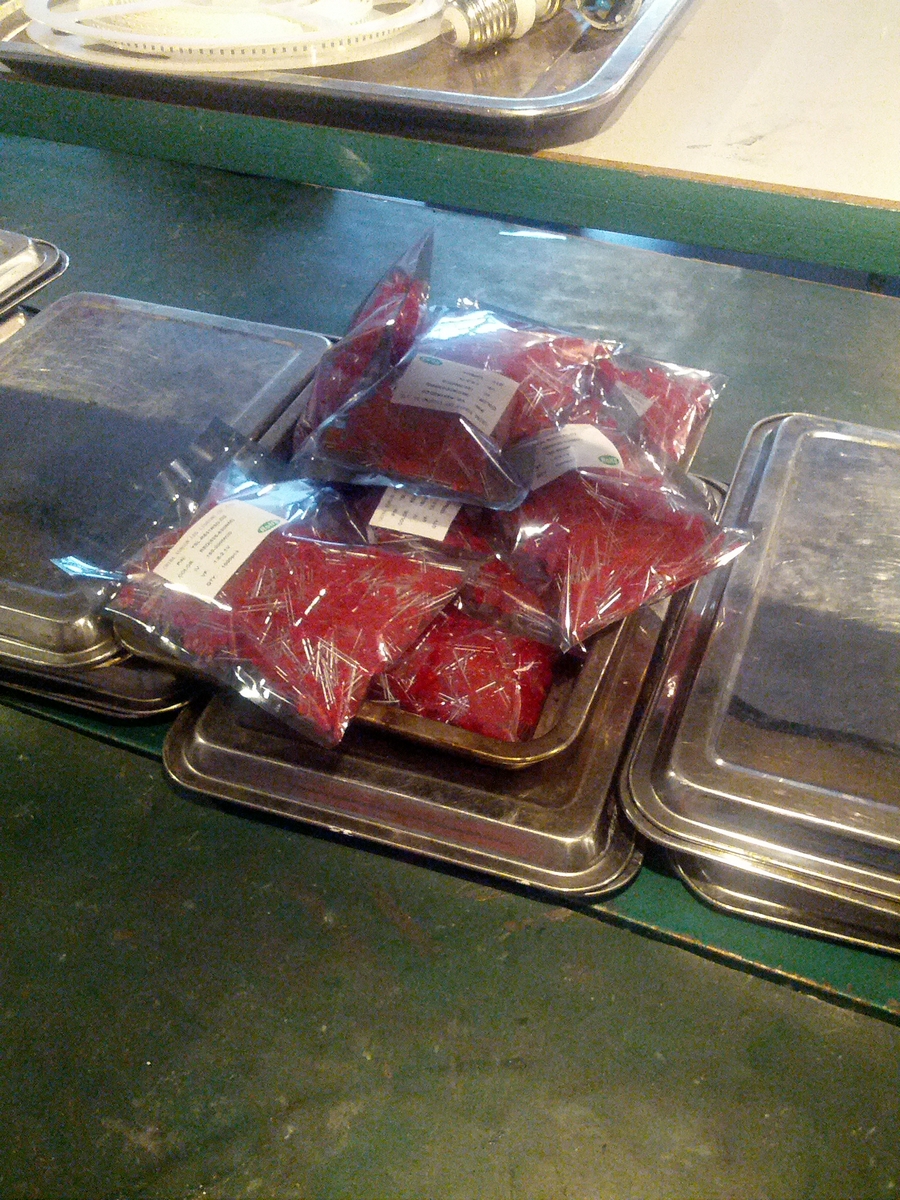
Lots and lots of 5mm red LEDs built just for SparkFun!

Using this same process, a lot of different shapes, colors, and sizes can be made.