How to Install an ATtiny Bootloader With Virtual USB
 Shawn Hymel
 Introduction
In this tutorial, we'll show you how to use Arduino to install the micronucleus bootloader, which has V-USB, onto an ATtiny84. These steps will work for other ATtiny chips, but you'll need to change things like the pins_arduino.h file and target parameters in avrdude.
By following this guide, you will be able to upload Arduino sketches directly to the ATtiny84 over USB without needing to use a programming device (such as another Arduino or FTDI chip).
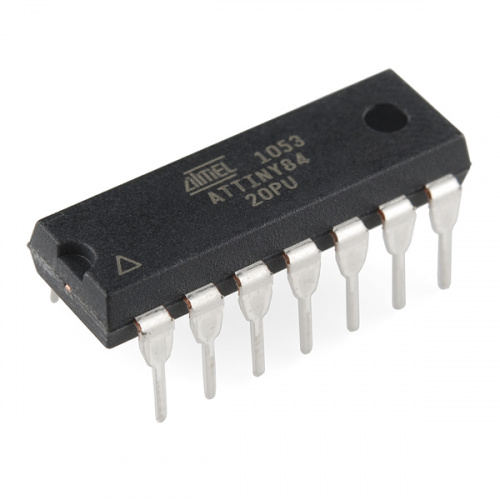
The Atmel AVR ATtiny84 is very similar to the ATtiny85 but with a few more I/O pins (six more, to be exact). If you like working with very small, inexpensive microcontrollers, the ATtiny84 and lower-power ATtiny84A are good options. Either the ATtiny84 or ATtiny84A will work for this tutorial.
In this tutorial, we'll show you how to:
- Load Arduino ISP (In-System Programmer) on an Arduino
- Install the micronucleus bootloader on the ATtiny84
- Manually change fuses in the ATtiny84 to allow USB programming
- Create a new board definition in Arduino for the ATtiny84
- Install any necessary USB drivers
- Upload example firmware from Arduino IDE to the ATtiny84
The ATtiny microcontrollers are fantastic little chips but often suffer from low programming space. The ATtiny84 and 85 have 8k of flash memory (compared to 32k in the ATmega328p, the most commonly found microcontroller on Arduino platforms). A bootloader like micronucleus allows us to upload firmware to the microcontroller over a "virtual" USB (V-USB) connection rather than using a separate microcontroller for programming. The downside is that micronucleus uses 2k of the available flash, leaving us with only 6k of flash for our program!
However, using a bootloader potentially reduces the production cost of a custom Arduino board if you don't want to rely on separate hardware for programming.
Parts List
To follow along, you will need these parts:
You Will Also Need
- 2x 68Ω Resistors
- 1x 1.5 kΩ Resistor
Resistors
April 1, 2013
Suggested Reading
Before moving along, we recommend you have familiarity with the following concepts.