How to Load MicroPython on a Microcontroller Board
 Shawn Hymel
 micro:bit
When it comes to the micro:bit, MicroPython is a great alternative to the graphical programming found on MakeCode, and it can be a good introduction to text-based programming (especially for students).

Loading MicroPython on to the micro:bit is easy. There are two main editors available: the Python online editor on microbit.org and the offline Mu editor application. The general idea is that your MicroPython code is bundled with the MicroPython interpreter in one file that gets uploaded to the micro:bit. As a result, we don't need to perform any special steps to load the MicroPython interpreter onto the micro:bit.
Online Editor
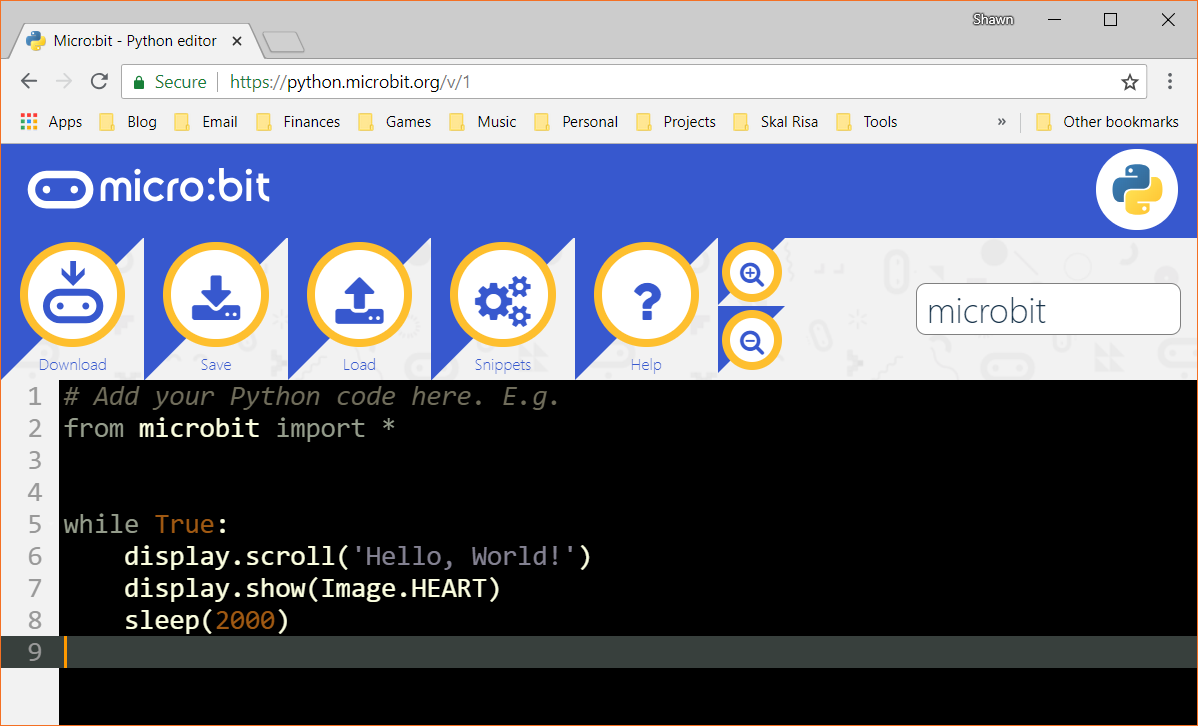
Head to python.microbit.org. You should see some default code. If not, copy in the following:
language:python
# Add your Python code here. E.g.
from microbit import *

while True:
    display.scroll('Hello, World!')
    display.show(Image.HEART)
    sleep(2000)
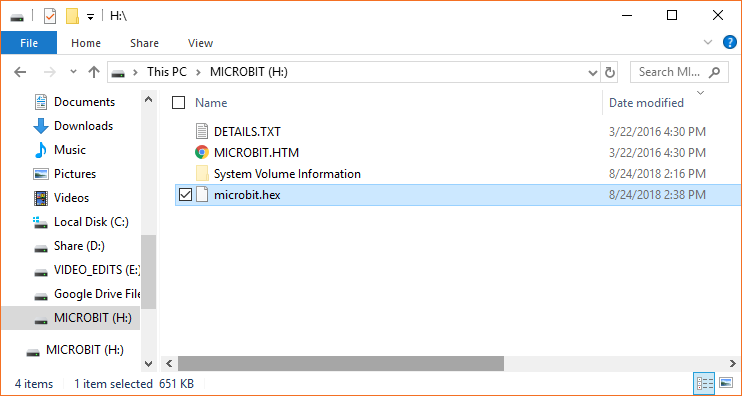
Click the Download button, and your computer should download a microbit.hex file (combination of MicroPython interpreter and your code).
Plug in your micro:bit into an available USB port on your computer, and it should enumerate as a storage device (e.g. similar to a USB flash drive). Open a file explorer (or Finder), locate the downloaded .hex file, and copy it into the root directory of the micro:bit's drive.
Your micro:bit should automatically reboot and begin scrolling "Hello, World!" followed by a heart image.
Mu
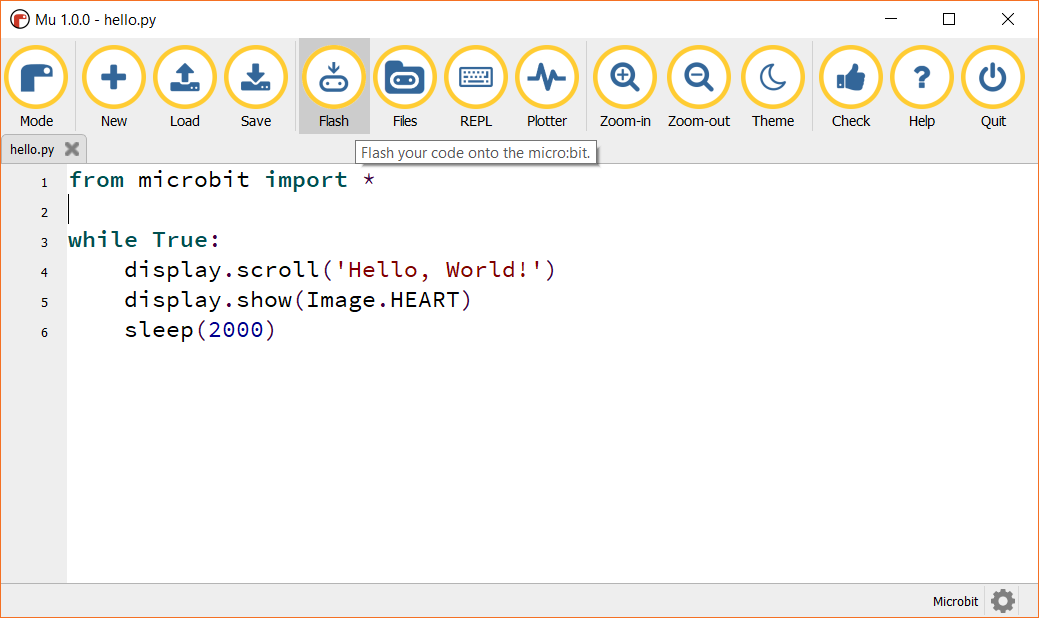
Download and install Mu from codewith.mu. Open the editor, and copy in the following code:
language:python
# Add your Python code here. E.g.
from microbit import *

while True:
    display.scroll('Hello, World!')
    display.show(Image.HEART)
    sleep(2000)
With the micro:bit plugged into your computer, press the Flash button to upload the code.
Your micro:bit should begin scrolling the phrase "Hello, World!" followed by a heart image.
Interacting with REPL
If you are on Windows, you will need to download and install the mbed serial driver. Follow the instructions on this site to download the driver executable. Note that you will need to have the micro:bit plugged in when you run the driver install program.
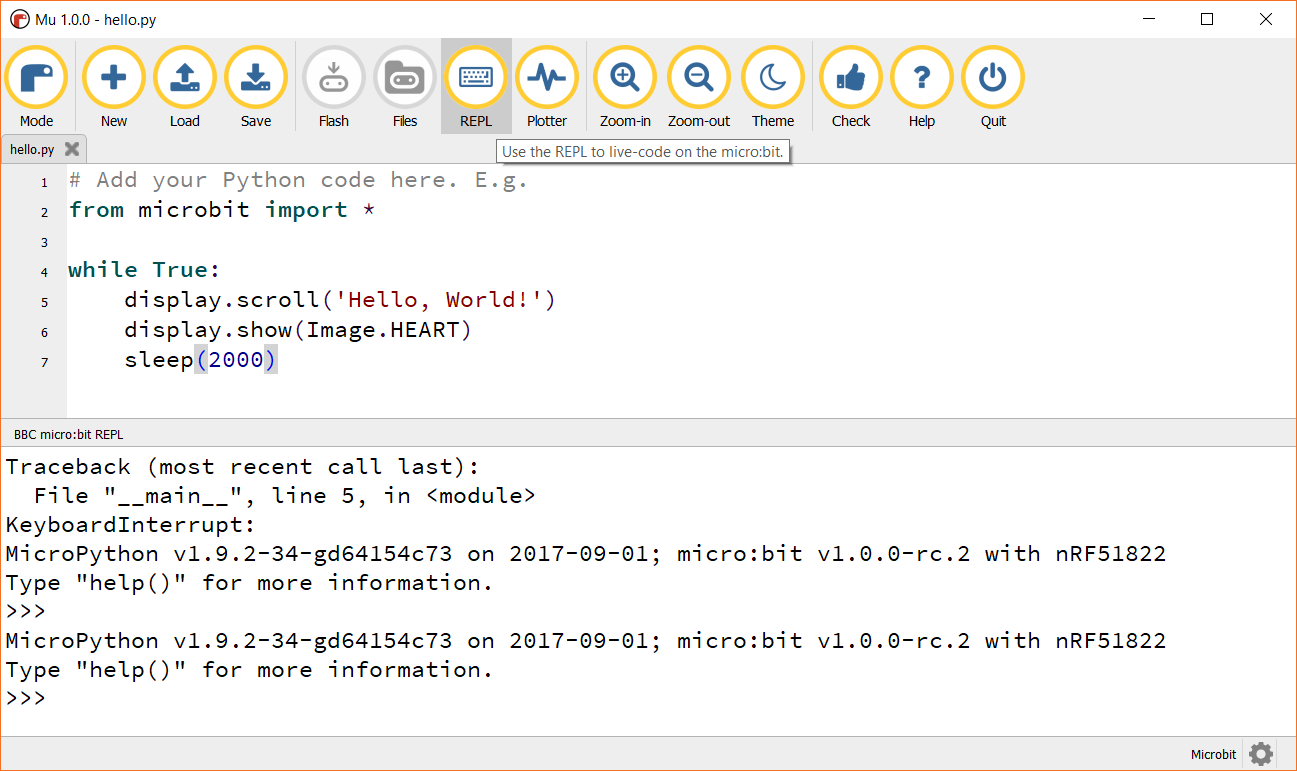
If you are using Mu, you can simply click the REPL button to bring up an interactive REPL terminal in the editor. This works even if you are running a program on the micro:bit.
If you are using the online editor, you will need to first upload a blank program to the micro:bit (i.e. delete all the code in the editor, download a .hex file, and copy it to the micro:bit). Most code will cause the micro:bit to stop responding to serial events, so we upload a blank program to prevent this. You can use a Serial terminal program to interact with REPL.
Windows
Open up the Device Manager, and look for the Ports category. Expand it, and note the COM number listed next to mbed Serial Port.
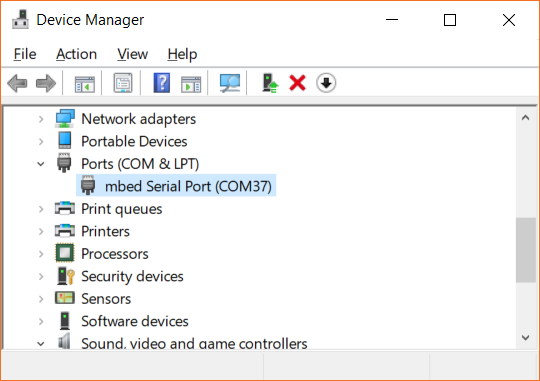
Using a serial terminal program (such as PuTTY or Tera Term), connect to the micro:bit using your COM port (e.g. COM37) and a baud rate of 115200.
macOS
Plug in the micro:bit and open a terminal. Enter the following command:
language:shell
ls /dev/cu.*
You should see a list of serial devices; look for the one with usbmodem (e.g. /dev/cu.usbmodem1422). Use the screen or minicom commands to open a serial connection with the microbit. For example (replace usbmodem1422 with the device file associated with your micro:bit):
language:shell
screen /dev/cu.usbmodem1422 115200
Linux
Install a serial terminal program, such as screen or minicom. Plug in your micro:bit and find the name of its associated device file with:
language:shell
dmesg | tail
You should see that the micro:bit was assigned to a particular file, such as /dev/ttyUSB0). Connect to the micro:bit with the device file (replacing ttyUSB0 with the name of the device file associated with your micro:bit) and a baud rate of 115200:
language:shell
screen /dev/ttyUSB0 115200
You can use any number of other serial terminal programs instead of screen, if you wish.
Test It
In your serial terminal program, you should see the REPL prompt (>>>). Enter the following commands:
language:python
import microbit
microbit.display.scroll("hello")
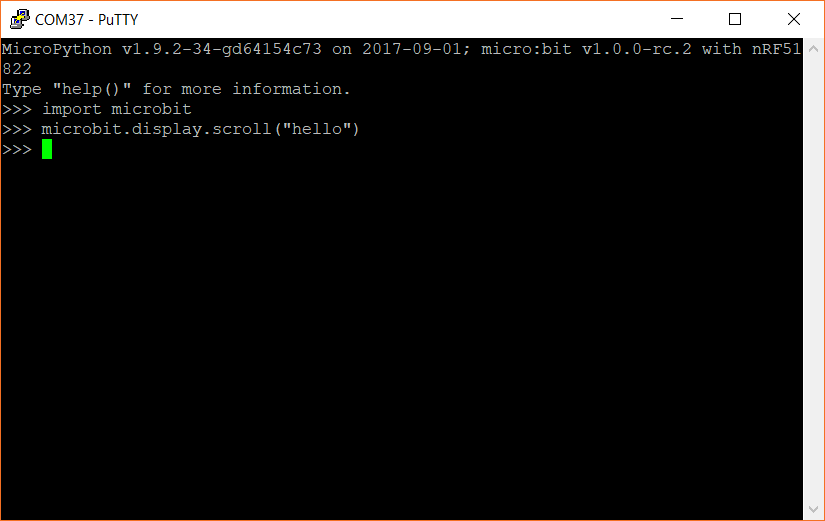
You should then see the word "hello" flash across your LED array!