How to Use a Multimeter
 Nate
Nate 
Measuring Voltage
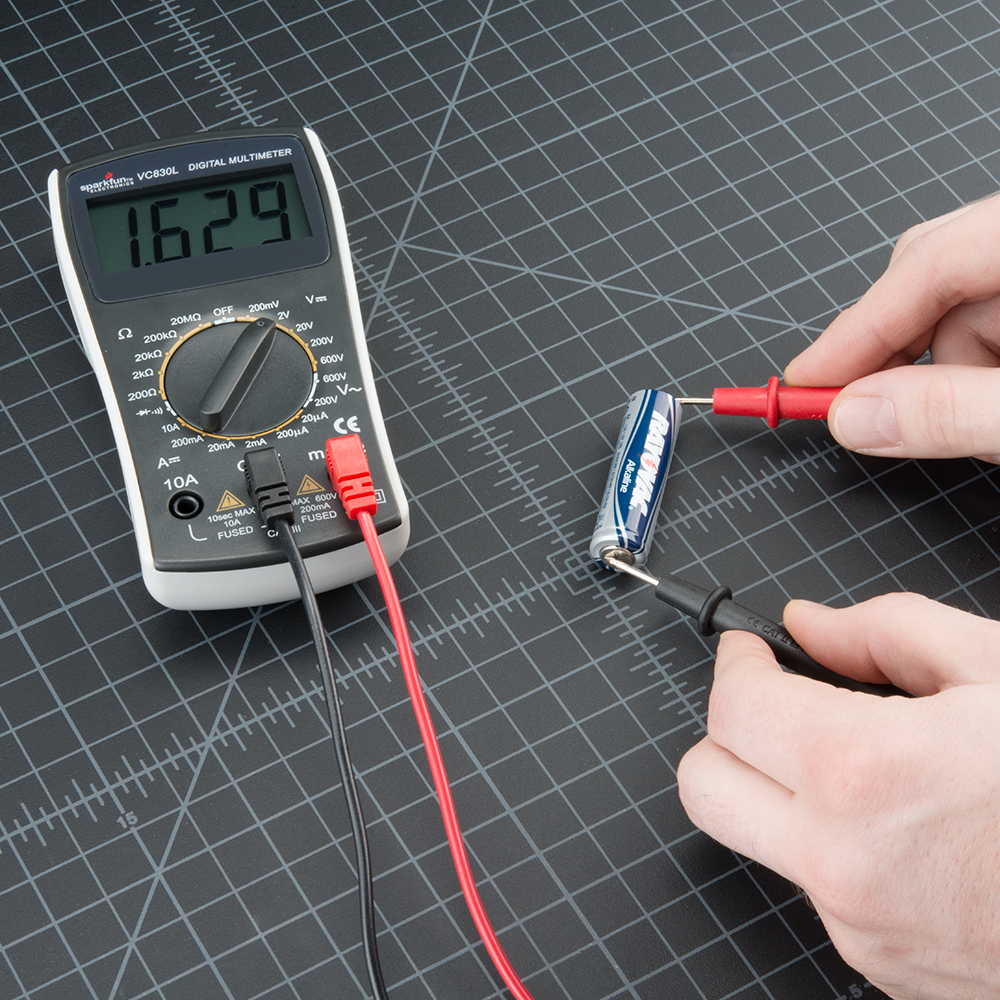
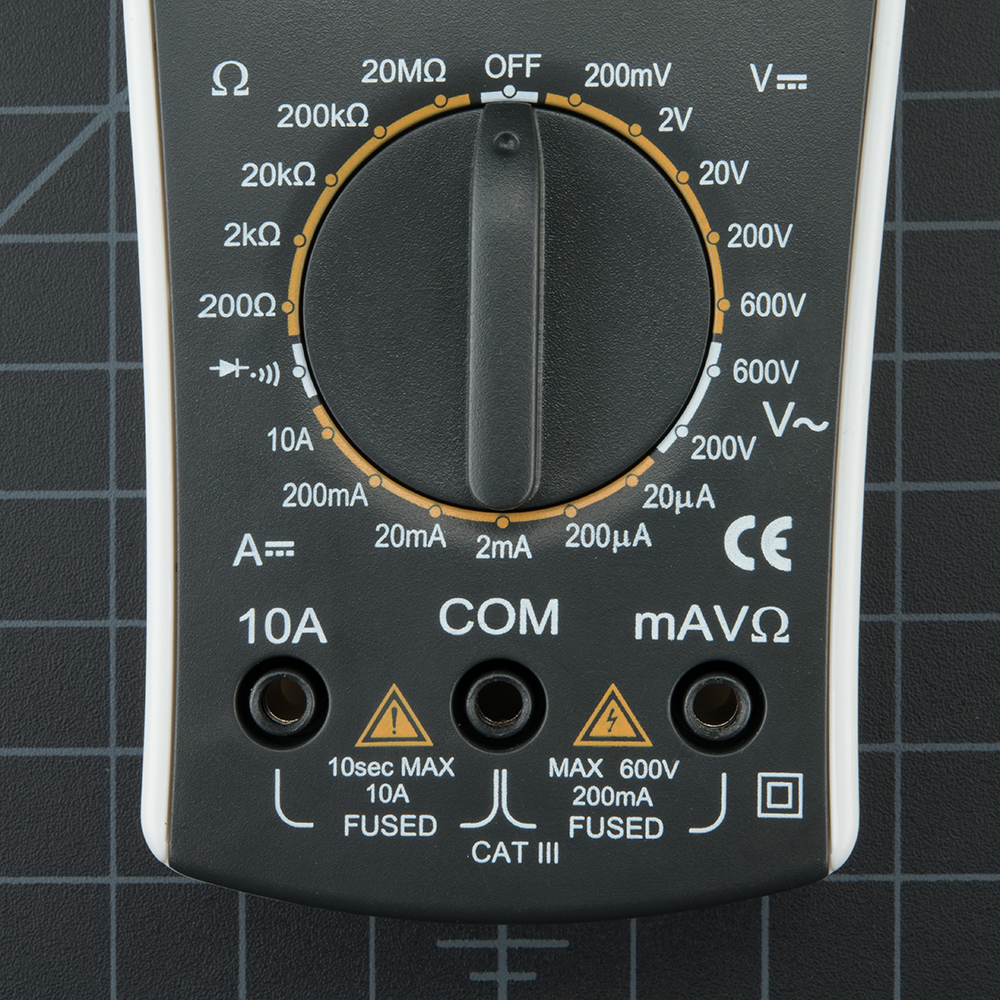
To start, let's measure voltage on a AA battery: Plug the black probe into COM and the red probe into mAVΩ. Set the multimeter to "2V" in the DC (direct current) range. Almost all portable electronics use direct current), not alternating current. Connect the black probe to the battery's ground or '-' and the red probe to power or '+'. Squeeze the probes with a little pressure against the positive and negative terminals of the AA battery. If you've got a fresh battery, you should see around 1.5V on the display (this battery is brand new, so its voltage is slightly higher than 1.5V).
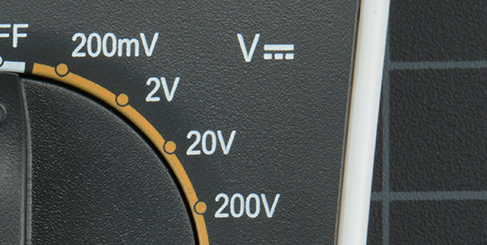
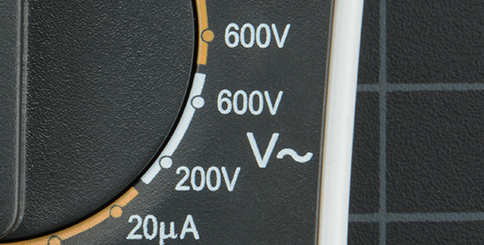
If you're measuring DC voltage (such as a battery or a sensor hooked up to an Arduino) you want to set the knob where the V has a straight line. AC voltage (like what comes out of the wall) can be dangerous, so we rarely need to use the AC voltage setting (the V with a wavy line next to it). If you're messing with AC, we recommend you get a non-contact tester rather than use a digital multimeter.
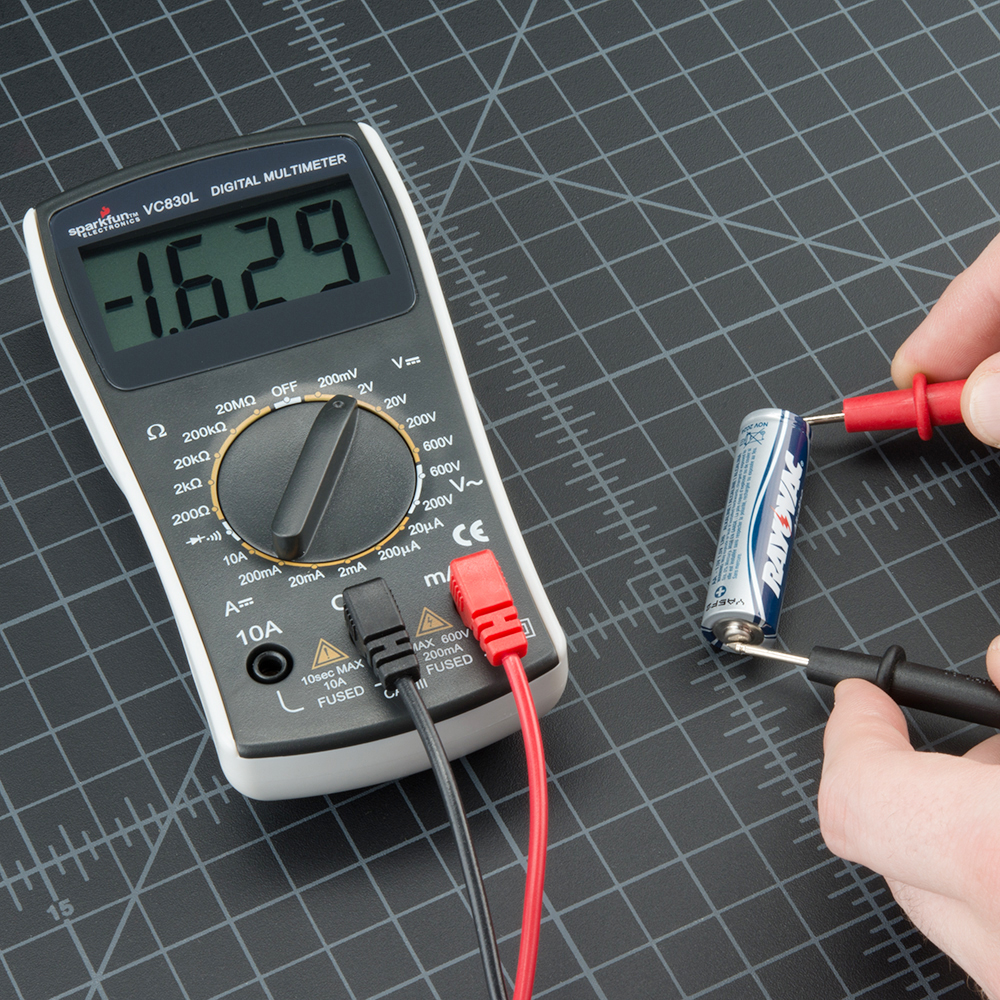
What happens if you switch the red and black probes? The reading on the multimeter is simply negative. Nothing bad happens! The multimeter measures voltage in relation to the common probe. How much voltage is there on the ‘+’ of the battery compared to common or the negative pin? 1.5V. If we switch the probes, we define ‘+’ as the common or zero point. How much voltage is there on the ‘-’ of the battery compared to our new zero? -1.5V!
Now let's construct a simple circuit to demonstrate how to measure voltage in a real world scenario. The circuit is simply a 1kΩ and a Blue super bright LED powered with a SparkFun Breadboard Power Supply Stick. To begin, let's make sure the circuit you are working on is powered up correctly. If your project should be at 5V but is less than 4.5V or greater than 5.5V, this would quickly give you an indication that something is wrong and you may need to check your power connections or the wiring of your circuit.
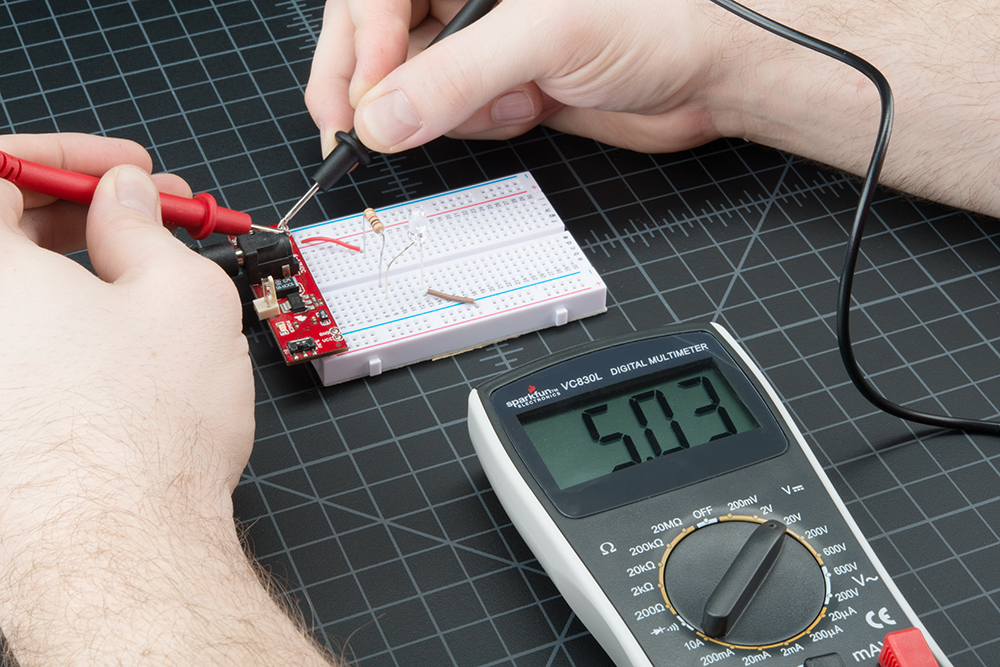
Set the knob to "20V" in the DC range (the DC Voltage range has a V with a straight line next to it). Multimeters are generally not autoranging. You have to set the multimeter to a range that it can measure. For example, 2V measures voltages up to 2 volts, and 20V measures voltages up to 20 volts. So if you've measuring a 12V battery, use the 20V setting. 5V system? Use the 20V setting. If you set it incorrectly, you will probably see the meter screen change and then read '1'.
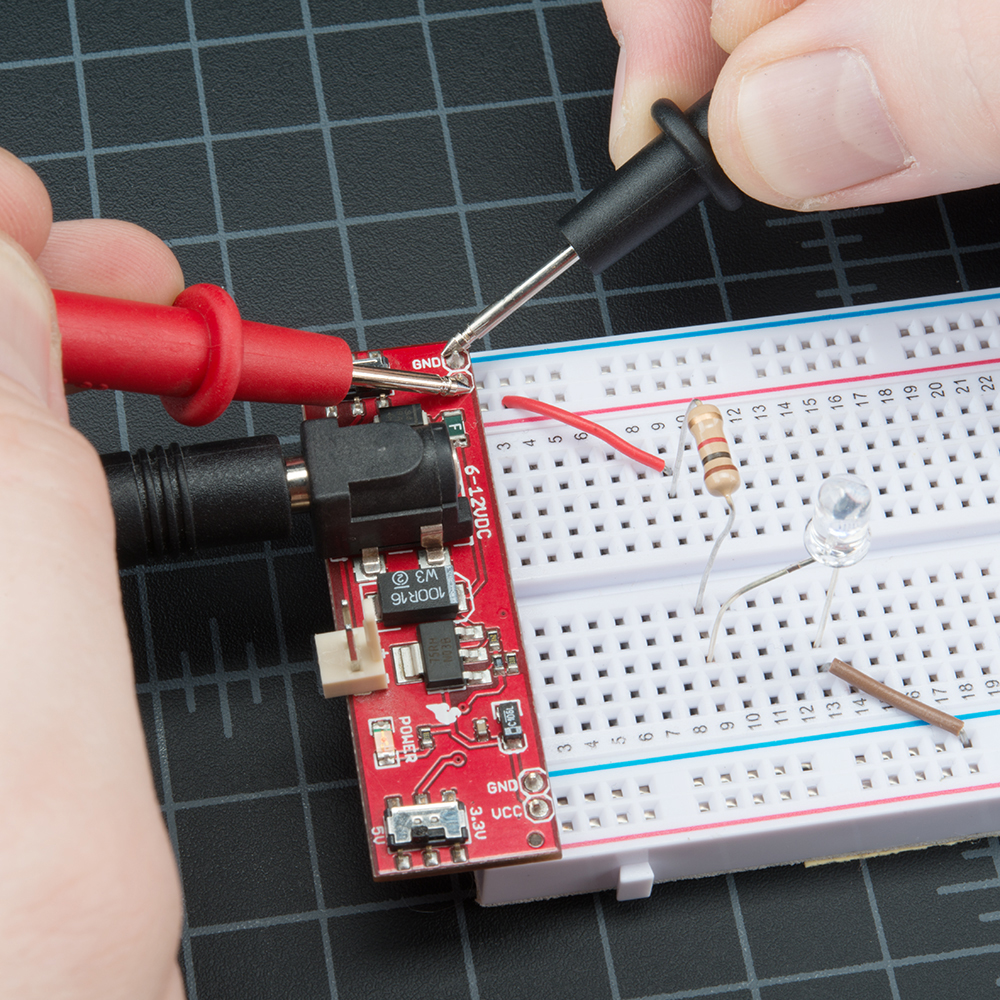
With some force (imagine poking a fork into a piece of cooked meat), push the probes onto two exposed pieces of metal. One probe should contact a GND connection. One probe to the VCC or 5V connection.
We can test different parts of the circuit as well. This practice is called nodal analysis, and it is a basic building block in circuit analysis. By measuring the voltage across the circuit we can see how much voltage each component requires. Let's measure the whole circuit first. Measuring from where the voltage is going in to the resistor and then where ground is on the LED, we should see the full voltage of the circuit, expected to be around 5V.
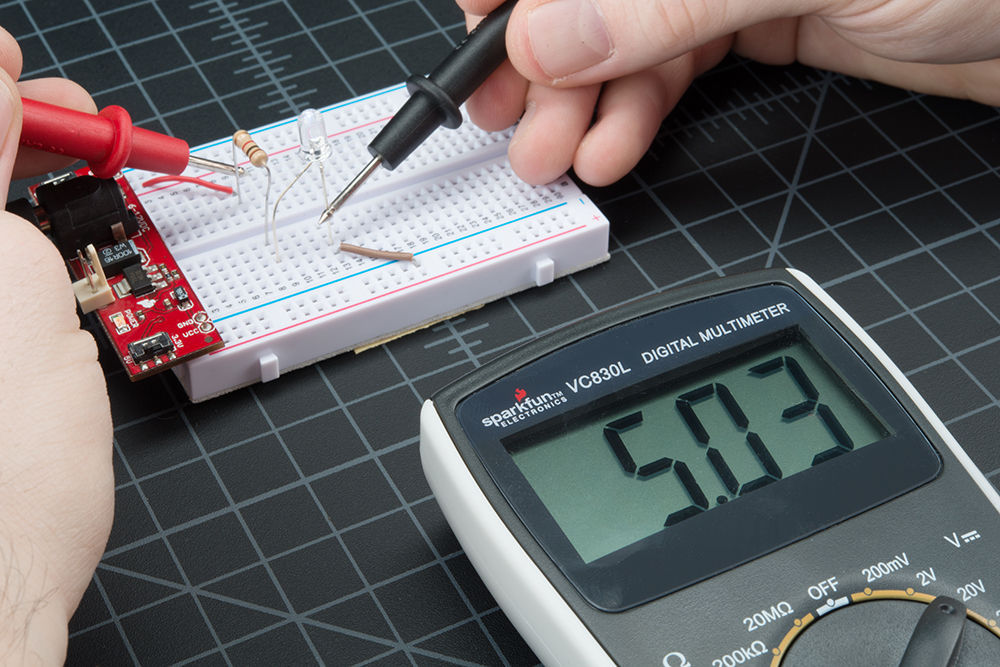
We can then see how much voltage the LED is using. This is what is referred to as the voltage drop across the LED. If that doesn't make sense now, fear not. It will as you explore the world of electronics more. The important thing to take away is that different parts of a circuit can be measured to analyze the circuit as a whole.

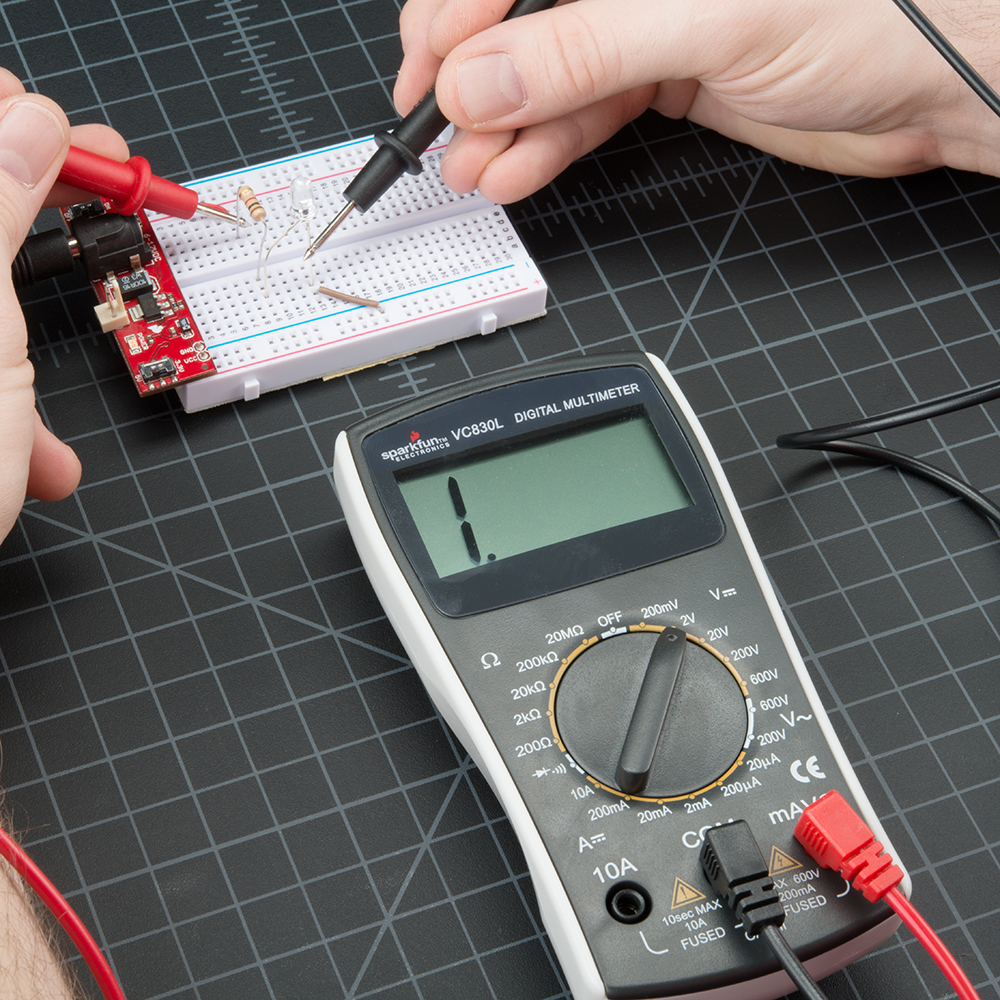
Overload
What happens if you select a voltage setting that is too low for the voltage you're trying to measure? Nothing bad. The meter will simply display a 1. This is the meter trying to tell you that it is overloaded or out-of-range. Whatever you're trying to read is too much for that particular setting. Try changing the multimeter knob to a the next highest setting.
Selection Knob
Why does the meter knob read 20V and not 10V? If you're looking to measure a voltage less than 20V, you turn to the 20V setting. This will allow you to read from 2.00 to 19.99.
The first digit on many multimeters is only able to display a '1' so the ranges are limited to 19.99 instead of 99.99. Hence the 20V max range instead of 99V max range.